
Step 1: Go to the Financial Dashboard by selecting Financial > Financial Dashboard from the main navigation.
Step 2: Click on the Payments Dashboard to view received payments.
Step 3: Open the Unallocated Insurance Payment Bucket. This shows all ERAs with a remaining unapplied balance, including new and partially allocated ERAs.
Step 4: Click Assign next to the ERA you want to allocate. This opens the Payment Allocation screen.

Step 5: Review the summary information about the remit file. You’ll see adjudication details for each line item. Expand rows to review or post items individually if needed.
Step 6: For automatic allocation, select Auto Allocate.

Step 7: On the Allocation Preview screen, confirm the system’s suggested allocations. Most fields will be preselected where automatic posting is possible. Review for accuracy and update the internal claim status or Apply For field if needed.
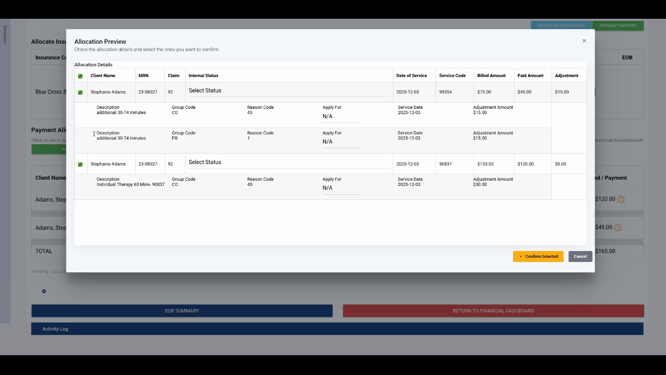
Step 8: Confirm your selections. A confirmation message appears in the upper right, indicating that your request has been queued. Allocation typically finishes within a few moments.
Step 9: Refresh your screen to check the status. A blue message means the system is still processing. Refresh again to see a green confirmation that auto allocation is complete.

That’s how you use Lightning Step’s Auto Allocation feature to quickly post electronic remittances. For more details, check out our video or contact the support team with questions.