
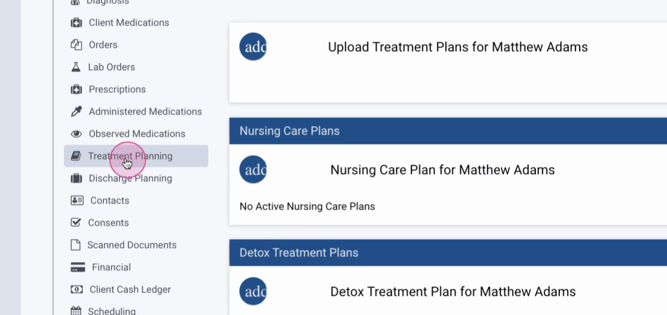
Step 1: Navigate to the Treatment Planning tab in the left-hand menu of a client profile.
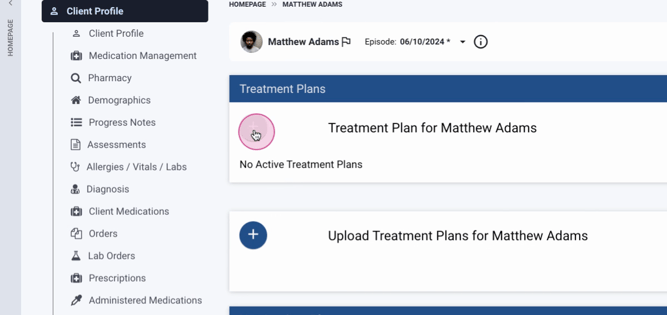
Step 2: Click the plus button to initiate your master treatment plan.
Step 3: Here, you'll see your default treatment procedures and strategies, admission date, current revision, plan date, next review date, and any projected transfer or discharge dates.
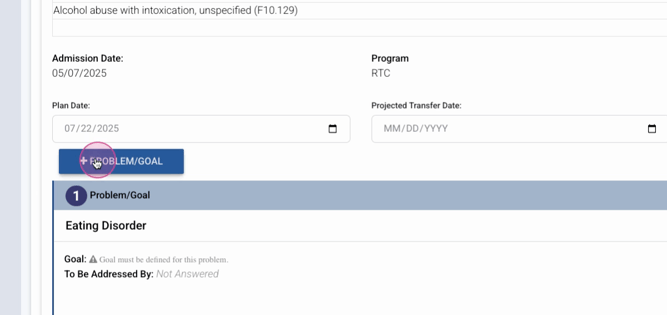
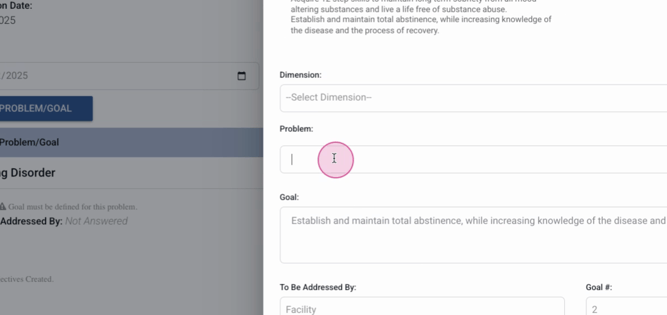
Step 4: To add a problem or goal, select your category.

Step 5: Choose your suggested goals, which are configured by your system administrator.
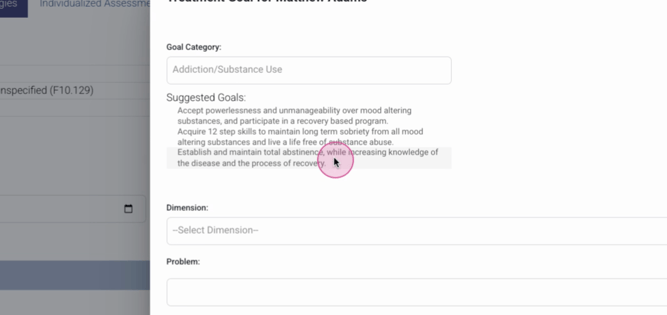
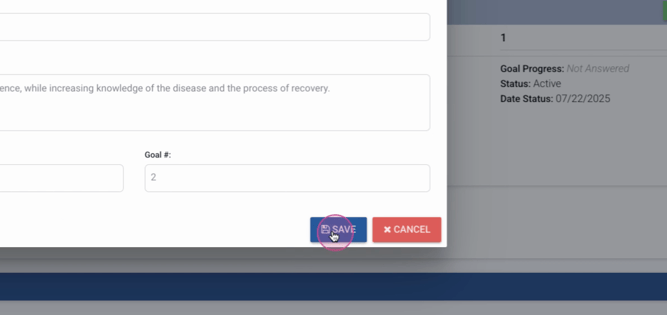
Step 6: Select your goal, the problem facility addressing it, and the goal number.
Step 7: Click Save.
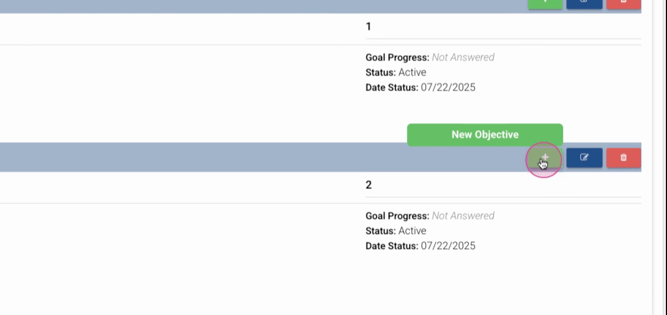
Step 8: Now, add an objective.
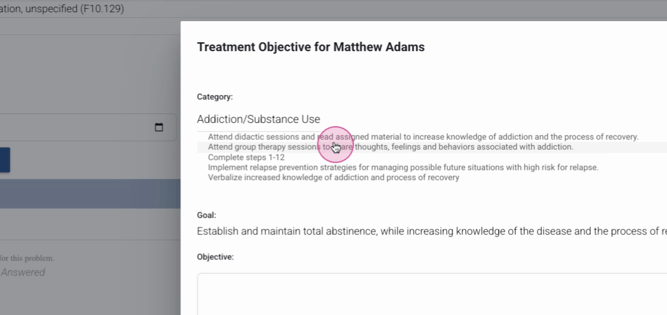
Step 9: Select your category and define your objective. For example, "Attend group therapy session to share thoughts, feelings and behaviors associated with addiction."
Step 10: Click Save.
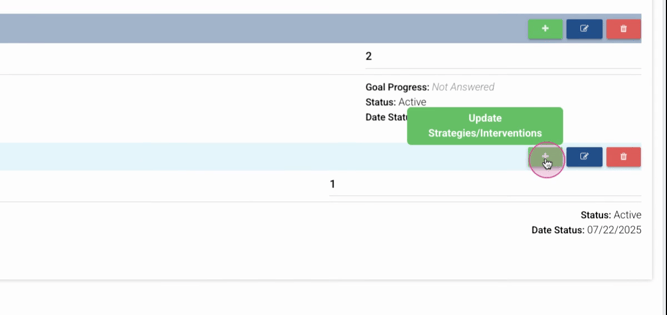
Step 11: You're now ready to update and add any treatment strategies. You can add multiple strategies at once from this page.
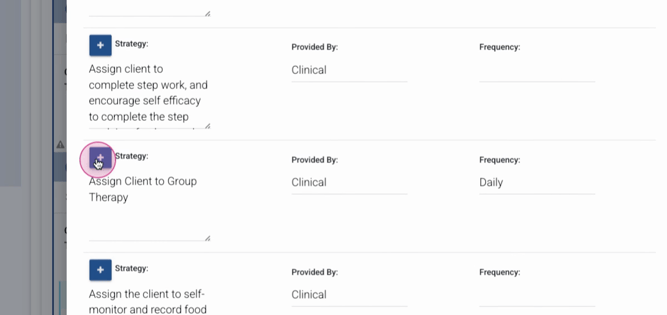
Step 12: After adding strategies, click Close.

Step 13: Now, you'll see your problems, objectives, strategies, and target dates.

Step 14: Fill in the individualized assessment section with client needs, limitations, abilities, and preferences.

Step 15: Begin your discharge planning. You can start this process from the time of the master treatment plan.

Step 16: Capture any issues that may require attention aftercare and outline any discharge criteria.
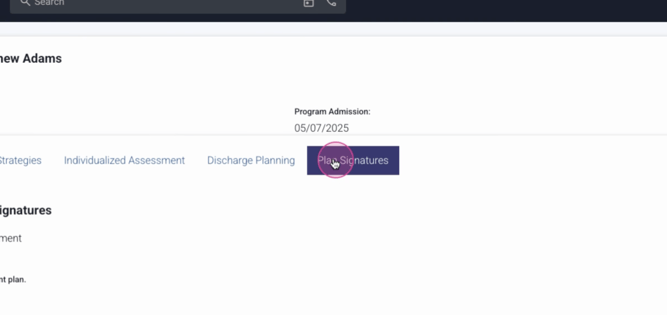
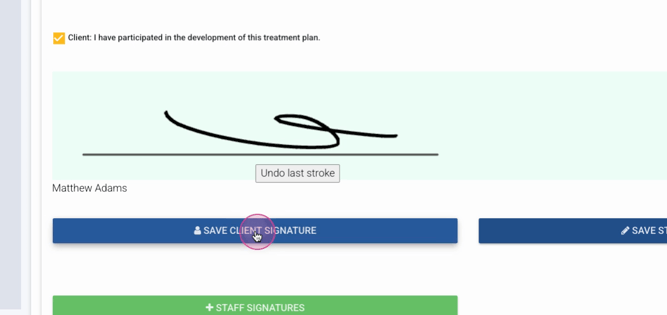
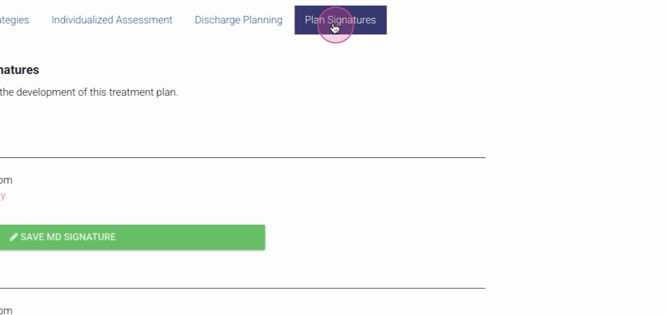
Step 17: In the Plan Signatures section, indicate if the client refused to sign their treatment plan or if they participated and signed.
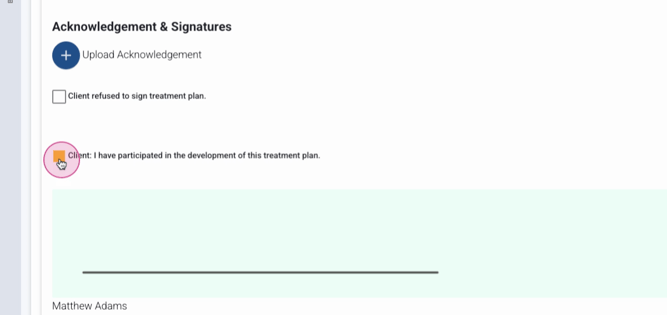
Step 18: Save the client's signature.
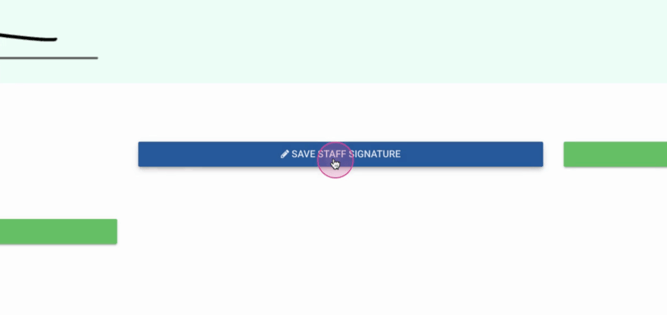
Step 19: Save the staff signature and the doctor's signature, if required.
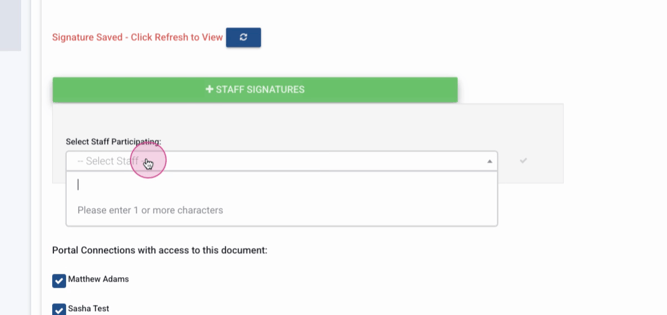
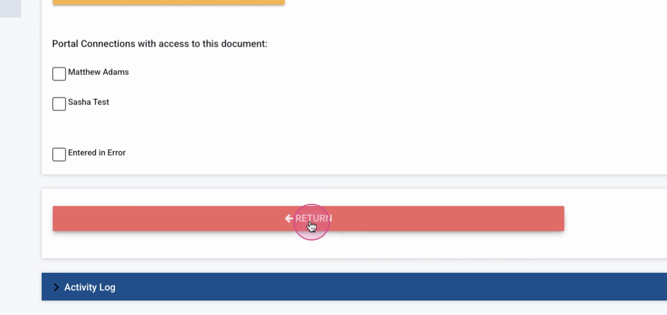
Step 20: Add any additional participating staff who need to sign the treatment plan. This will route the plan to them for signature and review.
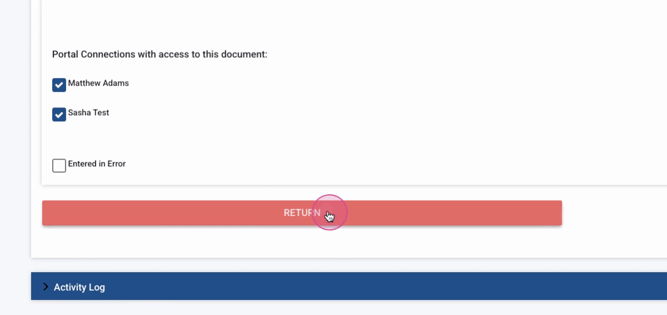
Step 21: After signing, you can remove individuals if needed.

Step 22: Return to the main page. The treatment plan is now in read-only status and a treatment plan review button is available.
Step 23: To complete reviews, click the plus button. This will show a justification for continued stay, which is added within your treatment plan reviews.
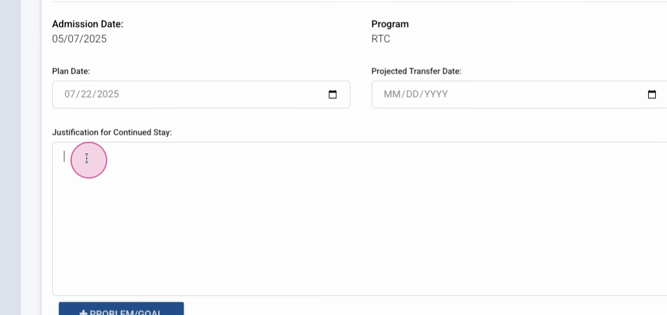
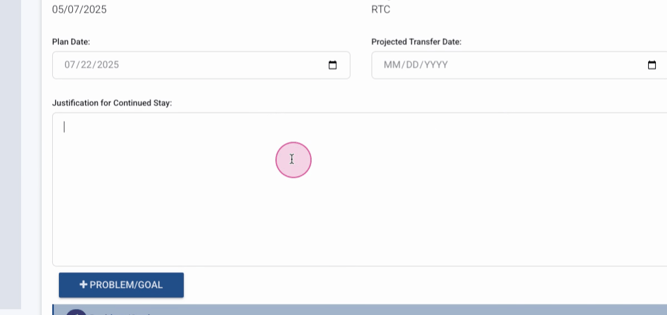
Step 24: Add your justification for continued stay.
Step 25: Sign the review.

Step 26: Refresh the page to see the signatures affixed to the review.
Step 27: Return to the main page. You've now completed your first review.
And that's it! You've successfully navigated treatment planning within Lightning Step.