
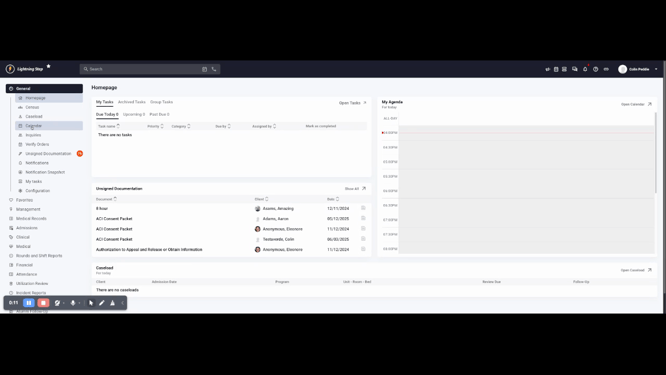
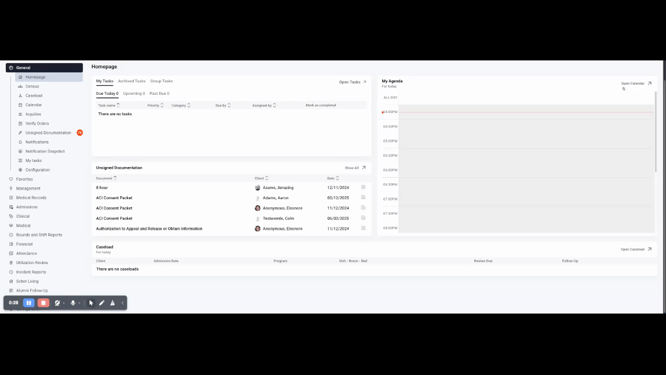
Step 1: Access the Calendar
To access the calendar, click on the calendar button under the General tab on the home screen. Alternatively, from your homepage, view your daily agenda and click on Open Calendar at the top right corner.
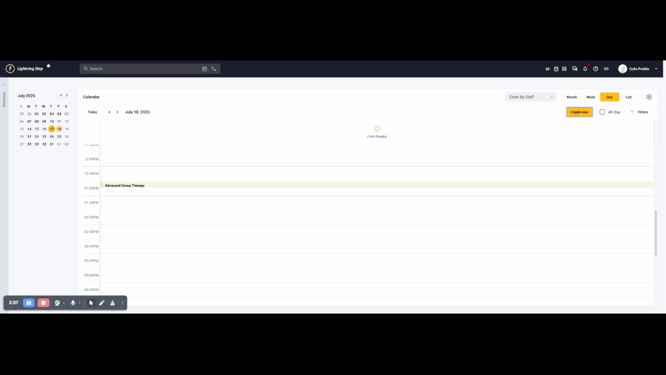
Step 2: Navigate the Calendar
Upon entering the calendar, it defaults to the staff member who's logged in. The calendar typically displays the week view, but you're able to switch between month, week, day, and a list of all appointments.
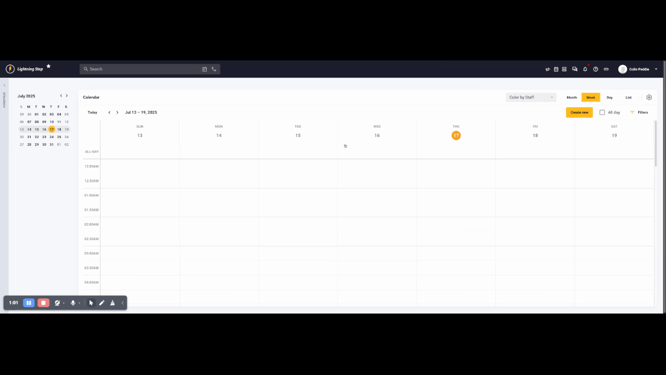
Note that today's date is marked with a yellow bubble.
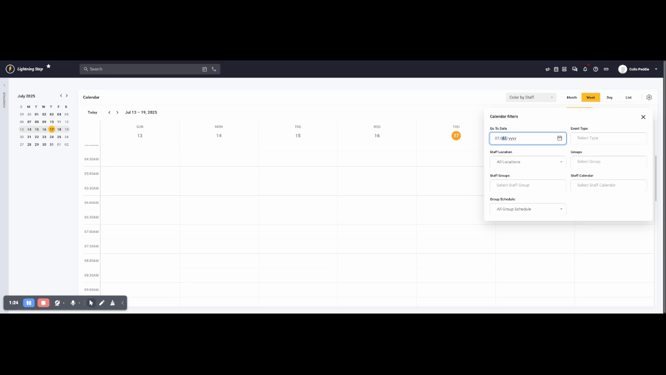
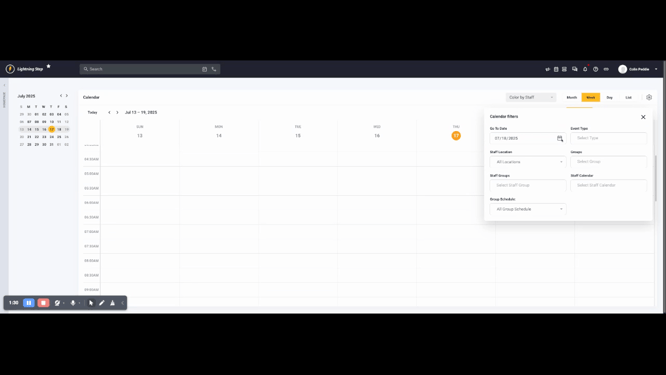
Step 3: Use Calendar Filters
To view different staff members' calendars or set filters, click on the filters icon at the top right.

You're also able to type the date directly or click the calendar icon next to it to select a date from the list.
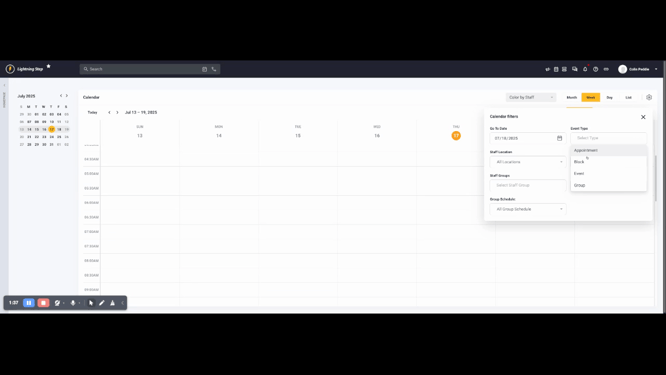
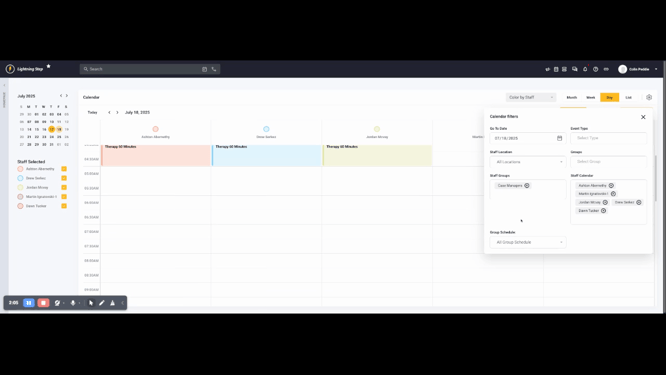
Step 4: Filter by Specific Categories
You can filter by appointments, blocks, groups, event locations, clinical groups, a specific staff member's calendar, or a group of staff members' calendars. For example, if you select case managers as the staff grouping, you'll see all their calendars for the day.
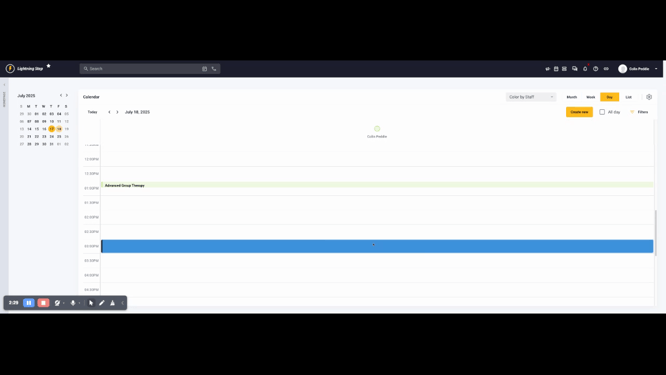
Step 5: Create a New Calendar Appointment
To create a new appointment, either click the bubble within the calendar window or use the create new function at the top right.
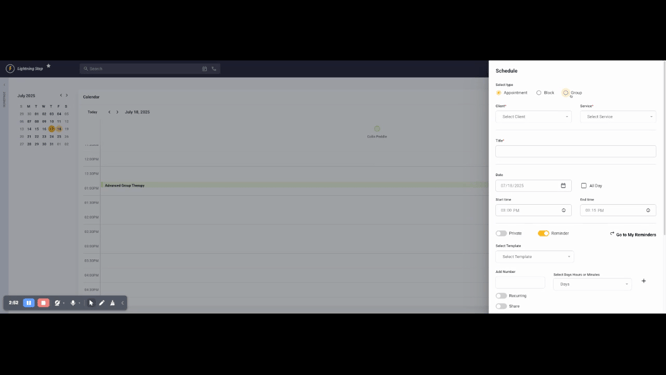
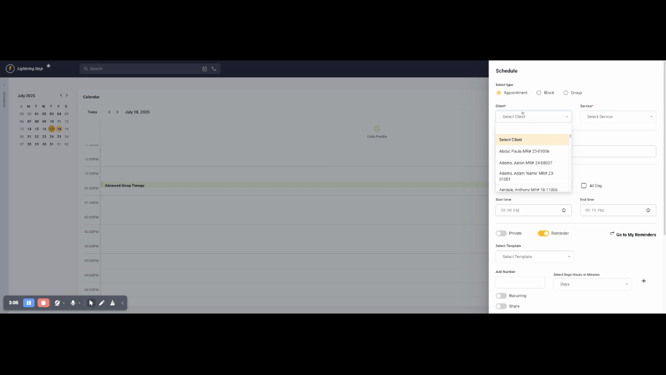
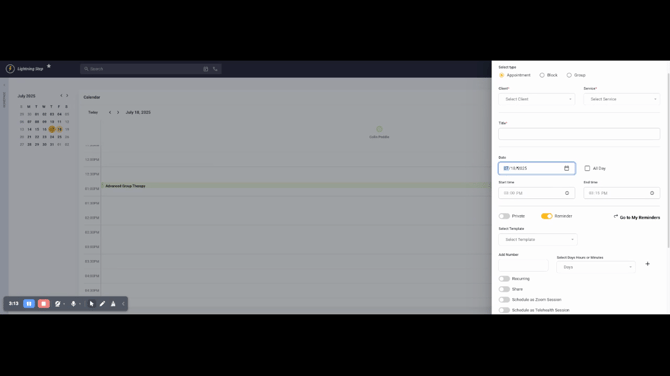
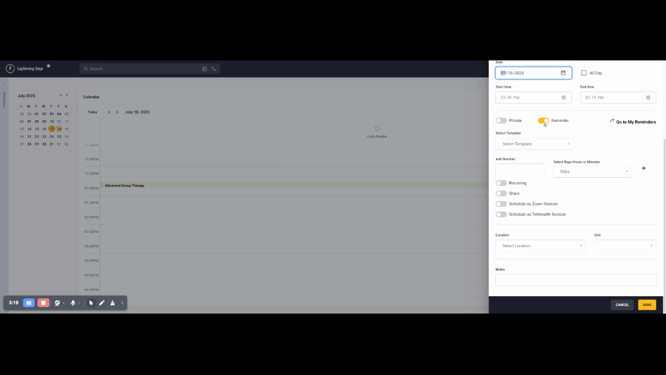
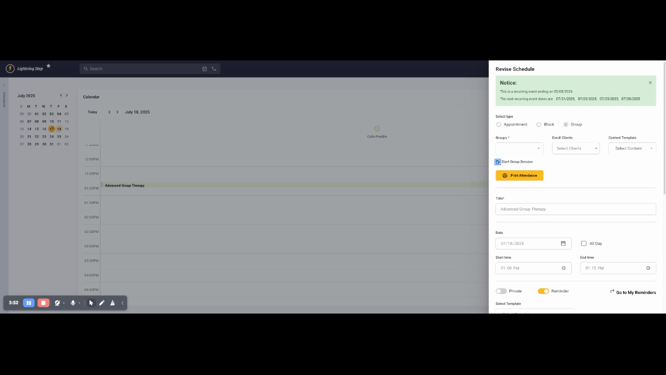
Step 6: Set Appointment Details
When creating an appointment, you can choose between an individual appointment, a block for yourself, or a group appointment with multiple clients. For a one-on-one appointment, select appointment. For a group, select a group of clients. Ensure the date, start and stop time are correct. If you have a reminder system, activate it and set it to recurring if necessary. You can also share it with other staff members or a group of staff members. If you offer telehealth, you can schedule this as a telehealth session.
Step 7: Start the Appointment
Once the appointment is set, you can start the group session directly from the calendar. For a one-on-one appointment with a progress note, you can begin documentation directly from the calendar.

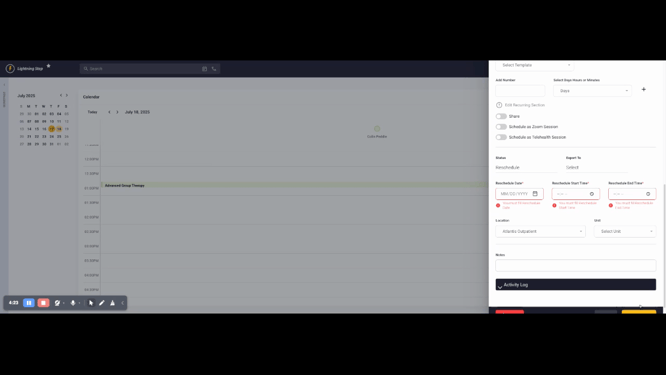
Step 8: Update Appointment Status
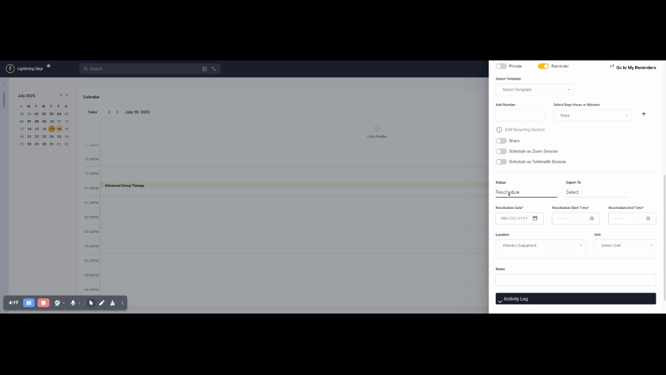
The final step involves updating the status of the appointment. Click on the status to mark it as active, canceled, completed, delete the event, mark it as a no-show, or reschedule the appointment.

To reschedule, click on the reschedule status, then select the new date and time.
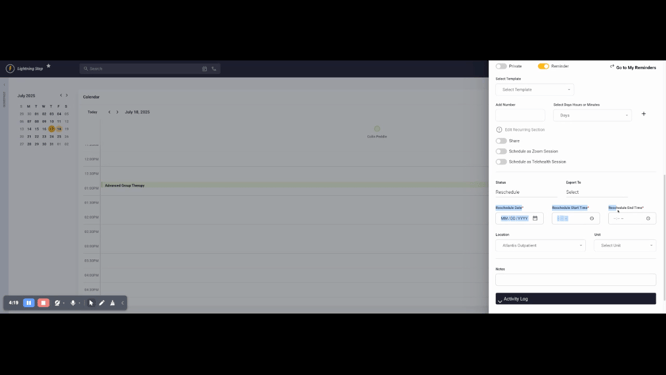
Save the revision. The appointment will then move to the new date and time.
We hope this tutorial helps you navigate and utilize the calendar feature in Lightning Step effectively. If you have any questions, don't hesitate to reach out.