
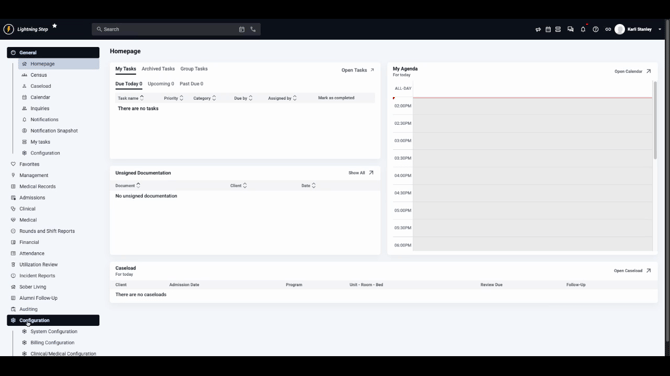
Step 1: Open the Navigation menu.
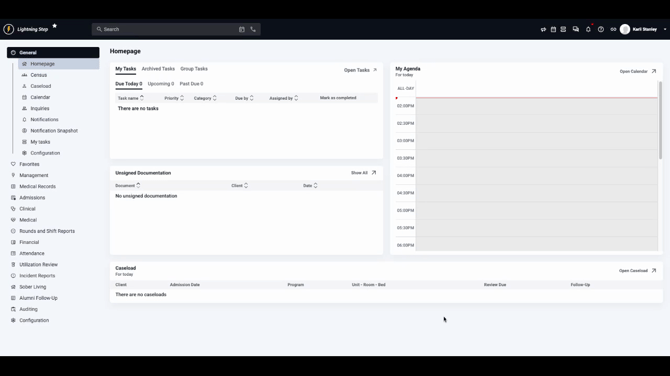
Step 2: Select Configuration, then choose Billing Configuration, and click Charge Forms.
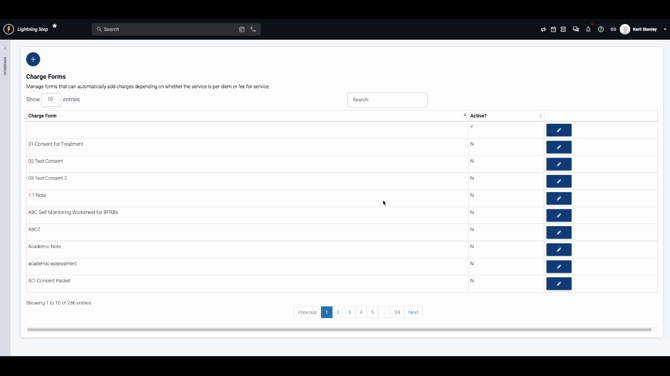
Step 3: Review the list of charge forms. Confirm that the charge form you want to edit is marked as active—otherwise, it won’t generate charges.
Step 4: Click the Edit button next to the relevant charge form.
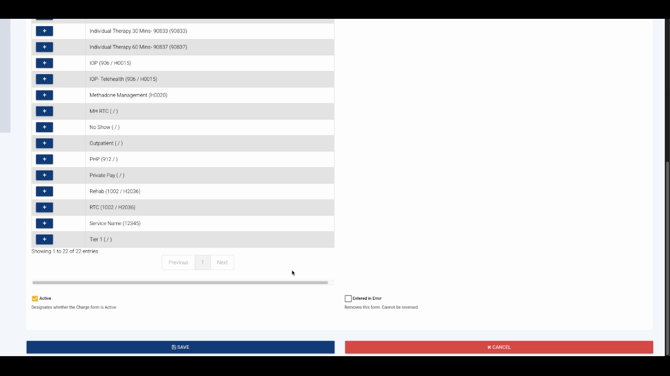
Step 5: On the edit screen, see available services on the left and assigned services on the right.
Step 6: To assign a service, click the plus (+) sign next to that service. The service moves to the right side and links to the form.
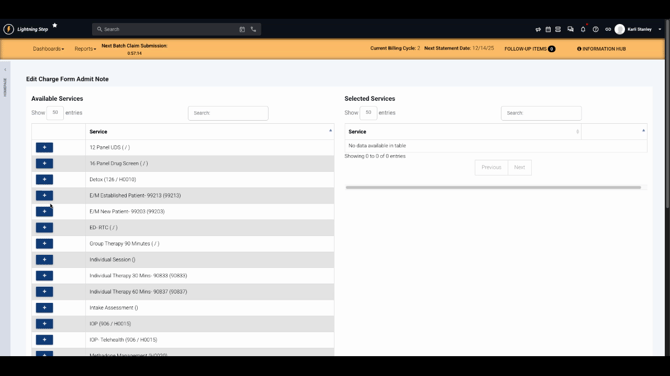
Step 7: To remove a service, click the minus (–) sign next to it. The service returns to the left panel.

Step 8: If your charge form is not active, scroll to the bottom and click Activate to enable it for billable charges.
Remember: The service itself must be set as billable, the form must be considered billable, and the charge form must be active. Without these, charges won’t drop from documentation.
Setting up charge forms correctly streamlines billing and ensures you never miss revenue opportunities tied to your documentation. For more details, check your internal resources or contact support.