
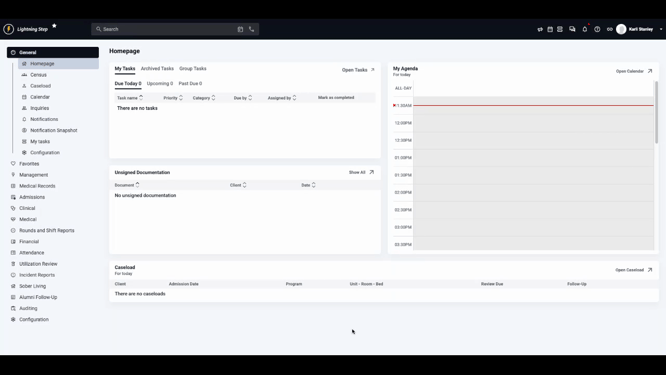
Step 1: Open the Navigation menu and select Financial followed by Financial Dashboard.
Step 2: Switch to the Claims Dashboard tab.
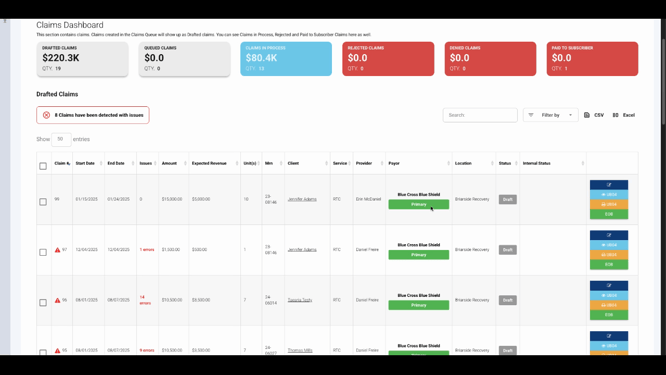
Step 3: Review the six claims buckets. Each bucket groups claims by their status, ranging from drafted to paid. The dashboard lands you in the Drafted Claims bucket—these claims are created but not sent to the payer yet.
Step 4: Check the displayed number of claims that will not pass validation. This helps identify which items need attention before submission.

Step 5: Use the search and filter functions to quickly find specific claims.

Step 6: Review the key information shown for each claim. Edit a claim by clicking the Edit Pencil or view its paper claim form.
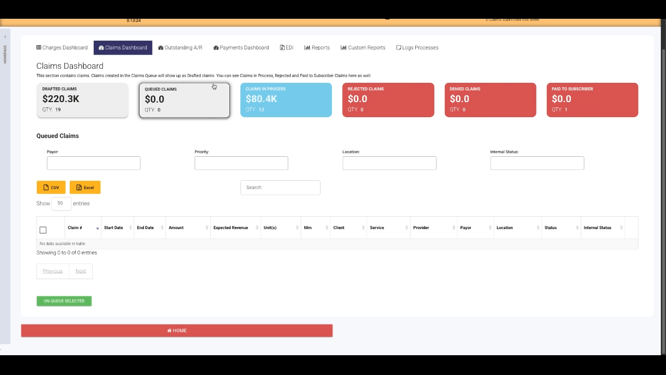
Step 7: After submission, claims move to the Queued Claims bucket. These claims are submitted by users but haven’t reached the clearinghouse yet. To take further action, dequeue the necessary claim.
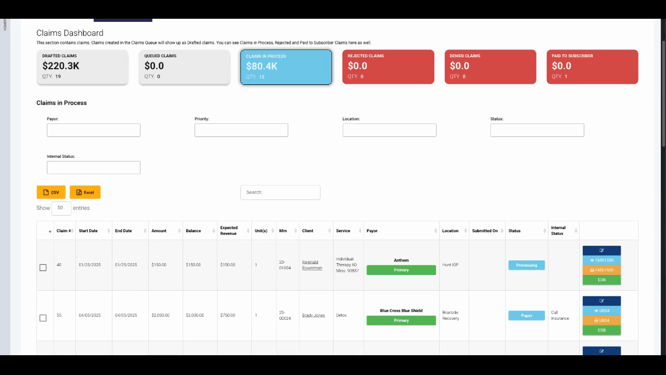
Step 8: Once dequeued, submitted claims go into the Claims in Process bucket. Here, you’ll see whether each claim was sent electronically or by paper using the Status column, along with any internal status updates.

Step 9: If a claim needs resubmission, click Edit Claim, then select Reopen Claim to make changes and resubmit.
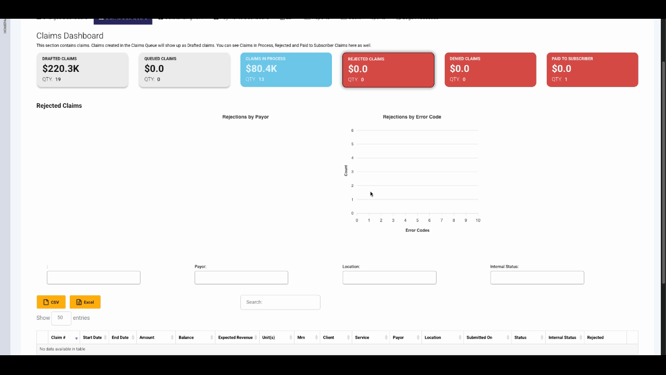
Step 10: Claims rejected before entering the payer’s system appear in the Rejected Claims bucket. Here, review breakdowns by payer and error codes for insight.
Step 11: You can reopen, correct, and resubmit claims directly from the rejected bucket, keeping your workflow efficient.
Step 12: When a claim is denied (receives a remittance with a denial code), it moves to the Denied Claims bucket. This dashboard displays denial codes, descriptions, and important remark codes for easy tracking.
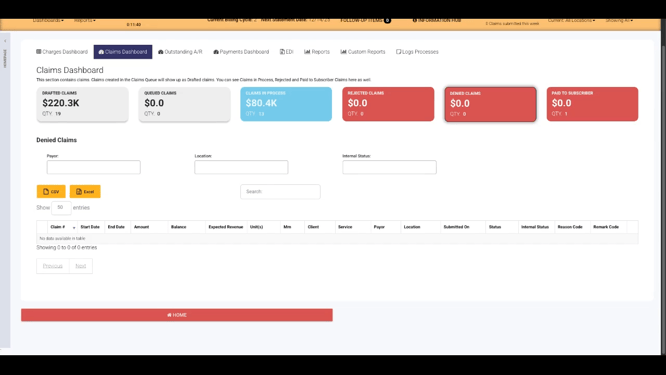
It’s best practice to check the Denied Claims bucket daily for new denials and timely follow-up.
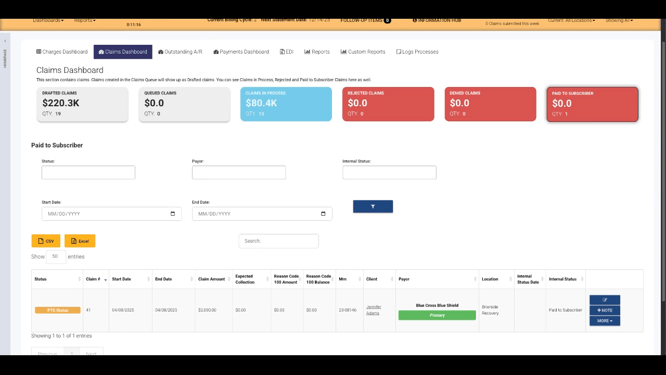
Step 13: Claims with a Patient Responsibility adjustment code PR 100 are grouped in the Paid to Subscriber bucket. This view helps those managing collections quickly identify relevant claims.
Staying organized with the Claims Dashboard makes claim management fast and reliable. For more details, consult internal documentation or contact support with questions.