
Step 1: Receive the Welcome Email Patients or guardians get a welcome email featuring your logo, a greeting, the staff member's name who sent the invite, a link to the portal, and login credentials.
Step 2: Log In to the Portal Log in using the credentials provided.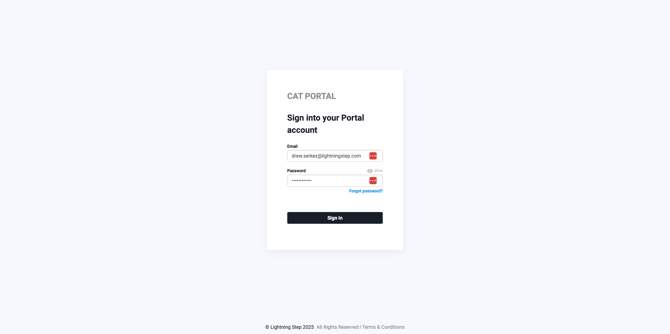
Step 3: View the Homepage After logging in, land on the homepage. Here you'll see a welcome message, your organization's contact details, and a downloadable client handbook.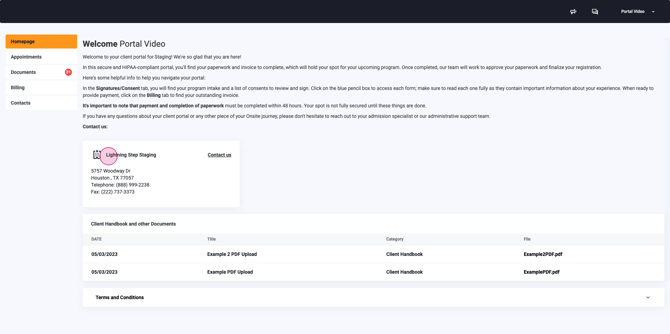
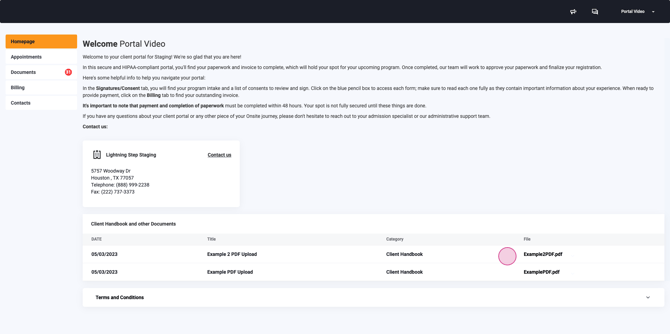
Step 4: Explore the Main Menu The main navigation menu appears on the left. The homepage opens by default.
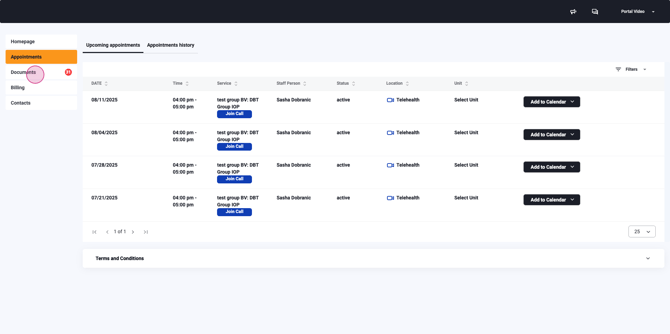
Step 5: Check Upcoming and Past Appointments Select Appointments to see upcoming and previous visits.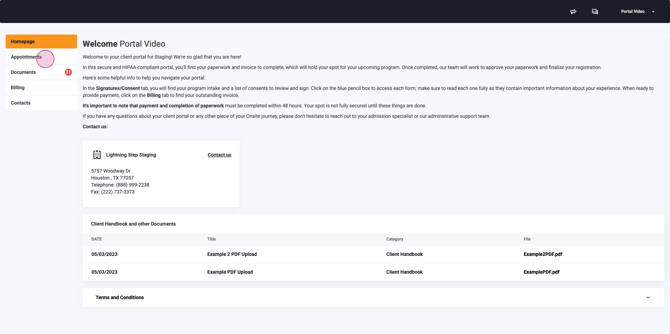
To join a telehealth session, use the provided option. Download appointments to your external calendar for reminders if desired.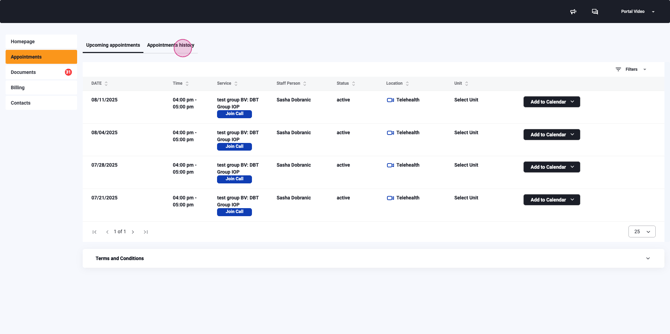


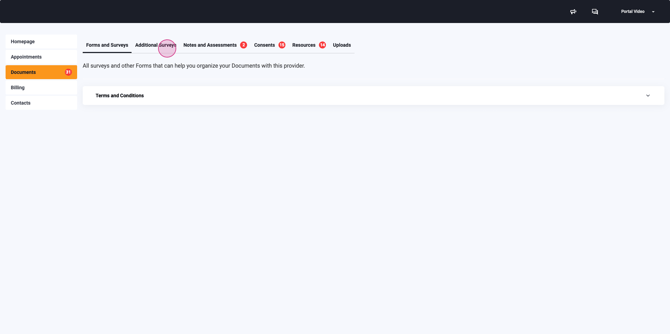
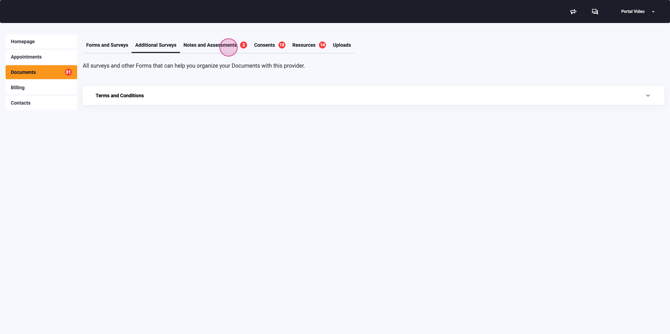
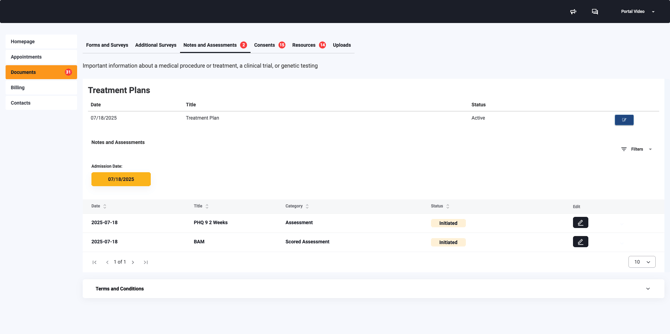
Step 6: Complete and Review Documents Open the Documents menu to find: - Forms and Surveys - Additional Surveys - Notes, Assessments, and Treatment Plans - Consents - Resources - An Upload tool


To upload a document, select the Upload tool and choose a file from your device. Once uploaded, it'll be accessible in your Lightning Step server.
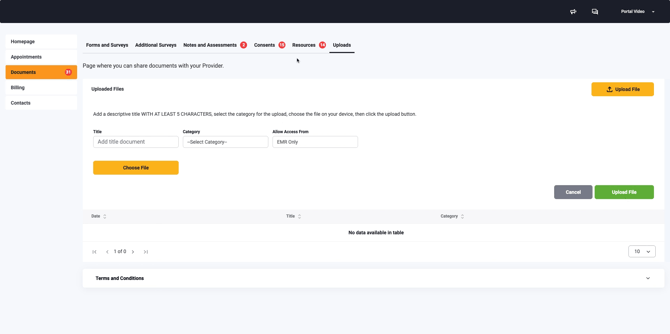
If you've been assigned a survey or screening, generate and complete it in the Resources section.
For outstanding consents, watch for a red icon indicating how many need attention. Click the pencil icon to open, sign, and save the consent.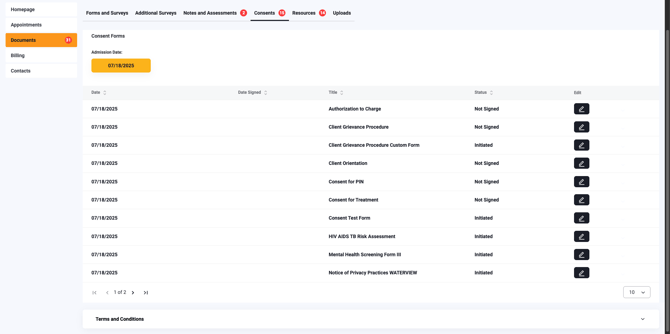
 Click Save at the bottom to submit your signature.
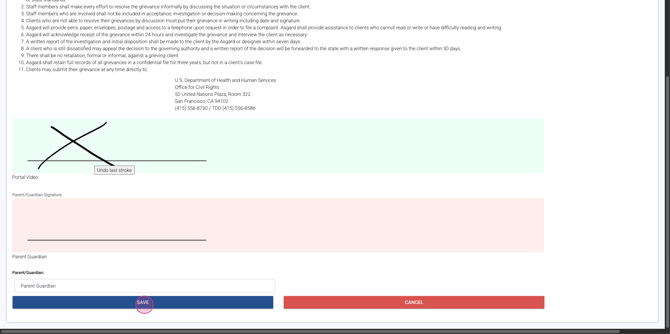
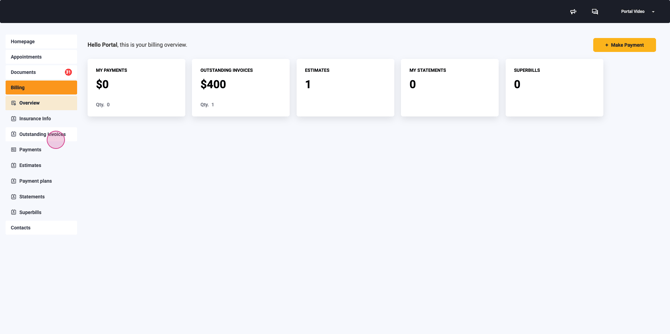
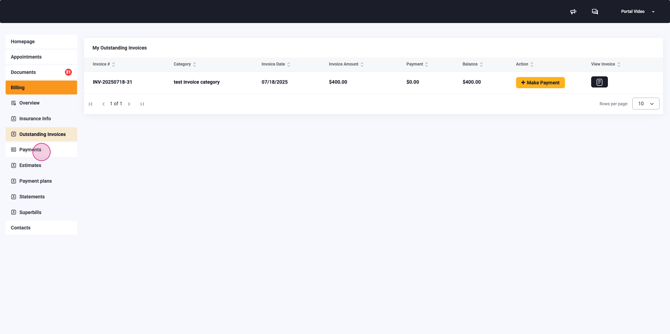
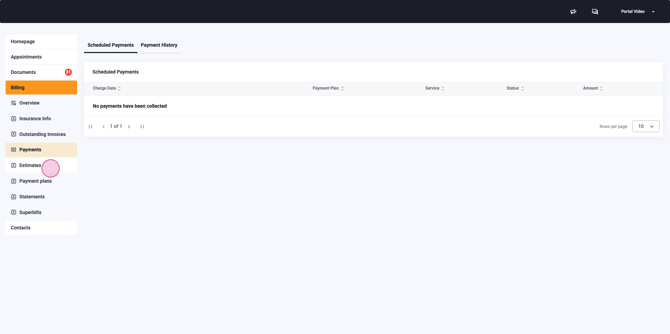
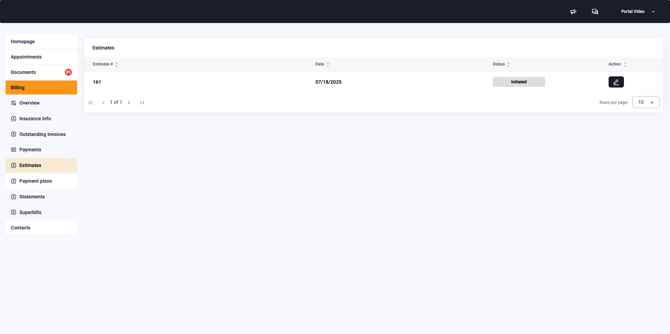
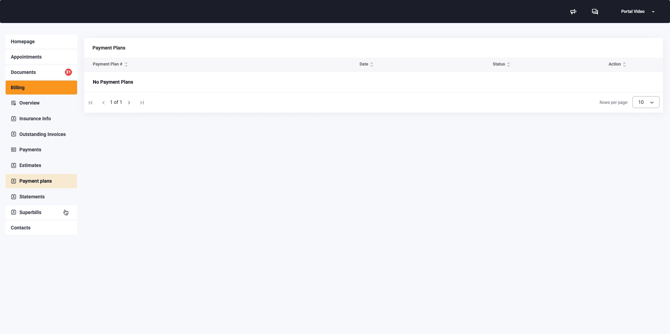
Step 7: Manage Billing and Payments Select Billing to review payment summaries, outstanding invoices, estimates, statements, and super bills. Make payments by clicking the large yellow Make a Payment button at the top right.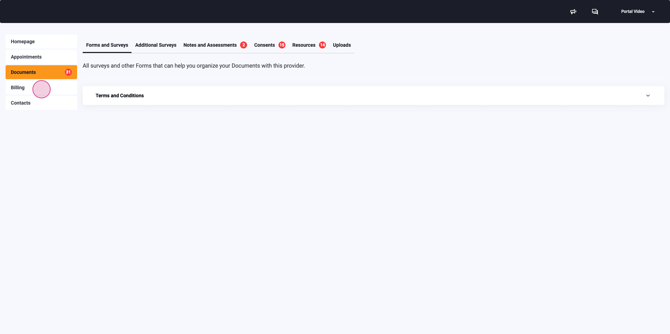
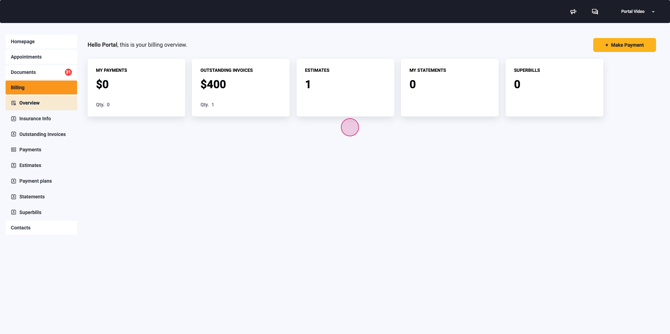

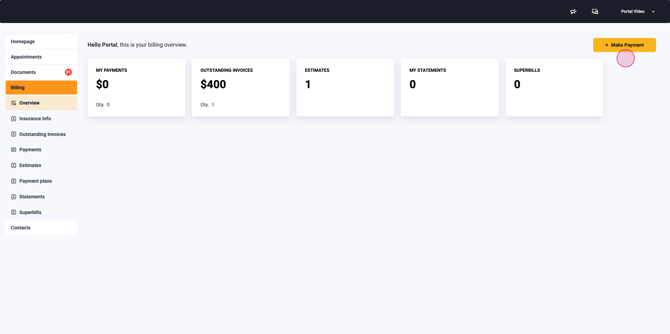
View or pay any itemized categories from the left menu: - Outstanding Invoices - Payments (history of payments made) - Estimates (approve/review) - Payment Plans - Statements - Super Bills


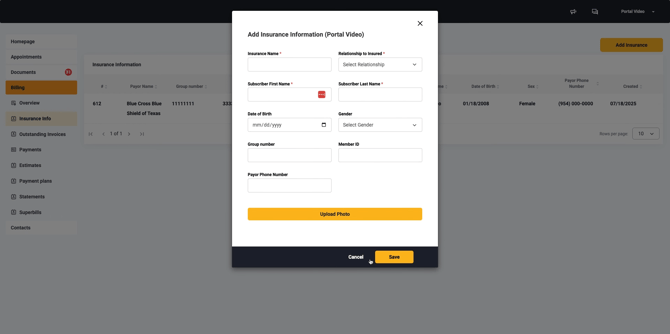
Step 8: Add Insurance Information To add insurance, click the large yellow Add Insurance icon.
 A pop-up appears. Enter the insurance details and save. The information is now viewable in your Lightning Step server.
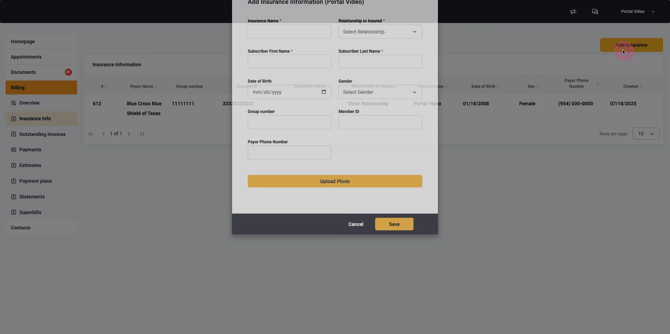
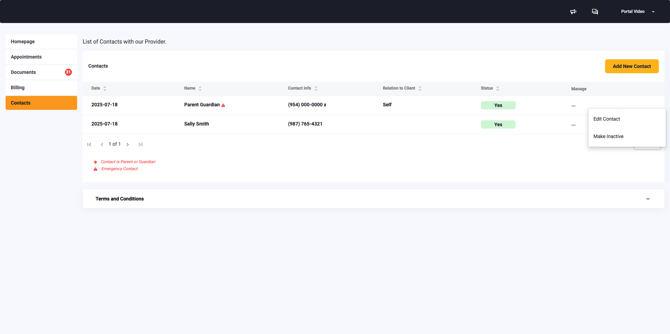
Step 9: Manage Contacts Go to Contacts in the main menu. Add a new contact by clicking Add New Contact in the top right.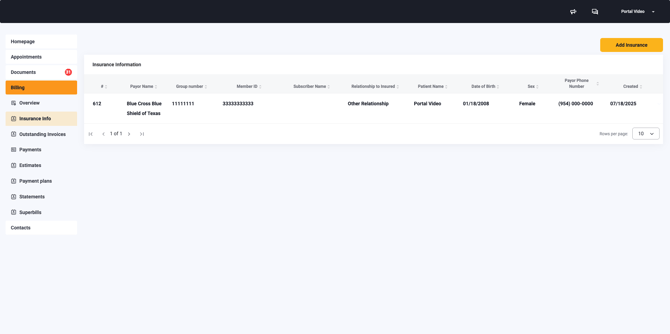
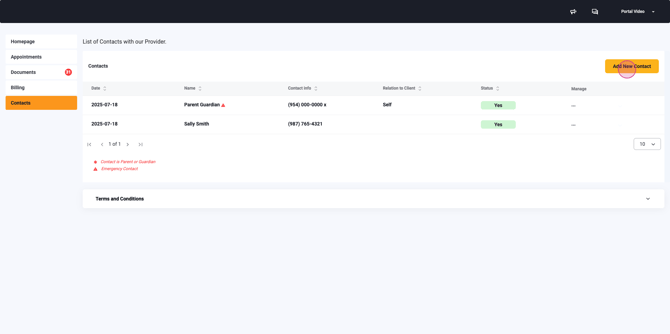
Enter third-party contact details as needed, for example, when requesting a release of information for a client signature. All current contacts display in this menu, and you can edit or inactivate any contact at any time.
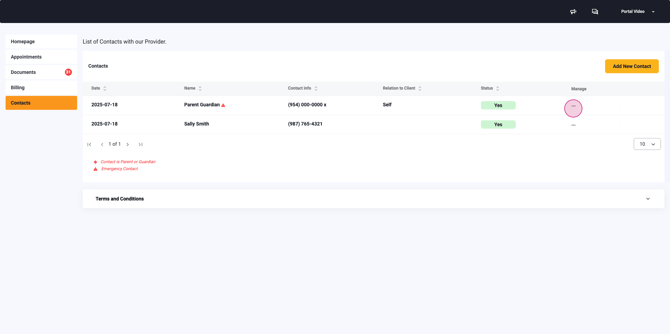
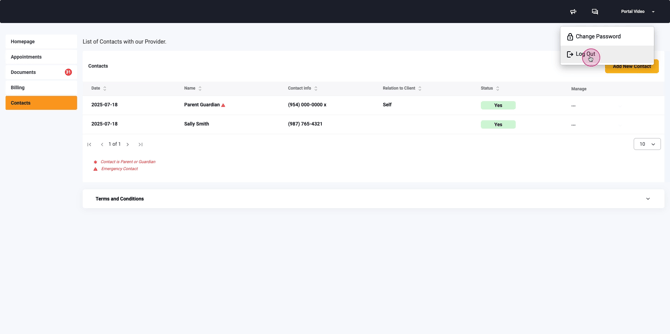
Step 10: Account Management Your name appears at the top right. Click it to change your password or logout securely.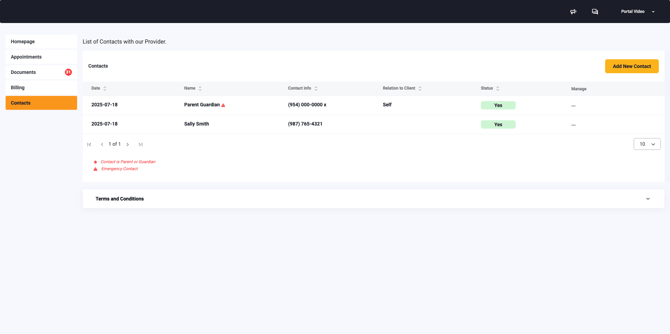
You're ready to support your patients through every part of their portal experience!