
Step 1: Go to Configurations in your system settings.
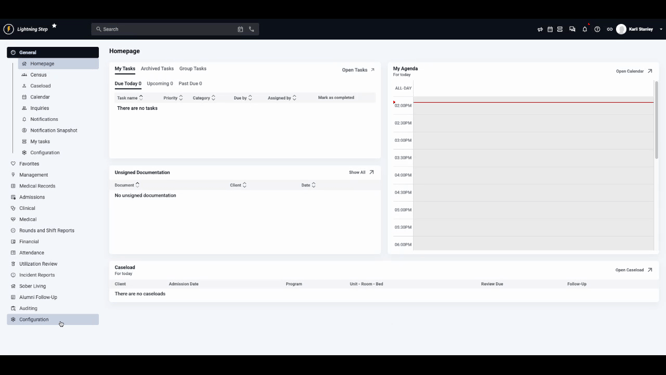
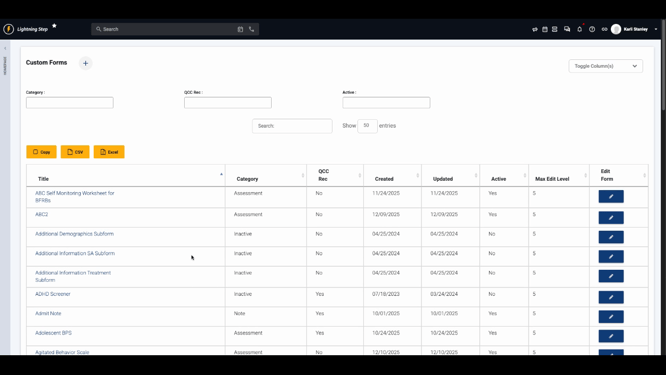
Step 2: Click Custom Forms to manage form settings.
Step 3: Click Edit next to the form you want to configure.
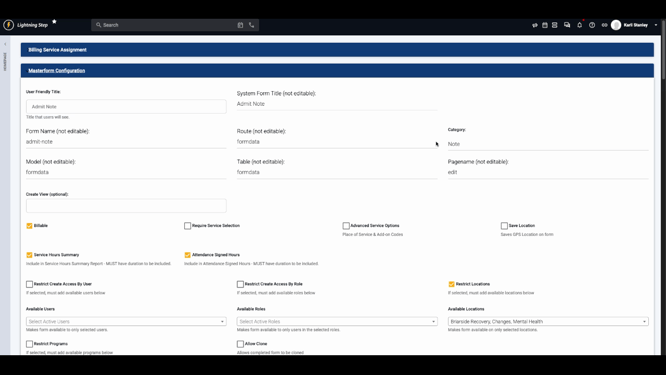
Step 4: Check if the Billing Service Assignment section appears. If it's missing, expand Master Form Configuration and select the Billable checkbox.
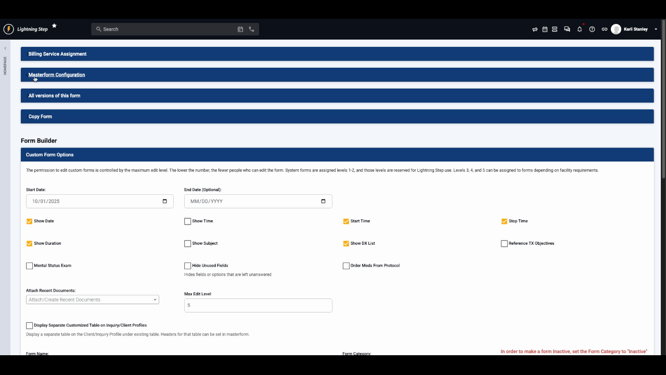
Step 5: Save the form, then re-enter the form editor to display the Billing Service Assignment section.
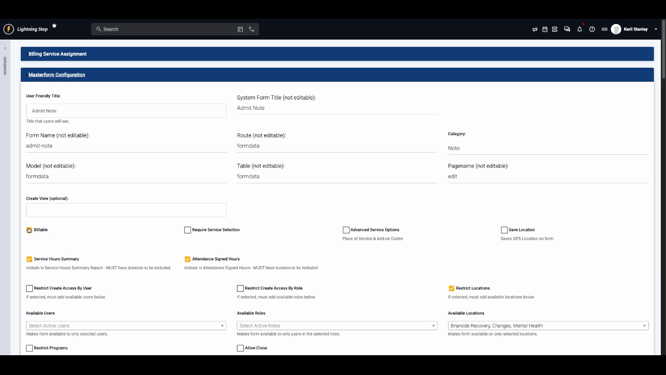
Step 6: In Billing Service Assignment, you'll see available services on the left and selected services on the right. Click the plus (+) button to add a service or the minus (-) button to remove one.
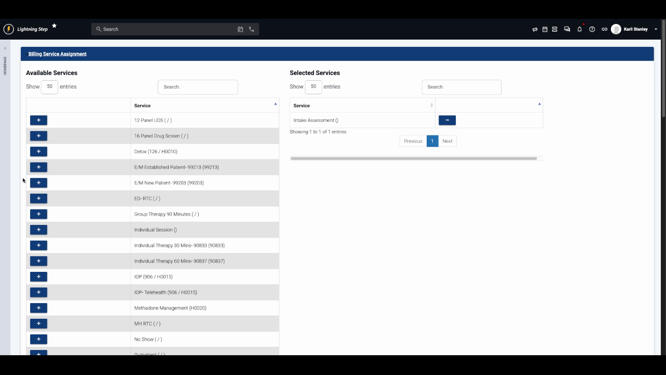
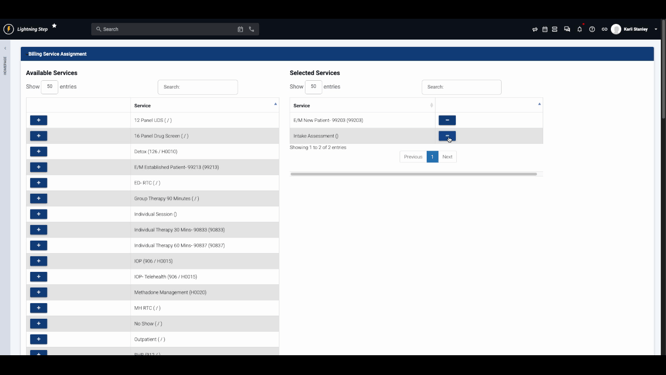
Selected services become available to providers as optional choices when they complete the form. If you want to require service selection, check Require Service Selection in Master Form Configuration. Enable Advanced Service Options to select add-on codes or place-of-service codes, as configured in your service settings.
Properly configured forms enable accurate and timely charge generation, streamlining your billing workflow. For more detailed guidance, consult your internal documentation or contact support.