
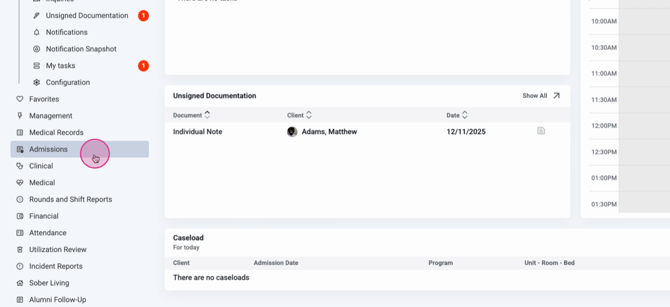
Step 1: From the home page, select Admissions.
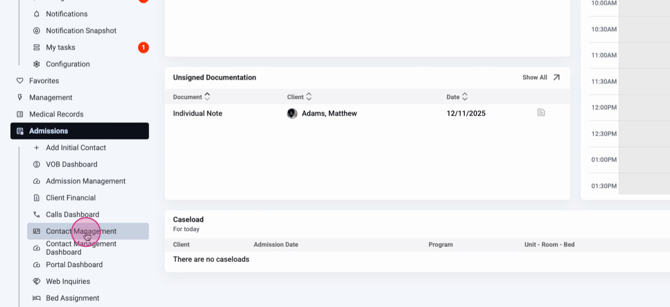
Step 2: Click Contact Management.
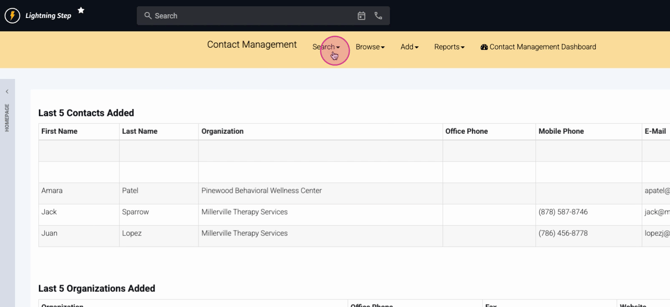
You’ll land on a summary showing the five most recent contacts and organizations added. Contacts are the individuals who work within the organizations you track and can be associated with one or more organizations.

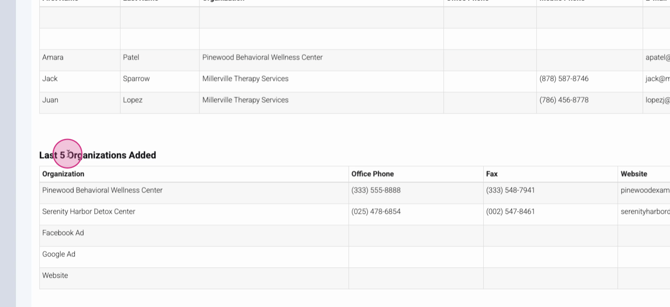
Step 3: Click the person icon next to any contact or organization to view more information.

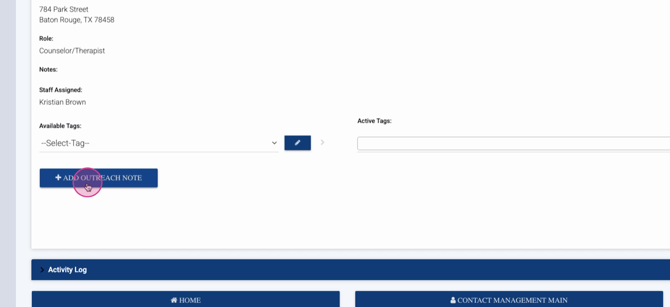
See all core details, like phone, email, address, roles (for individual contacts), staff assigned, and any tags that help categorize the contact.
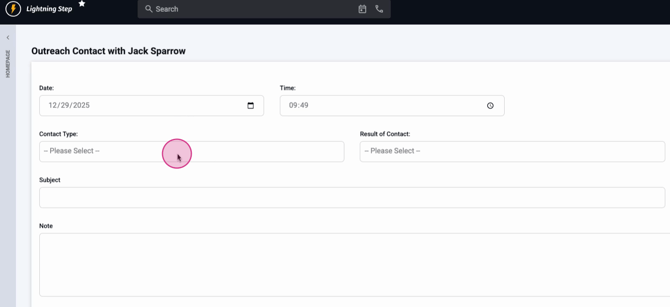
Step 4: To record an outreach interaction, click Add Outreach Note in the contact view.
Add details like:
-
Contact type
-
Result of the contact
-
Organization related to the outreach
-
Subject and note content
-
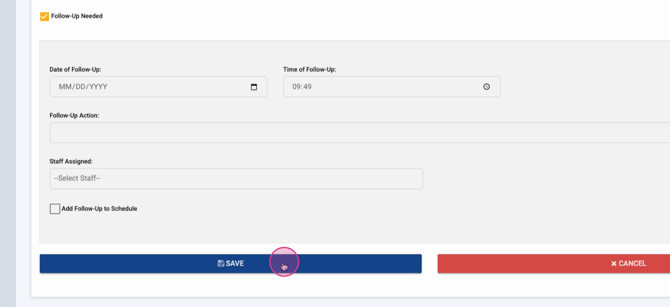
Follow-up action needed
You can set a follow-up reminder, add the date and time, assign to staff, and even add this follow-up to their calendar.

Step 5: Click Save to store your outreach and follow-up.
Step 6: To review or edit outreach notes, go to Contact History for your contact.
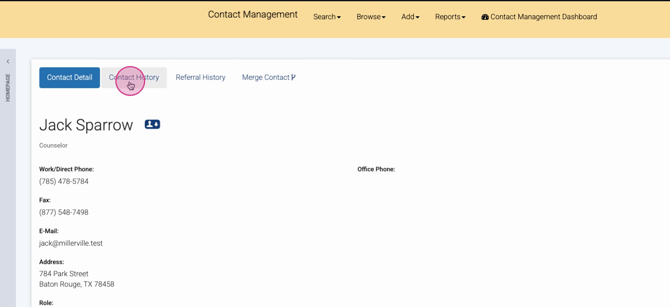
See the result, subject, who contacted, and date. Click the pencil icon to edit or view the full note details.

Step 7: To update any contact info, click the pencil icon in the contact detail screen.

You can:
-
Edit names, contact info, and organization relationships
-
Update assigned staff
-
Deactivate or update organizations
-
Add notes or tags
-
Set the contact as active or inactive
Click Save when finished.
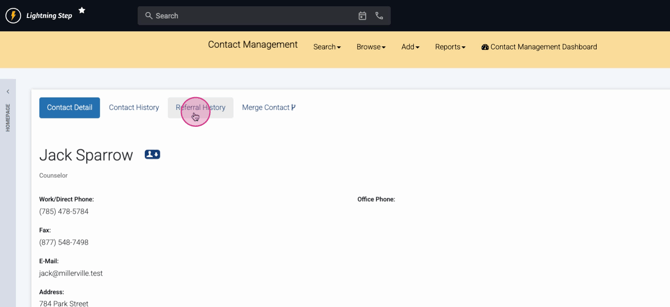
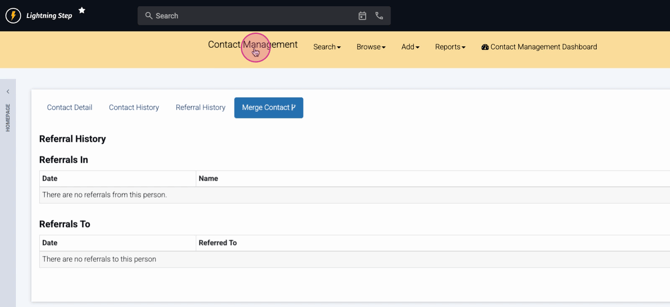
Step 8: In the contact or organization detail, view Referral History to see incoming or outgoing referral details.
Step 9: Merge contacts or organizations if duplicates exist, combining records for accuracy.

Navigating the Contact Management Dashboard
Most actions are found in the yellow bar at the top of the contact management screen.
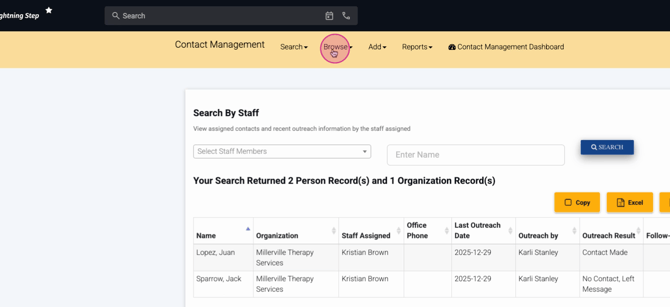
Step 1: Use Search to find contacts or organizations by:
-
Organization name
-
Person
-
Assigned staff
-
State
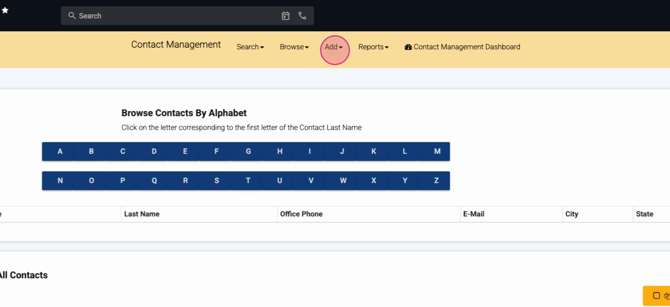
Step 2: Click Browse to see contacts by organization or by person. You can filter alphabetically or see all records.
Step 3: To add a new contact or organization, select Add.
Always start by adding the organization first, entering details, assigning staff, and saving.

Once the organization’s in, add your new contact, relate them to the proper organizations, assign staff, and fill in preferences and notes.

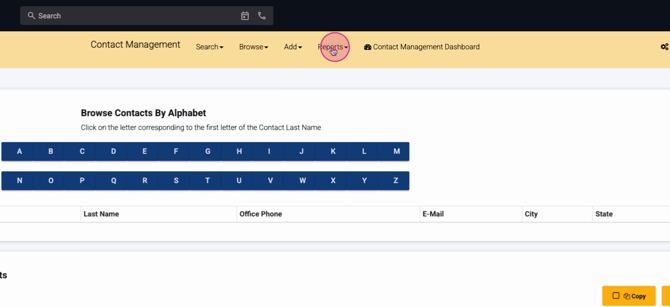
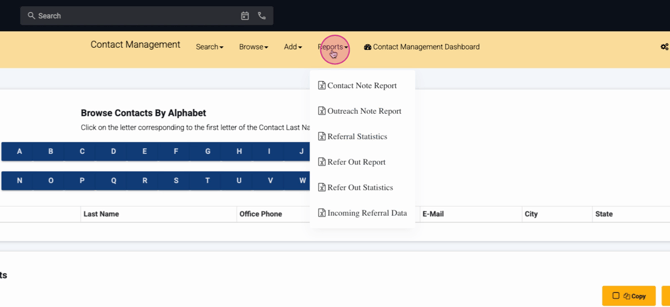
Step 4: View reports on contact notes, outreach by date, referral statistics, referrers' activity, and incoming referral data—right from the Reports section.
Step 5: Access the Contact Management Dashboard for a quick overview.
Step 6: If your settings allow, go to Tags Management to add, delete, or deactivate tags, and assign them to people or organizations.

Lightning Step’s contact management keeps your outreach organized and referrals tracked—all from one place. For advanced help, check out their documentation or contact the support team.