
Step 1: Open the patient’s chart.
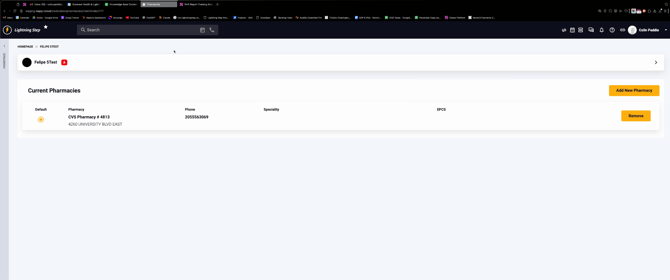
Step 2: Go to the Pharmacy section to make sure the correct pharmacy is listed.
If you need to add a new pharmacy, click Add New Pharmacy, enter the pharmacy details, and save your changes.
Step 3: Return to the Medication Management tab.
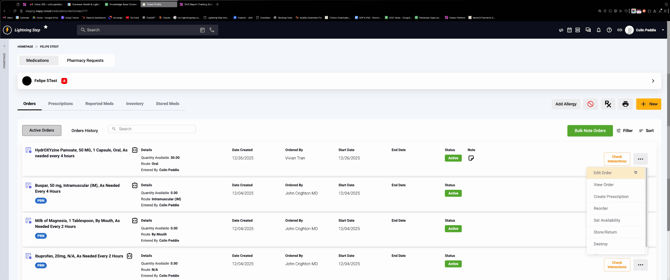
Step 4: To create a prescription from an existing order, click the three dots next to the order and select Create Prescription. The system will pre-populate the prescription with information from the order.
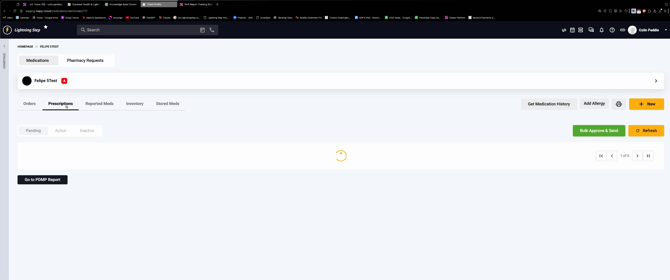
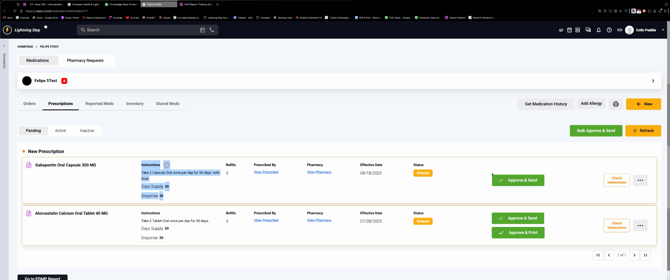
Step 5: Switch to the Prescriptions tab to view pending prescriptions. For each, review the instructions, supply, prescriber, and pharmacy.
Step 6: Approve and send prescriptions. You can select multiple prescriptions at once to Bulk Approve and Send, or handle them individually by clicking Approve and Send next to each one. Once sent, prescriptions go directly to the pharmacy.
Step 7: View active and inactive prescriptions. Use the tabs to find those already sent (active) and any that have become inactive.
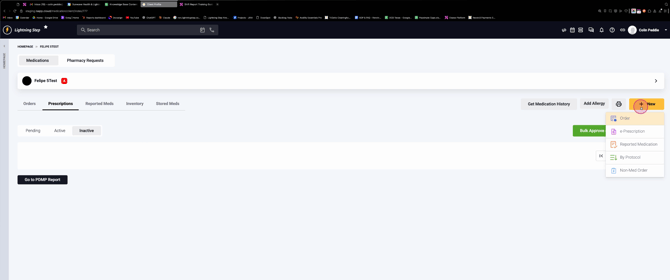
Step 8: If you want to create a prescription without an existing order, click New then Prescription, fill in the necessary details, and save.
Step 9: Alternatively, while creating a new order (enter medication details, prescriber, dose, frequency, etc.), click Save and Create Prescription to immediately move from order entry to prescription.
Prescriptions are easy to create and send from multiple parts of the system, whether you’re working from an existing order or starting fresh. Use the bulk features to save time when managing multiple prescriptions. If you need more help, reach out to your support team.