
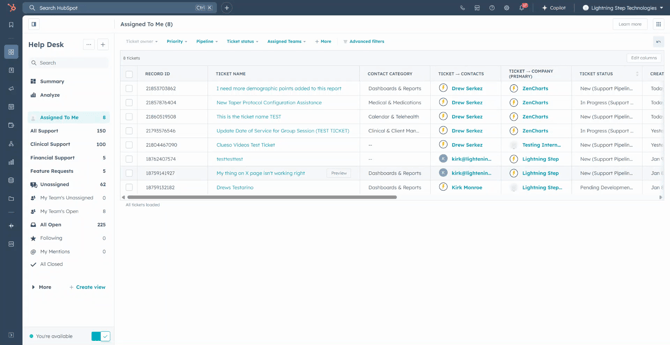
Step 1: Understand the importance of documenting all communication in HubSpot. Remember, if it's not in HubSpot, it didn't happen. This includes emails, notes, calls, and tasks.
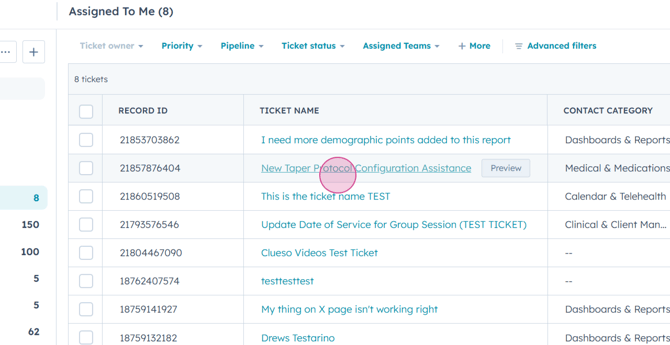
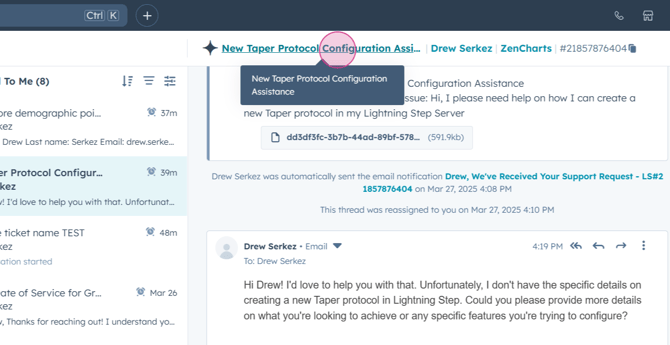
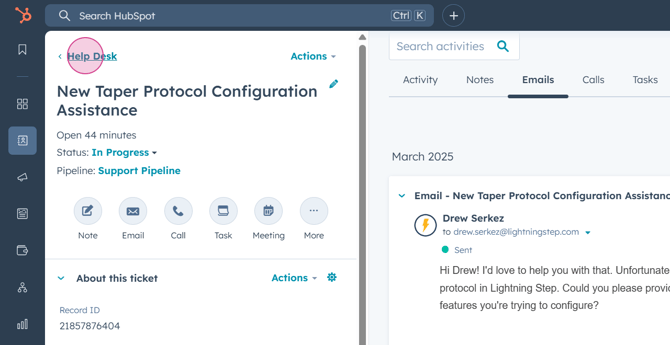
Step 2: Open one of your tickets to start documenting. Click on the title of the ticket at the top of your screen.
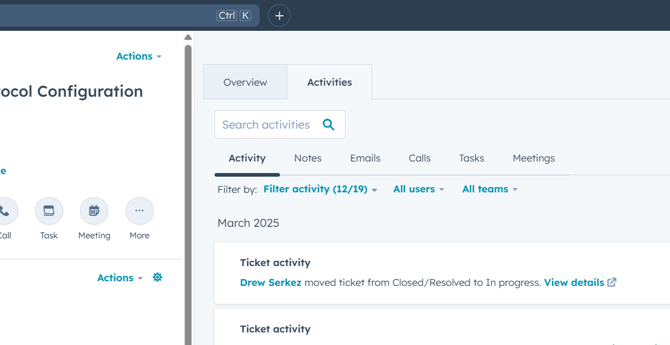
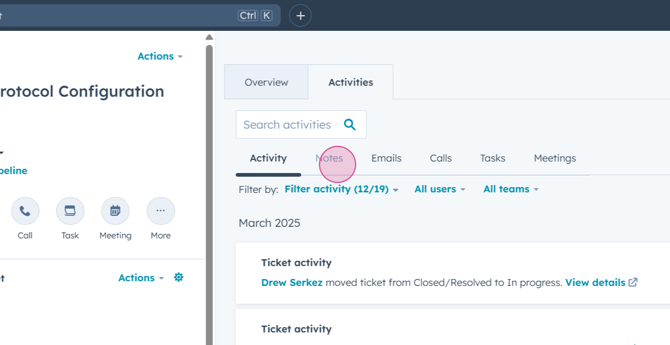
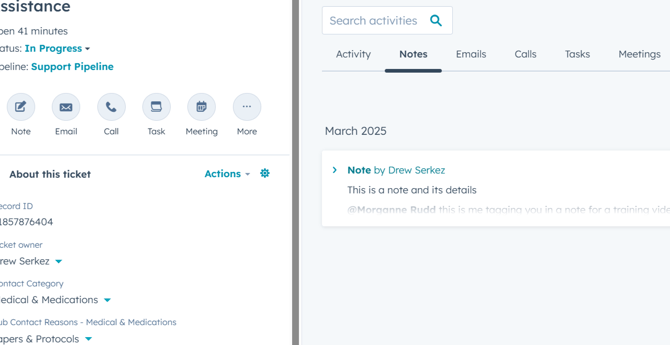
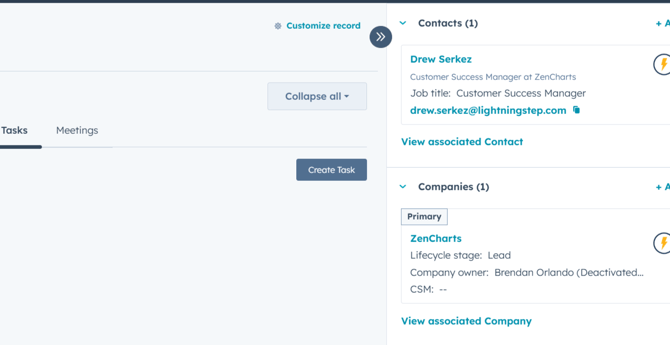
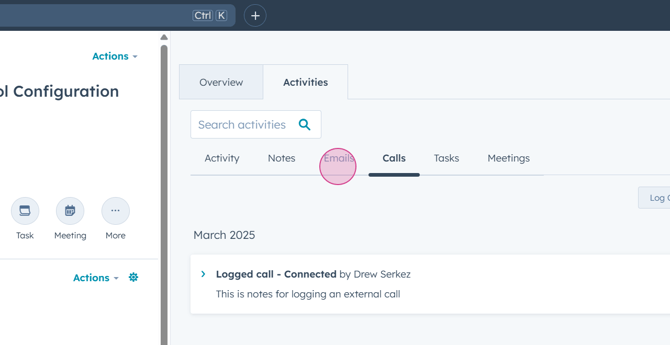
Step 3: You'll be redirected to the ticket details. The center pane defaults to the Activities tab.
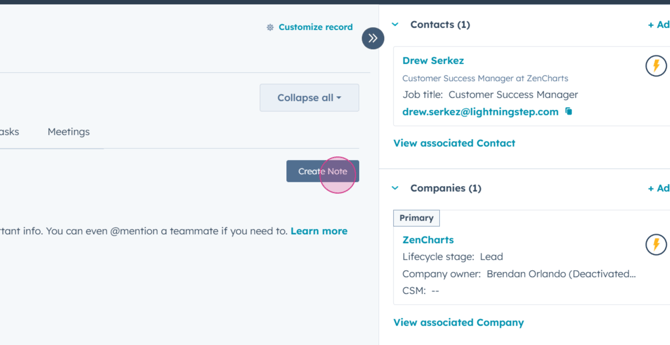
Step 4: Click on the Notes sub-tab and then the Create Note button to start a new note.
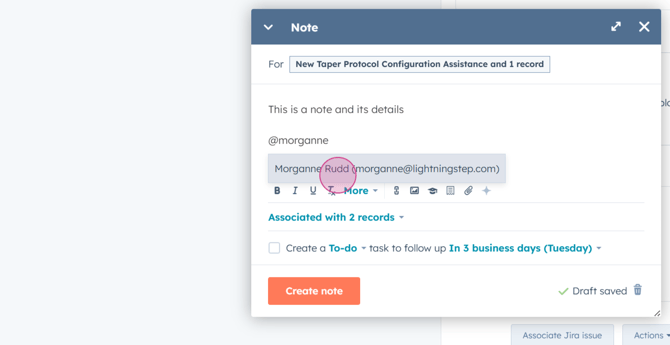
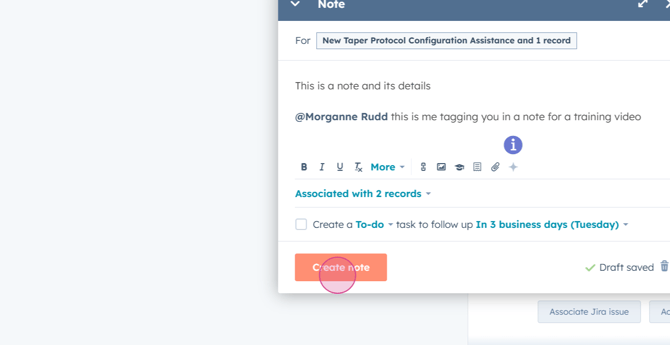
Step 5: Write your note. You're able to tag teammates by typing their name after the symbol.
Step 6: After entering all necessary details, hit the Create button. You also have the option to create a task from a note and set a due date.
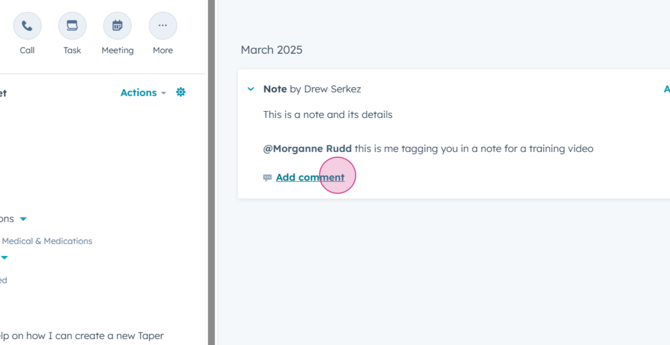
Step 7: Your screen will update to display the new note.
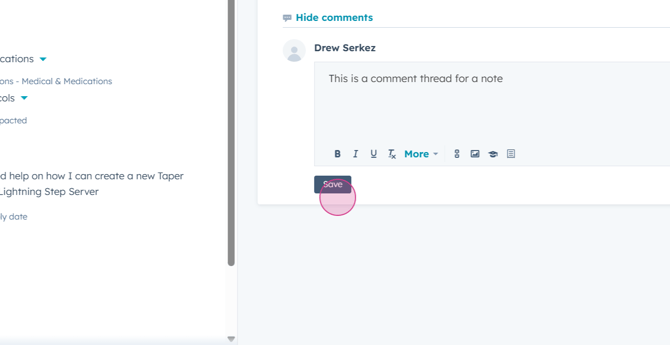
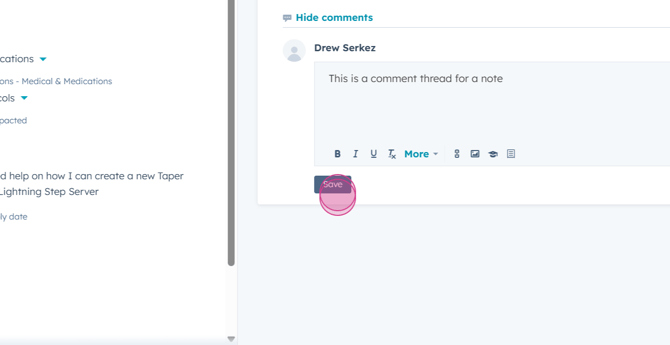
Step 8: You can add comment threads to the note. Click Save to keep your comment.
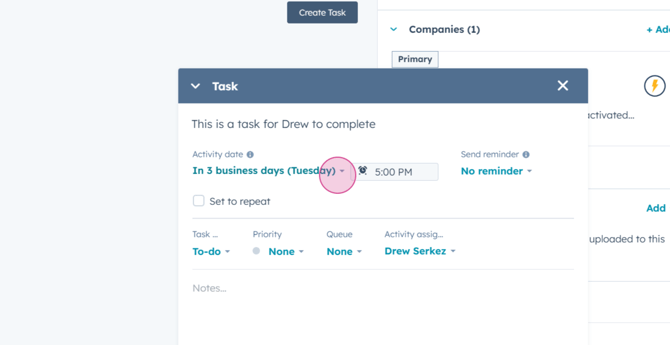
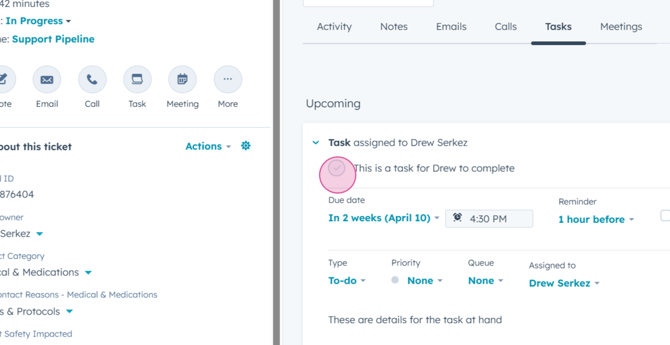
Step 9: To create tasks, click the Task tab under Activities and then the blue Create Task button.

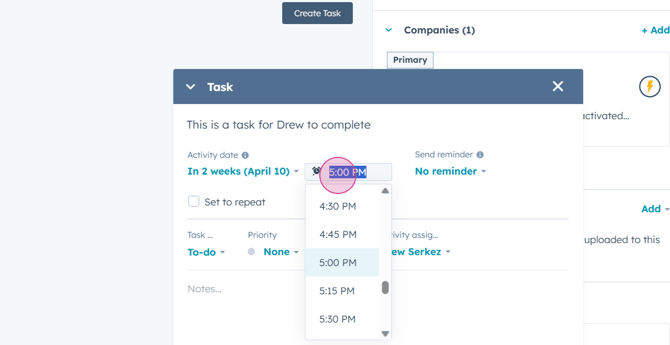
Step 10: Enter a title for your task, set a due date and time, and decide if you want a reminder.
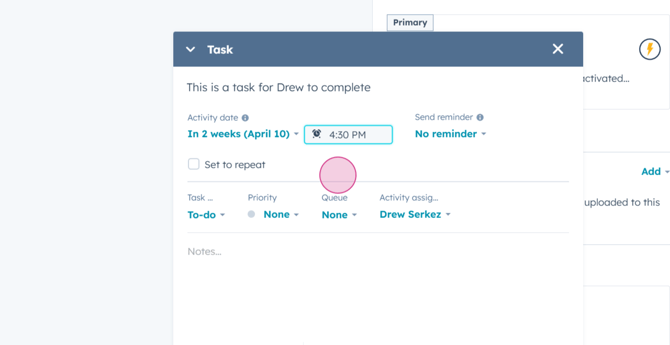
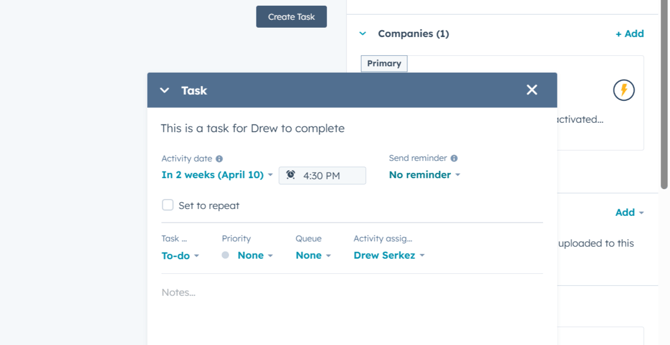
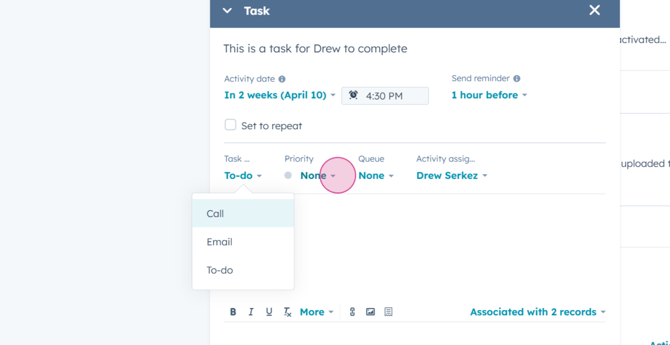
Step 11: You can set your task to be recurring and classify it as a to-do, an email, or a call.
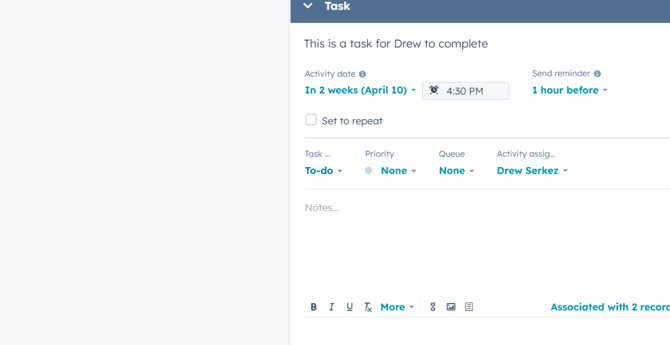
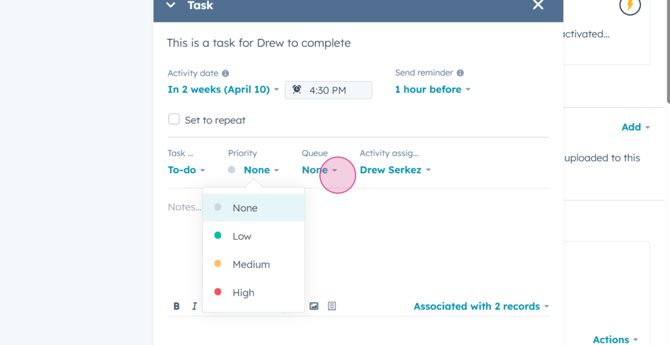
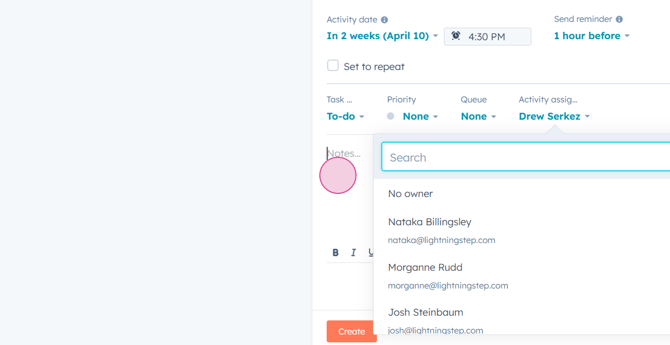
Step 12: Prioritize your task as low, medium, or high, cue it if needed, and assign it to a team member if necessary.
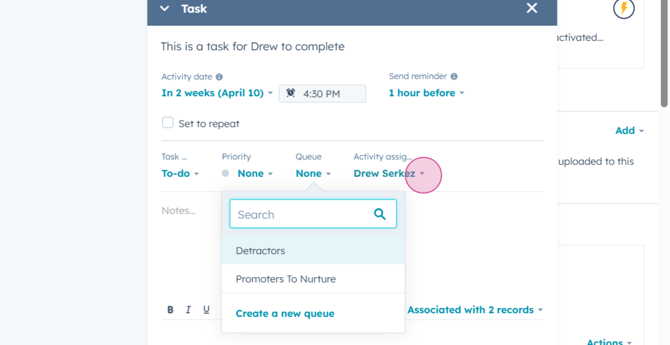
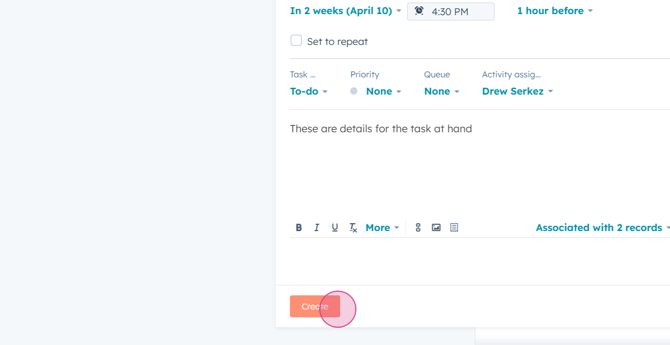
Step 13: There's a Notes area for task details. Click Create to save your task.
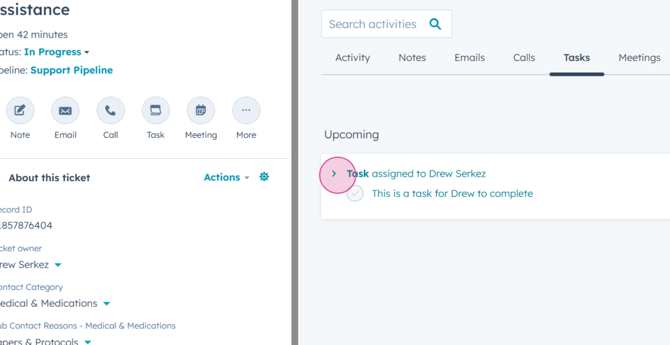
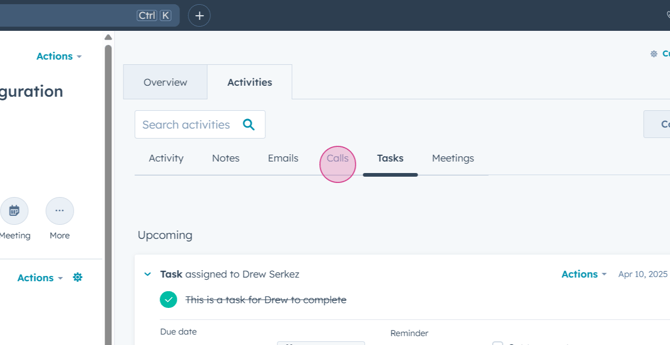
Step 14: Your task will appear on screen. Expand it to see details and take actions. Mark it as complete by clicking the check mark next to the task title.
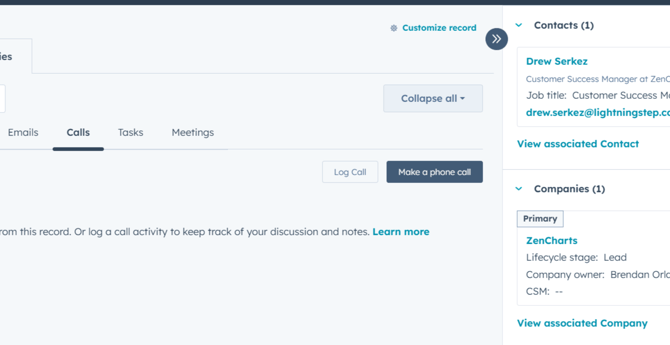
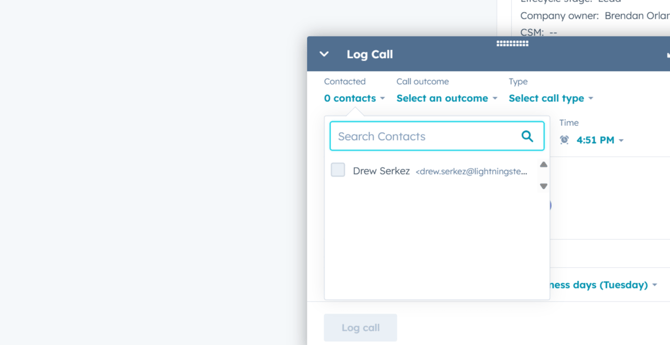
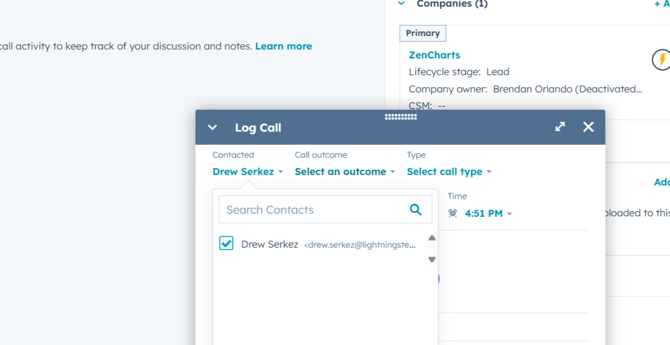
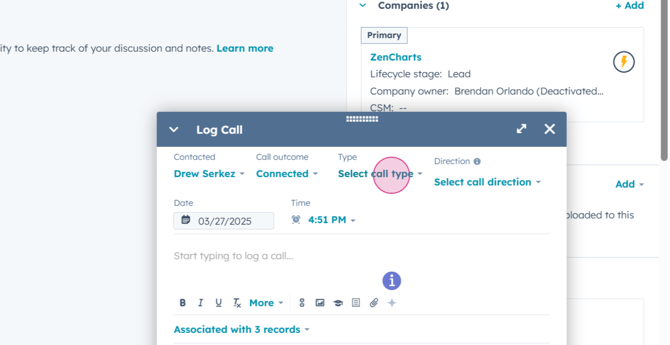
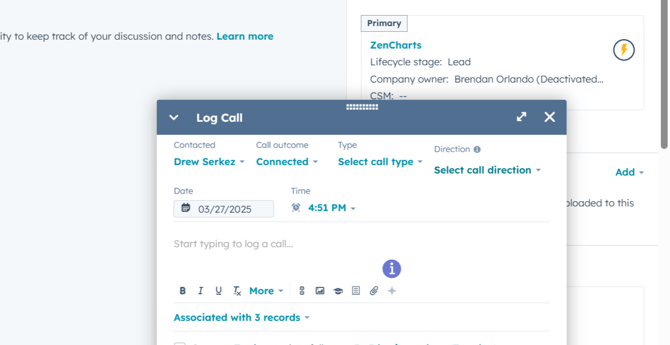
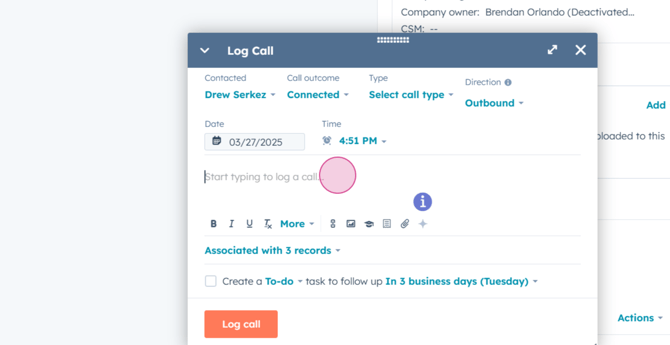
Step 15: In the near future, you'll be able to make outbound calls. For now, log a call externally from HubSpot by clicking the Log call button.
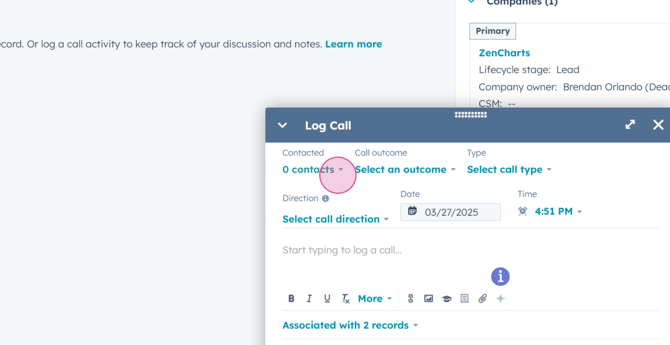
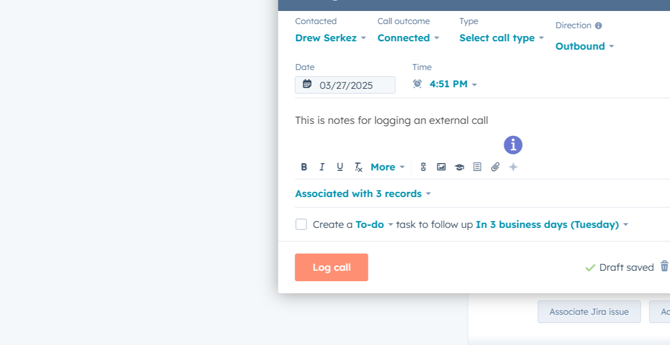
Step 16: Fill in the details of your call, including who you contacted, the outcome, type, and direction of the call, and the date and time. You can also take a note and create a task from a call log.
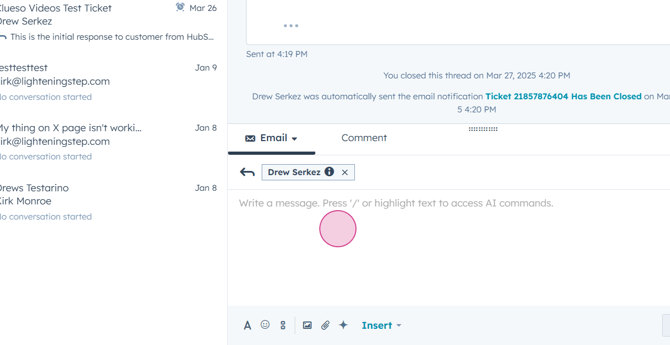
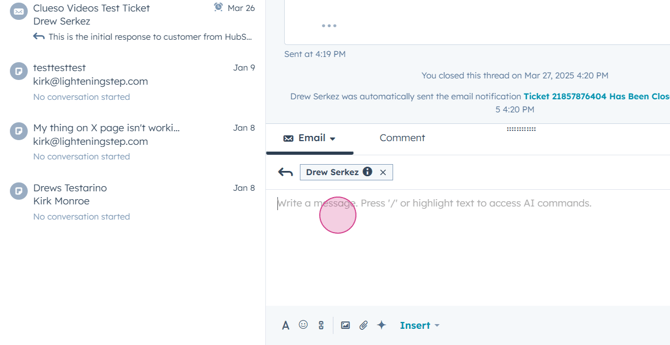
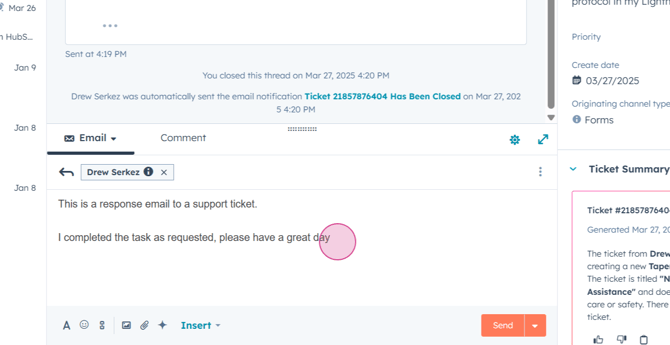
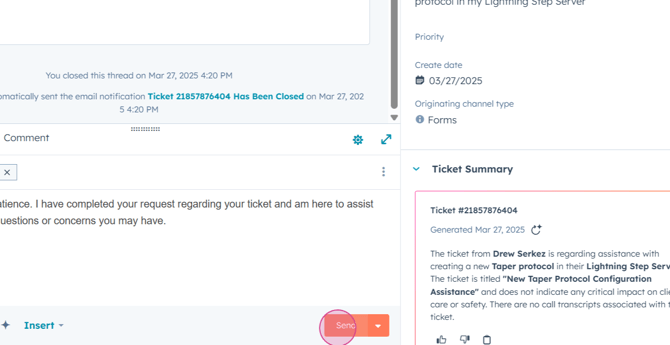
Step 17: For best practice when sending an email for a ticket, don't use the emails under the Activity option. Instead, go to the ticket by clicking the Help Desk option.
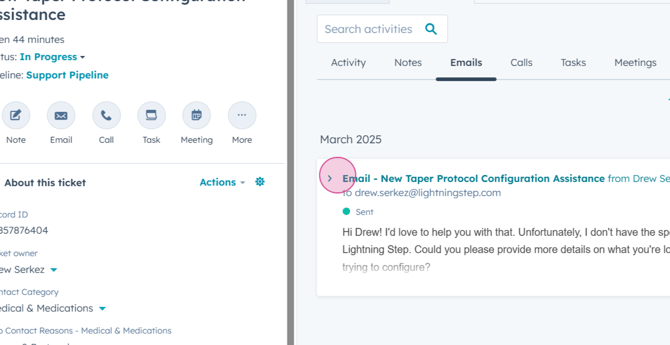
Step 18: In this menu, write your message and comments for a proper response.
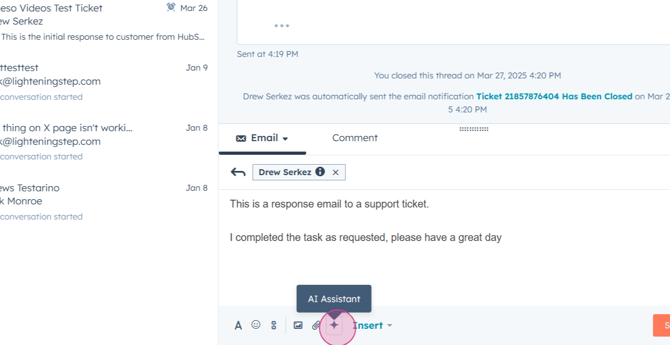
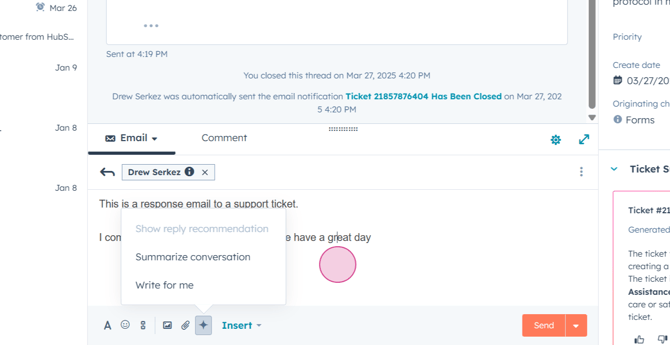
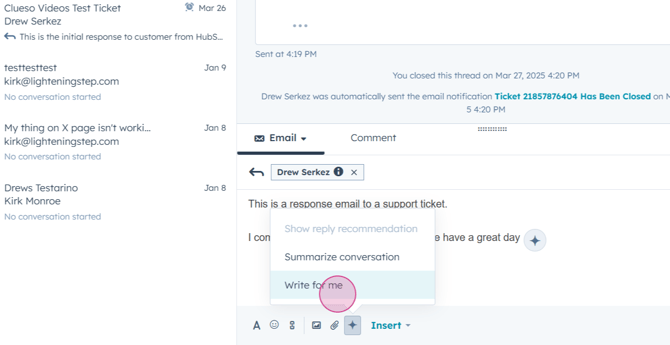
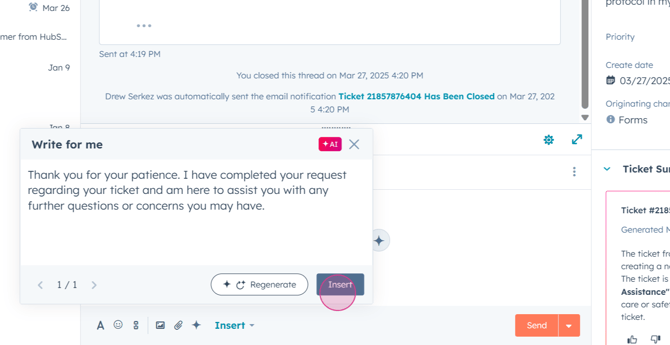
Step 19: Enter your response manually or use the AI Assistant button at the bottom of your email pane. This tool can summarize a conversation, write a response for you, or show a reply recommendation.
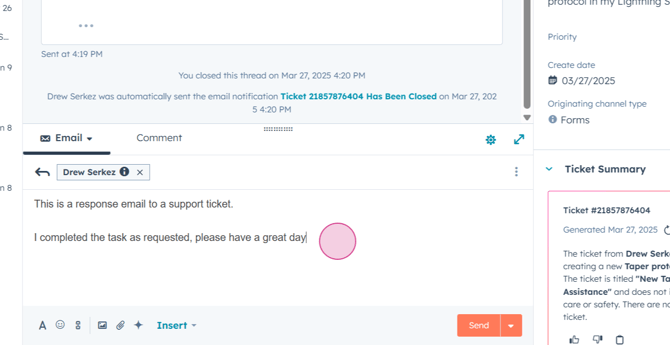
Step 20: Once you've formatted your email, click the Send button to complete your response.
Thank you for following this tutorial. Have a great day!