
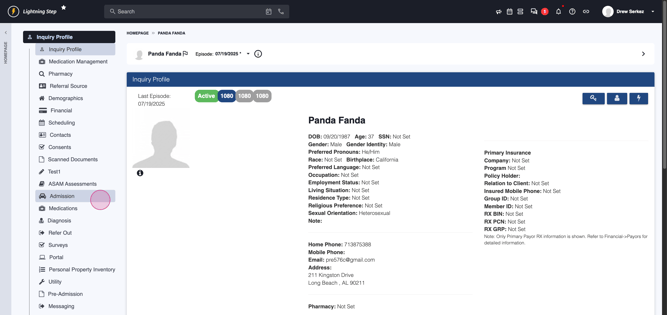
Step 1: Open the Patient's Inquiry Profile Start by navigating to the inquiry profile of the patient who needs to be admitted. Once you're on the profile, locate the Admission menu at the side or top of the screen.
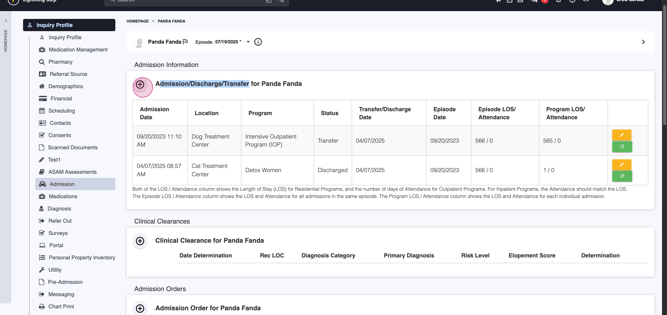
Step 2: Review Admission History Scroll to the Admission, Discharge, Transfer table. This table lists all previous admissions, discharges, and transfers for the patient, providing a quick overview of their movement in the system.
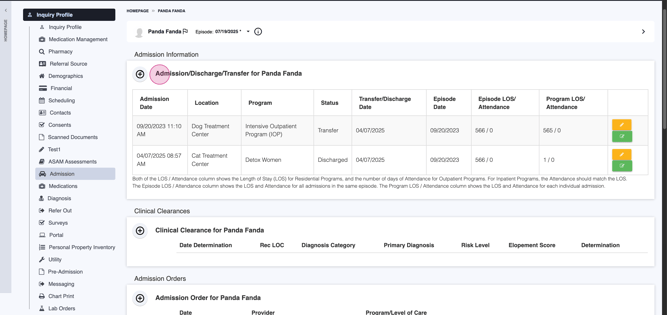
Step 3: Initiate New Admission To start a new admission, select the plus (+) icon next to Admission, Discharge, Transfer. This opens a new admission form.
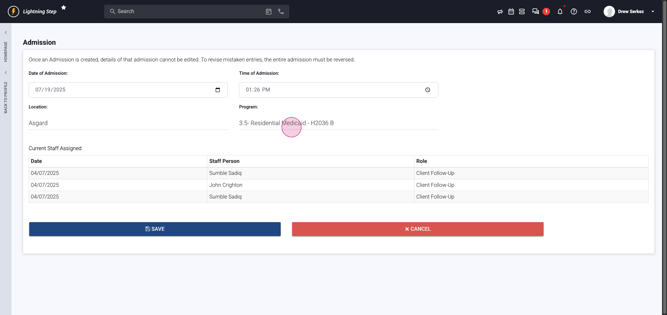
Step 4: Set Admission Date and Time On the admission screen, enter the admission date and time. By default, Lightning Step sets these to the current date and time, but you can adjust them as needed for accuracy.


Step 5: Choose Location and Program Select the appropriate Location and Program for the admission. If the inquiry already includes projected options, these fields will be pre-filled. If not, choose them from the drop-downs.

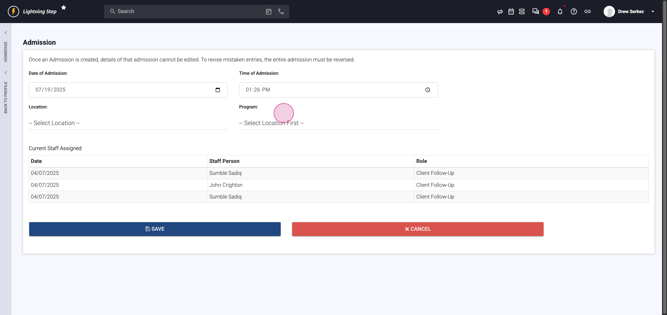
Step 6: Save the Admission Once the details are complete, click Save to process the admission.

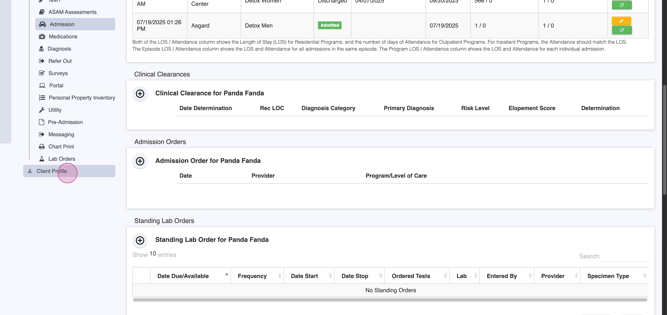
Step 7: View the Admitted Patient After saving, the patient appears in the census for the specified location and program.
Step 8: Confirm and Access Client Profile Lightning Step redirects you automatically to the inquiry profile. From there, click to access the new client profile to start the next phase of care.
You’ve now completed admitting a patient in Lightning Step. Following these steps ensures patient records are accurate and up to date!