
Step 1: Add the Patient’s Email to Demographics Before starting portal registration, enter the patient's email in their demographic information.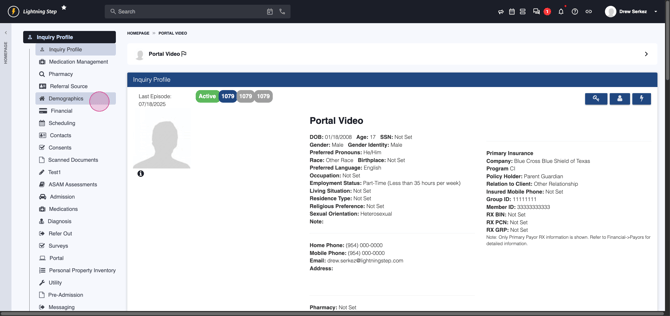
Step 2: Open the Portal Menu Once the email is saved, go to the Portal menu from the inquiry or client profile.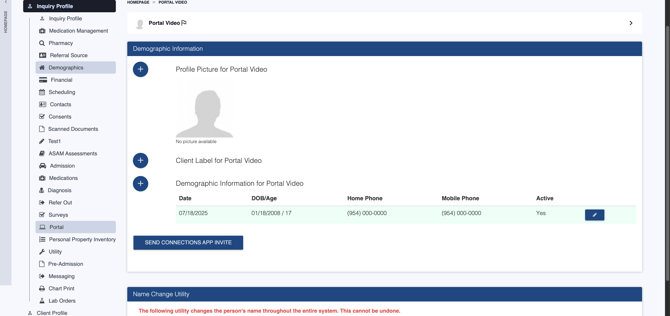
Step 3: Start Patient Registration Click the plus icon under the portal registration management table to begin. This opens the registration page for the client.
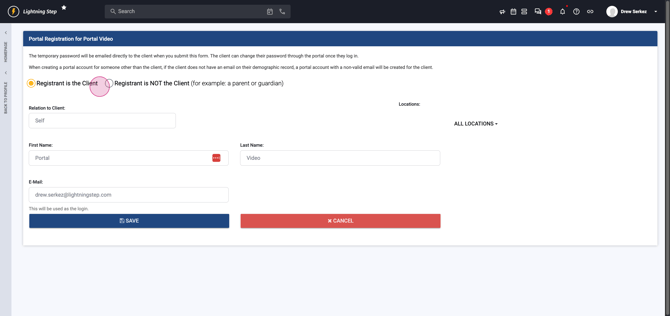
Step 4: Confirm Patient Information and Save You’ll see the client’s first name, last name, and email from demographics filled in. Hit Save to register the patient. The patient will receive a registration email with login credentials and a link to the portal.
Step 5: Register the Guardian After registering the patient, click the plus icon again to start another registration.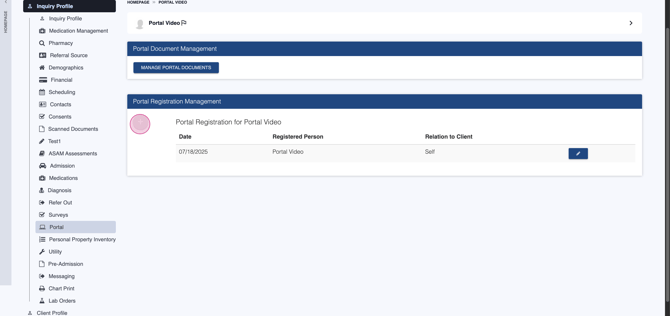
Step 6: Select Guardian Registration Notice that registrant is not the client is now selected, since the patient is already registered. You can also choose to add a third-party contact if necessary.
Step 7: Enter Relationship and Guardian Details Provide the relation to the client, then fill in the guardian's first name, last name,
 and a unique email address (different from the patient).
 Each registrant needs a unique email.
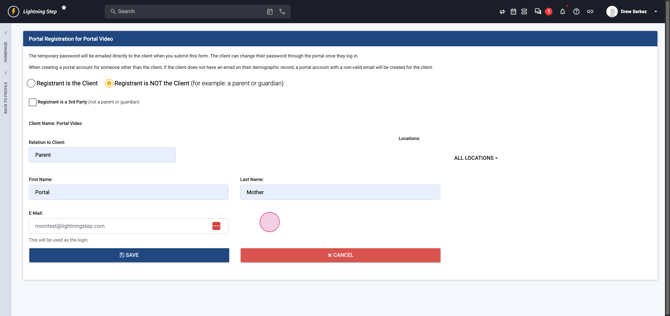
Step 8: Save Guardian Registration Click Save to complete guardian registration. This returns you to the client profile.
That’s it! You’ve successfully registered a patient and, if needed, a parent, guardian, or third party for portal access.