
Step 1: Start on the homepage. Scroll down to the Medical tab and select the Medication Observation section.
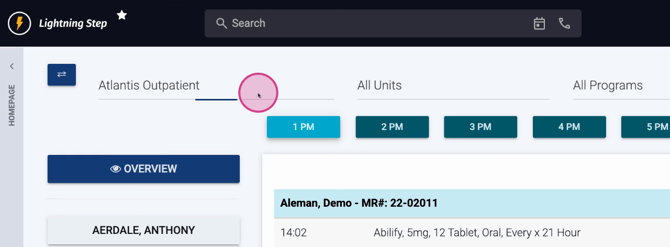
Step 2: At the top, use filters for Location, Treatment Unit, and Program to view specific groups of clients. You can get as granular as needed, narrowing by individual unit or program.
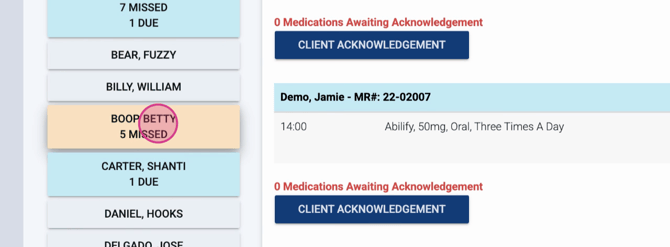
Step 3: The left panel will show clients matching your selected filters. Only clients relevant to the chosen location, unit, or program appear here.
Step 4: Notice the client cards: Blue and yellow borders indicate clients with medications due or missed today.
Step 5: Select a client to see details. You’ll see all medications scheduled for observation that day.

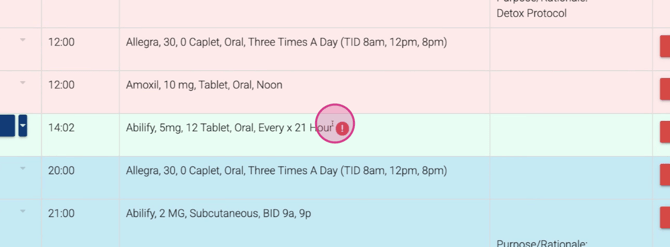
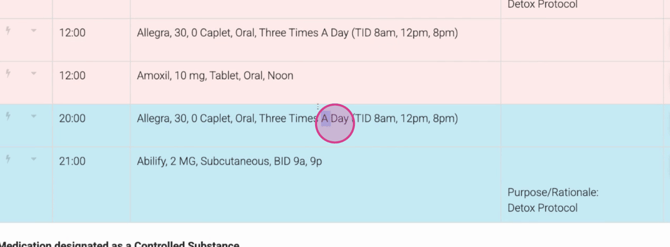
Step 6: Medications in green are due now (current Med Pass window). Blue means medications are upcoming; pink indicates missed medications.
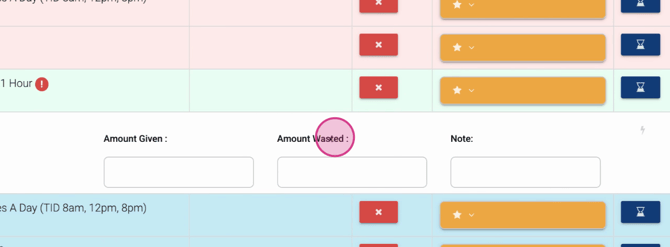
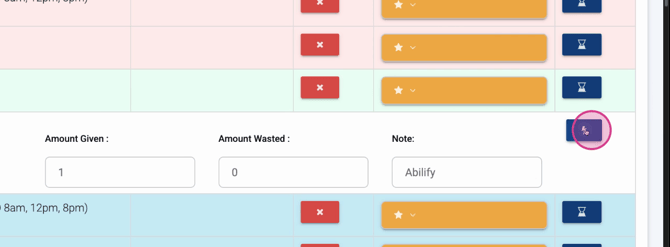
Step 7: For medications due now, click the down arrow to enter the Amount Given, Amount Wasted, and any notes.
Step 8: Click the lightning bolt icon to quickly administer the medication. After entering the details, the medication status changes from green to yellow, meaning it’s awaiting client acknowledgment.
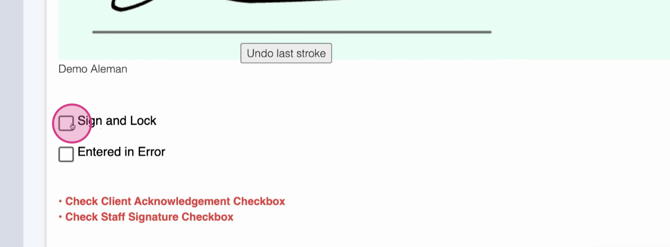
Step 9: Have the client acknowledge their medication. The client signs, and you select Sign and Lock to save the record.
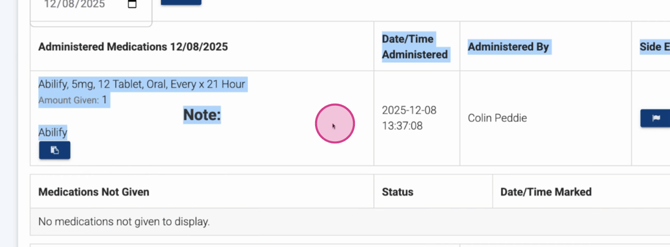
Step 10: Once completed, the medication moves from the top window to the Administered Medications section below. Here, you’ll see the medication details, amount given, time, who administered it, and any additional notes.
Step 11: Repeat these steps for all medications during each Med Pass window. Continue until all due medications are administered and acknowledged.
Exploring Other Features
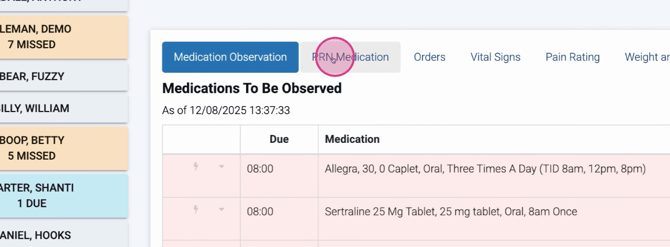
Step 1: At the top, use the Buckets tabs to view PRN (as needed) medications, done (completed) orders, and all current orders for the selected client.
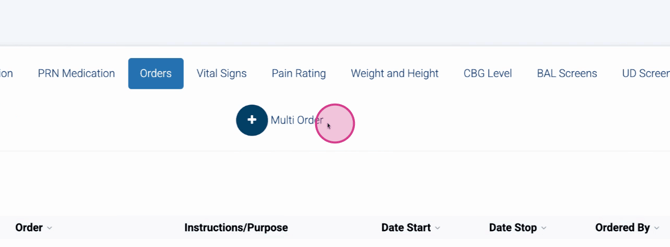
Step 2: Add new medication orders directly from this section — either individual or multiple orders at once.
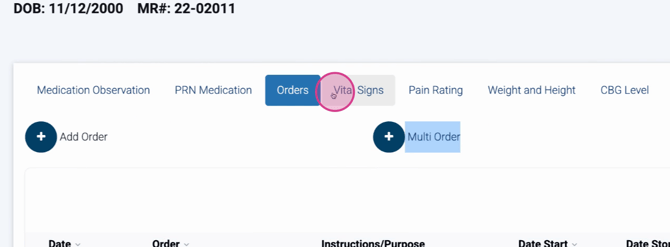
Step 3: Document additional health data like vital signs, pain rating, weight, CBG, BAL, and UDS as prompted.
Step 4: When adding a new medication order, check the box at the bottom right to ensure the order appears in the MAR at the correct Med Pass time. If unchecked, the order won’t require observation.
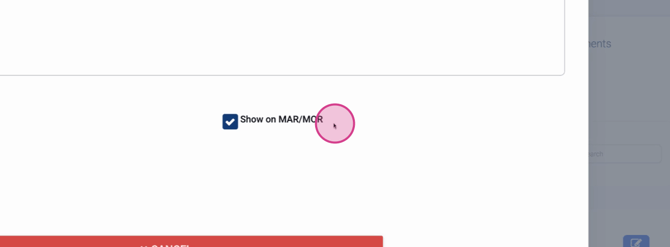
Step 5: Reviewed medication orders with this box checked will automatically show up when it’s time to be observed and administered.
The MOR gives you a convenient overview for medication observation, documentation, and follow-up. Use the filters to focus on specific units or programs, keep on top of Med Pass windows, and make sure every order needing observation is properly tracked and signed off. This ensures accurate records and safe medication management for every client.