
Step 1: Access the Sales Workspace on HubSpot by selecting the Sales tab, which is usually located at the top of the page. Bookmark this tab for quicker access in the future.
Step 2: Click on the Sales tab to view your Sales Workspace screen. Note that the screen might appear unpopulated if you don't have any leads or activities yet.
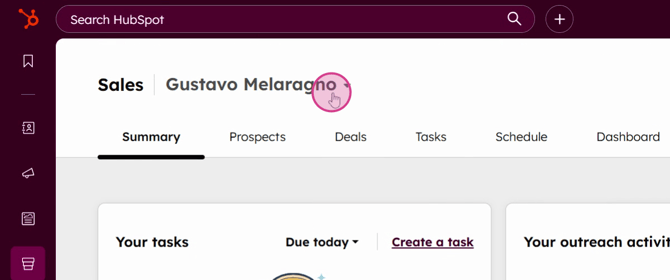
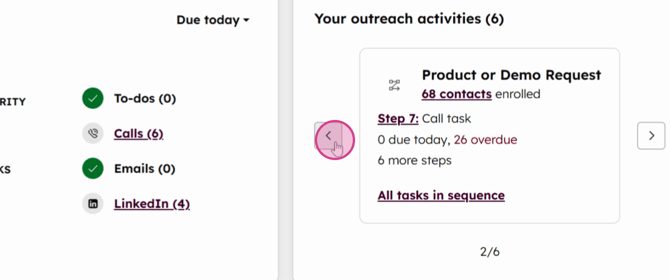
Step 3: Start by examining the Summary section, where you can view all your current tasks flagged as All tasks, due today, due tomorrow or overdue.

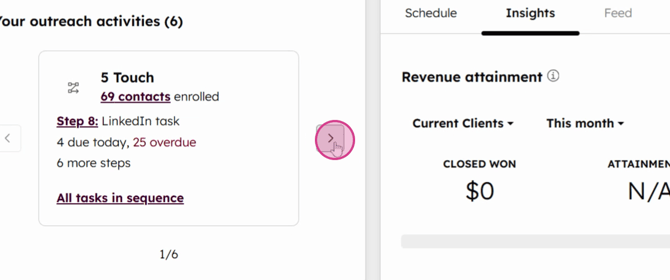
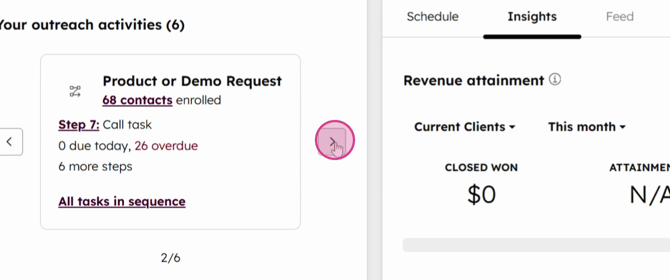
Step 4: Review all ongoing outreach activities in the workspace.
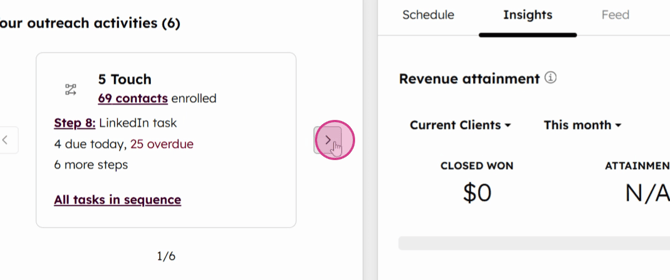
Step 5: Focus on specific tasks like monitoring inbounds. Observe how they are enrolling in sequences, such as the example bellow with the five-touch sequence created for Anna.
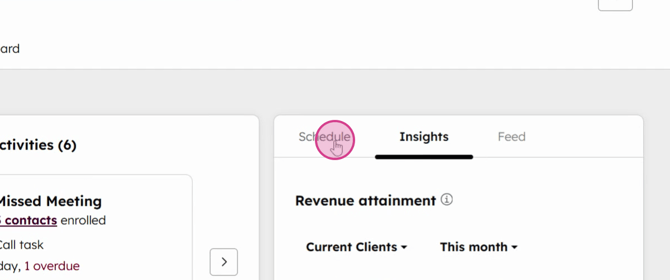
The Schedule, Insights and Feed tab:
Step 1: Identify the sequences and tasks you own. Depending on your role, the sequences and tasks you manage might vary.
Step 2: View contacts requesting demos and products. This overview helps you track engagement and prioritize follow-ups.
Step 3: Explore the Schedule Insights and Feed section. This area provides significant insights into your scheduled activities and lead ownership details.
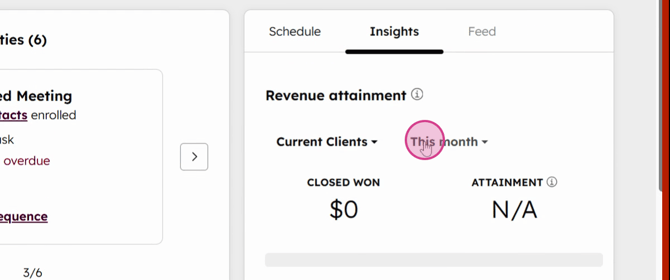
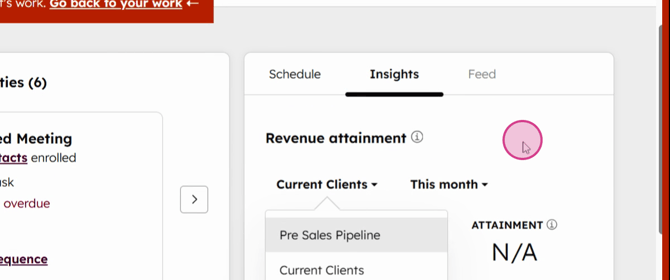
Step 4: Utilize the insights to view quarterly or monthly revenue generation in the Pipeline section. This feature allows you to track your performance against set goals.
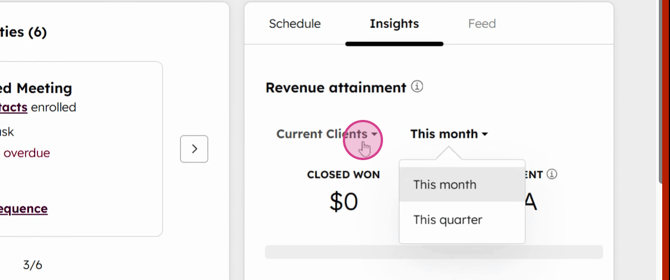
Step 5: Monitor your monthly or quarterly progress directly through the insights provided here.
Step 6: Check the revenue you are generating. This visibility is crucial for assessing your contribution to the team's targets.
Step 7: Benefit from the scheduling features. If you frequently schedule calls or meetings, this tool is particularly useful for keeping track of your SQLs (Sales Qualified Leads) and Open deals.
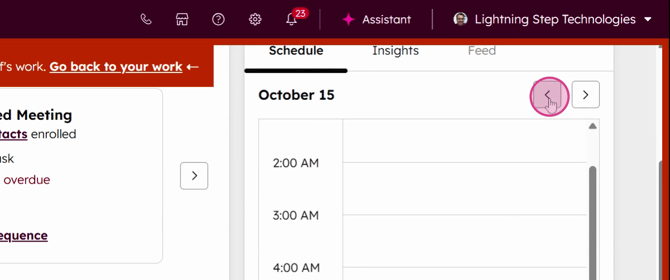
Important Note: For the scheduling agenda view to appear it's necessary to connect your Google calendar with Hubspot. Doing so ensures that all your scheduled events appear in the Schedule Insights section.

Step 9: Review your daily schedule in the Schedule Insights. This helps you identify any gaps or overlaps in your schedule.
Step 10: Navigate to the Guided Actions. This feature provides a prioritized list of actions designed to help you build your pipeline and close deals.
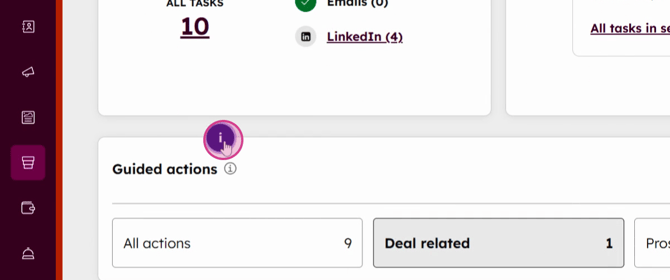
Step 11: Click on Guided Actions. While this AI-driven feature suggests important actions, it's advisable to also rely on your personal annotations and tasks.
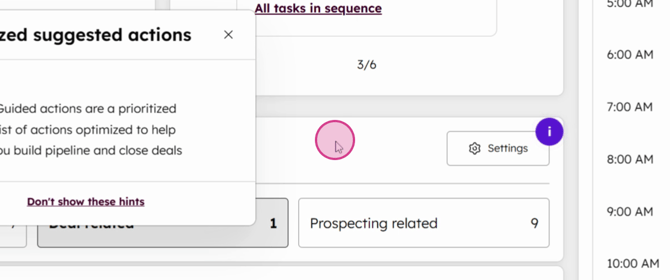
Step 12: Adjust settings in Guided Actions to tailor its suggestions to better fit your needs.
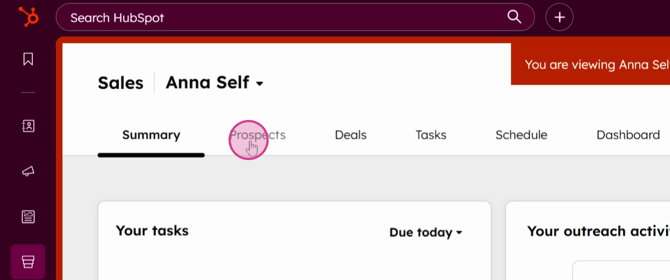
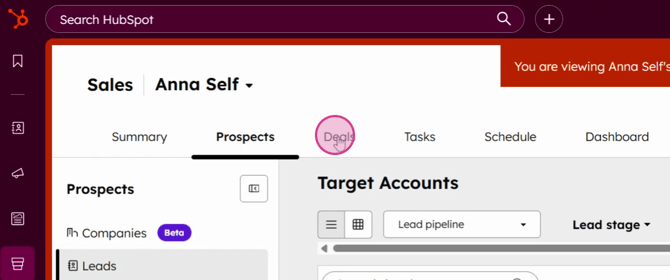
Prospects tab
This analysis tool is essential for understanding your interactions with potential leads and optimizing your strategies accordingly.
This tutorial explains how to gain a more detailed view of your leads and manage deals more effectively using specific filters in the CRM interface. By following these steps, you'll understand how to customize the interface to better suit your daily needs, whether you're handling new business inquiries or managing existing client relationships.
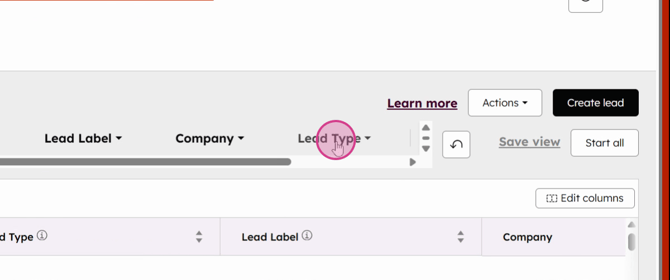
Step 1: Open the detailed view to see a closer and more detailed look at your leads and the companies you are working with to secure deals.
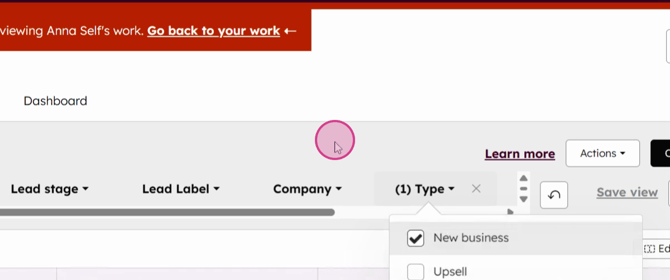
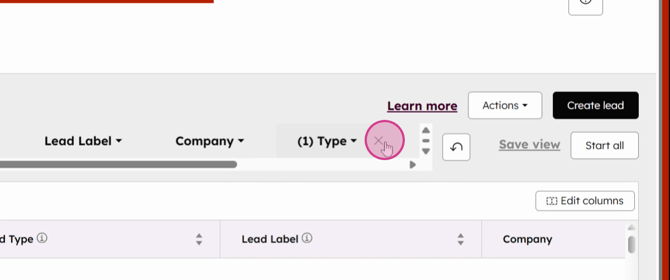
Step 2: Utilize the filtering options to manage different types of business. For example, if you're focusing on new business, apply the new business filter to display all relevant contacts.
Step 3: Use the filters to their full potential. Lest say you are a AE, refine the filter parameters to explore filters relevant to find out whats your upselling opportunities, your current number of open deals e etc.
Step 4: Check filters by type or company characteristics, such as labels attached to leads. This helps in identifying specific attributes that might be beneficial for sales strategies.

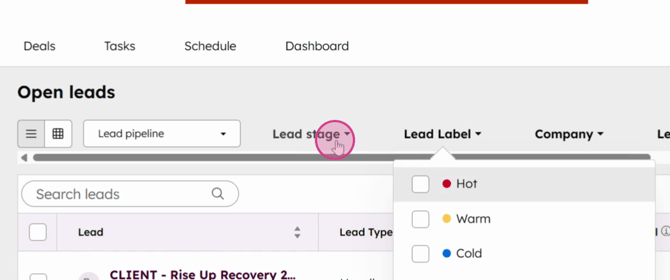
Step 5: Filter leads based on their stage in the sales pipeline. This is crucial for understanding the status of new leads, connections, and qualifications, or to investigate why a certain lead was disqualified.
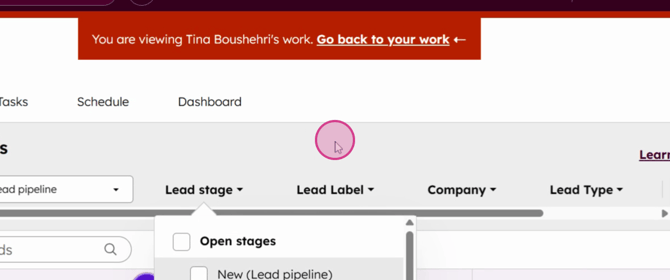
Step 6: Revisit the initial user setup to continue exploring utility options. For instance, switch back to Anna's profile to review additional functionalities.

Step 7: Check the parent companies of these inbounds by clicking on the Parent Company tab.
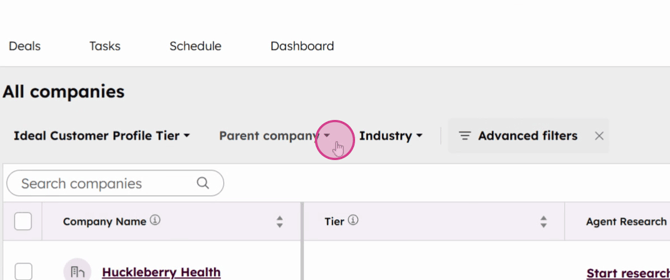
Step 8: For example, if you're interacting with a company primarily based in Houston, you can further explore their network. This includes their main clinic and any subsidiary clinics.
Step 9: Utilize the filters to refine your search to ensure you're engaging with companies that match your ideal customer profile.
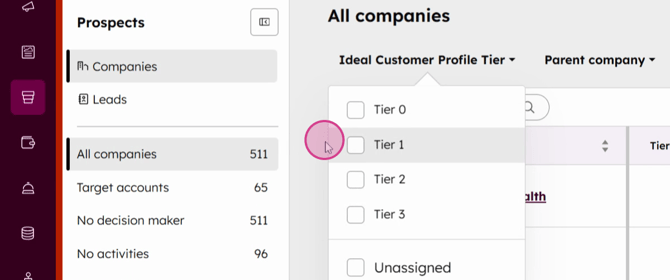
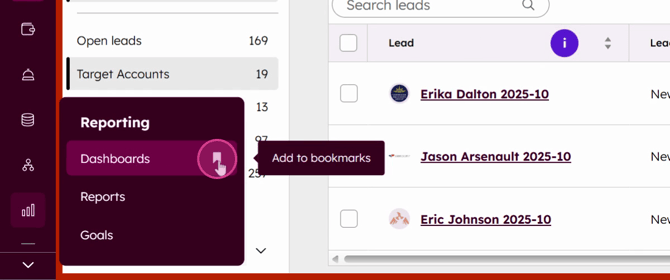
Step 10: Review targeted accounts by accessing the Leads section. This helps in assessing potential leads more effectively.
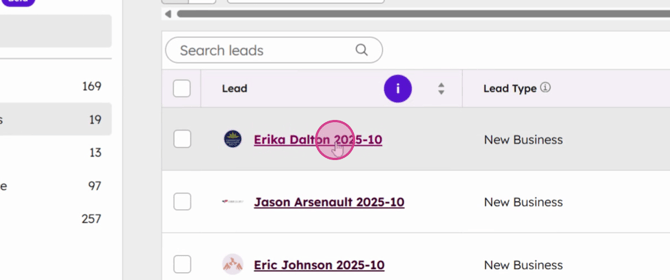
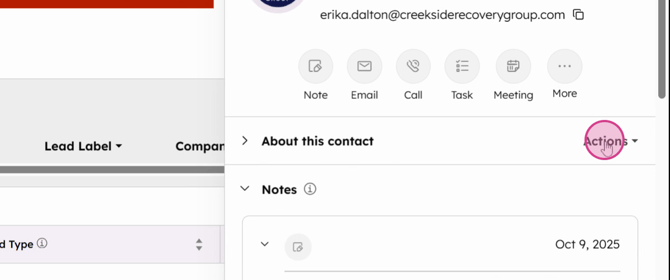
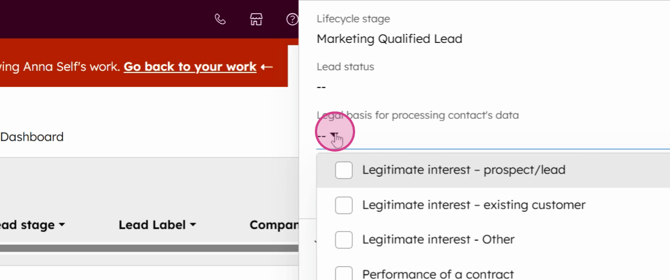
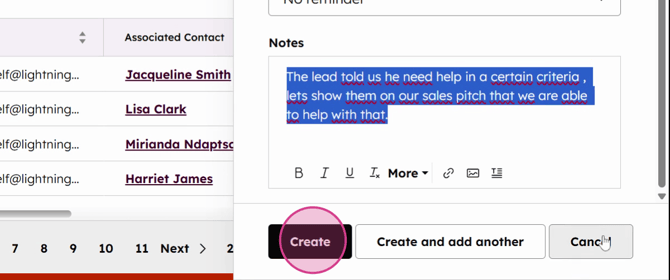
Step 11: For each lead, consider manual work such as creating personalized notes after interactions, similar to this example where, Anna created a note for the lead Erica following their sequence engagement.
Step 12: Create detailed notes for each lead you interact with. Focus on capturing the most critical information shared during the conversations. This ensures that you don't miss out on any important details that could influence the lead scoring.
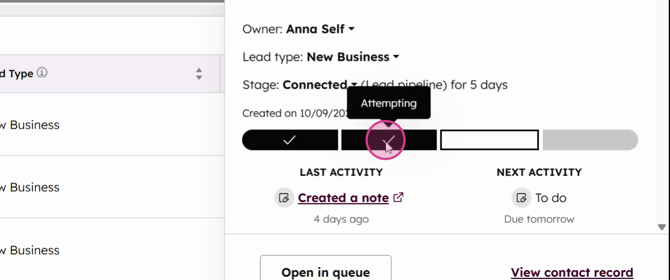

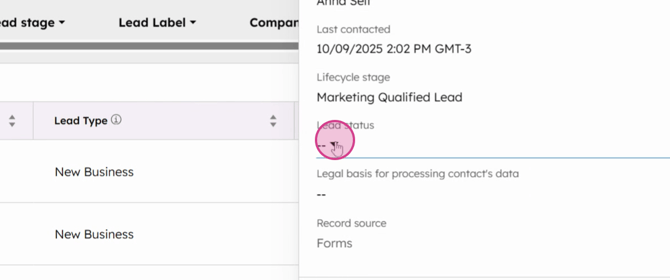
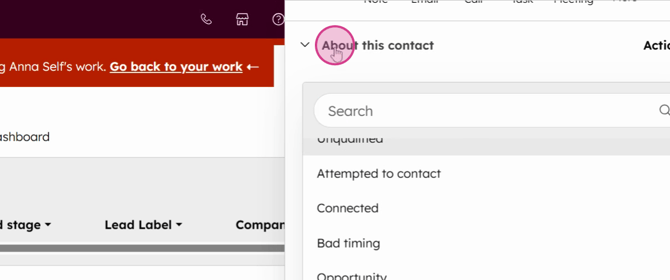
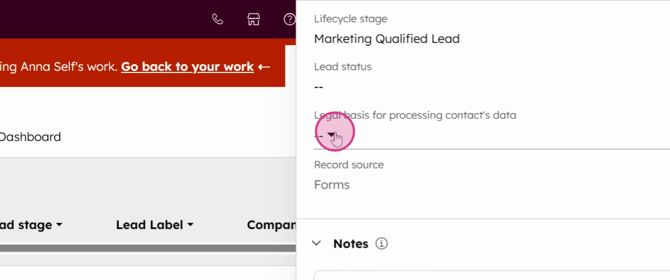
Regularly update the lead status in your CRM system. When a lead progresses from a new lead to an open lead and then to in-progress, make sure to reflect these changes accurately. This task is crucial for the person managing communications with leads to assess and update accordingly.
Utilize the dashboard tools provided by platforms like HubSpot to monitor new opportunities and open deals. Keeping track of these metrics monthly or quarterly allows for better marketing efforts and helps in understanding the overall performance.
Important Observation: Engage in the manual process of updating lead statuses regularly. This attention to detail ensures that all leads are accounted for and managed properly.
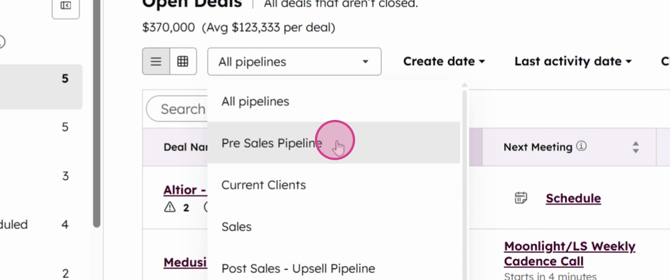
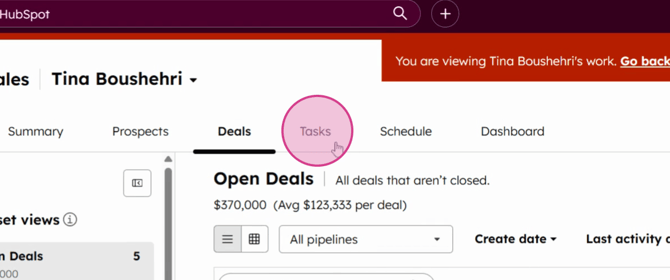
The Deal Tab
Step 1: Explore the deal tab to understand how deals are managed and tracked. Although not applicable to all team members, such as Anna who handles inbound leads, it's beneficial for those managing direct deals to know how to assign scores and track progress.
This tutorial guides you through managing urgent deals and customizing your viewing session to enhance deal analysis effectively.
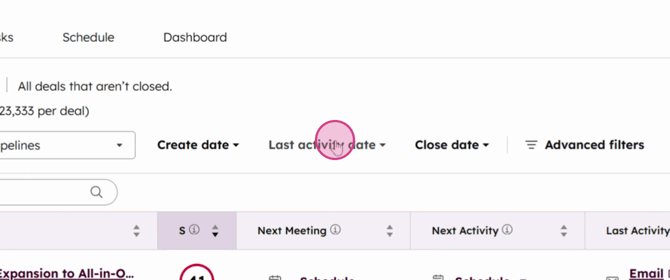
Step 2: Identify urgent deals. The system prioritizes urgent deals for you, ensuring that you address the most critical tasks first.
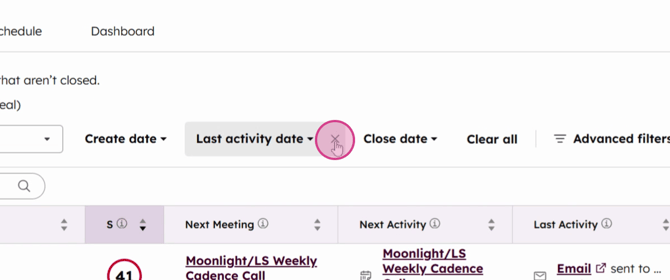
Step 3: Utilize filters to navigate to specific deals of interest.
Step 5: Verify the deal's operational status and accuracy of all prepositions.
Step 6: Continuously evaluate the deal, ensuring it functions correctly.
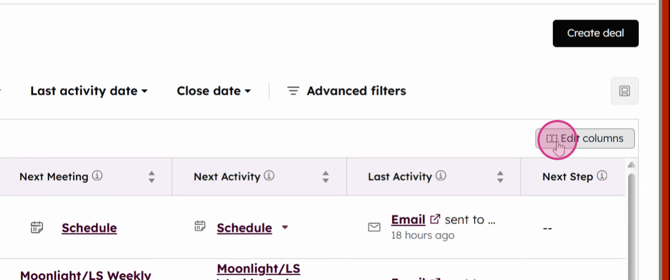
Step 7: Note the Edit Columns button, which allows you to customize your session by adding columns that provide additional important information, such as deal status or deal owner.
The Task Tab
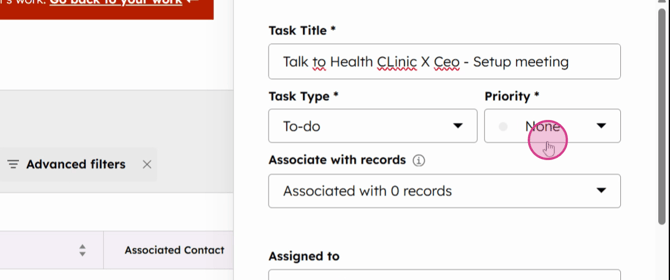
Step 1: Manage tasks effectively by setting reminders for calls, meetings, or important annotations about a lead or deal.
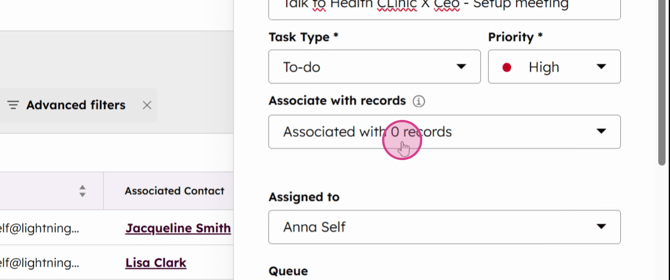
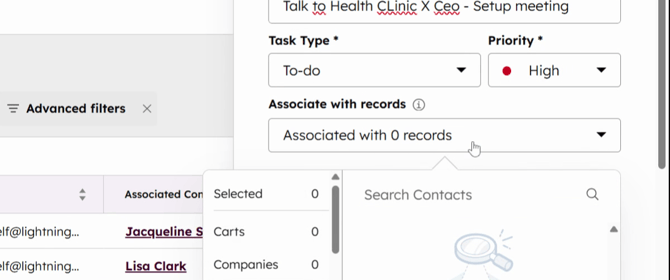
Step 2: Assign priorities and link tasks to relevant records, ensuring you stay organized and focused on critical activities.

Step 3: Prioritize tasks based on their importance to your objectives.
Step 13: Associate these tasks with pertinent records for easy reference and tracking.
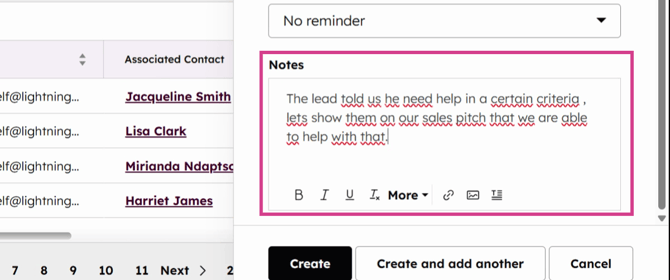
Step 2: Utilize the notes feature to communicate specific needs. For example, if a lead requires assistance in a particular area, make a note of it to ensure that your team can address it efficiently.
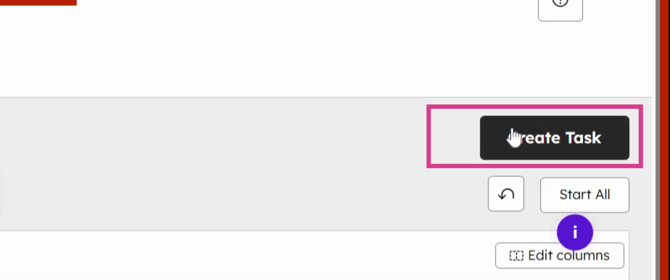
Step 3: To create a new item, simply click Create. This will add the new item to your workspace.
Scheduling Tab:
Step 1: Employ the scheduler function to synchronize your activities. By integrating tools like Google Calendar with HubSpot, you enhance your scheduling capabilities.
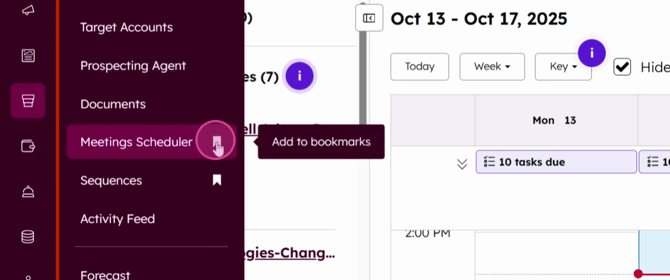
Step 6: Access and customize your scheduler links. Click on Meeting Scheduler Bookmark to view your default scheduling link. You have the option to create new links and add them to your agenda, keeping you prepared for meetings with leads and SQLs.