
Workflow
- Customer admits, treats, and discharges patients as usual
- Customer navigates to Management > Management/Clinical Reports > WITS Reports > All Clients Report
- All applicable clients that require reporting should appear here
- For example, clients should appear here as soon as they are admitted
- Customer responsible for completing the 3 forms for each client
- Client: form created upon inquiry creation; pulls data from demographics
- Admission: form created upon admission
- Discharge: form created upon discharge
- At the end of each month, customer navigates to WITS Reports > Dashboard
- Customer clicks “Create Report”, selects the report type and month, and hits “Save”
- This will create a new line item in the list below on the Dashboard
- On the new line item, customer clicks “Select Action” in the rightmost column
- Customer clicks “Upload to Verification” to submit the report via SFTP
- Customer verifies the file was successfully uploaded
- First, they can log into feisystems.com to review the file directly
- Second, they can monitor for an email from WITS indicating receipt
- Third, they need to click “Check Verification” within the Dashboard
- Reference “submission guide” to assess for errors or corrections needed
- Once verified, customer clicks “Upload to Production” from the WITS Dashboard
Technical Setup
User Setup
- Customer receives their SFTP credentials (username and password) from WITS
- They use these credentials to log into the WITS portal (prod.feisystems.com)
- We also enter these credentials into LS as part of the integration
- Ask the customer for their WITS username and password
- Ask the customer for their WITS “verification and production folders”
- They can find this by logging into the WITS portal with their credentials
- These will be folder names such as “Customer_Verification” and “Customer_Production”
- Once you have this information, navigate to your customer's server and type in the following URL, replacing the first portion with your customer’s server name. You can look at the below example for reference.
- servername.lightningstep.com/wits/user-credential/dashboard
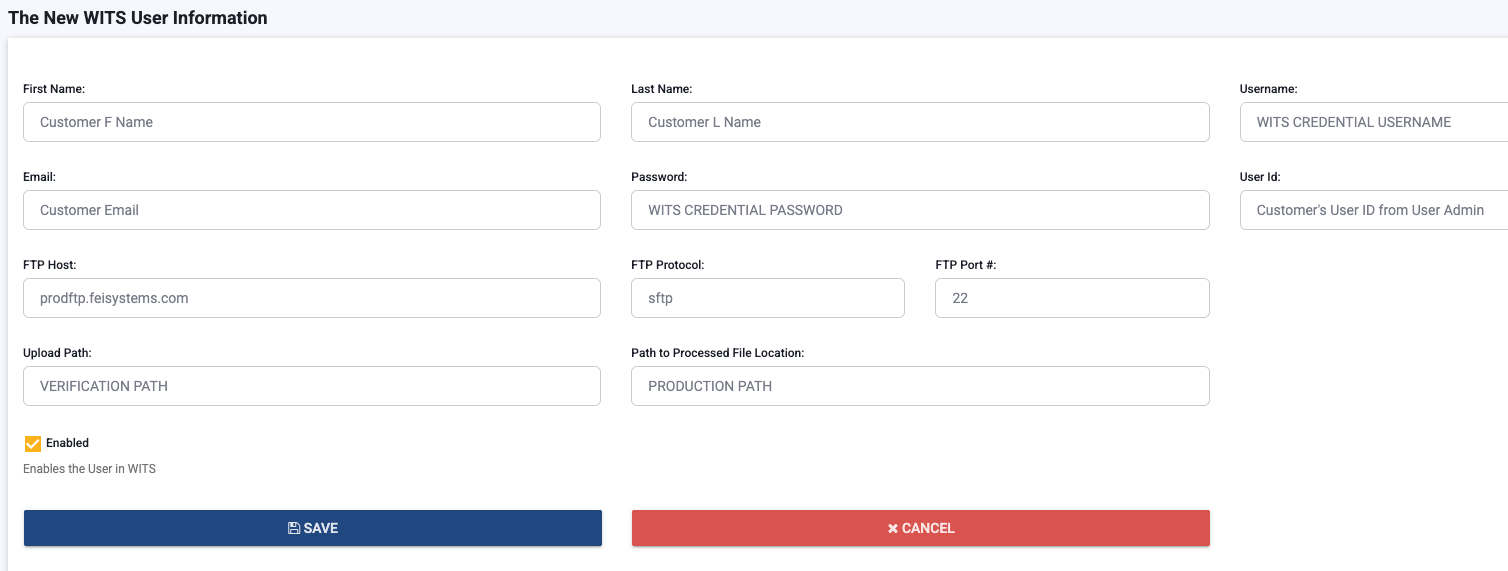
- Click the + sign to add a new user and populate as follows. Expand the screenshot below for reference.
- First / Last Name: Customer user’s name
- Username: WITS credential that customer provides
- Email: Customer user’s email (this should be whatever they use for WITS)
- Password: WITS credential that customer provides
- User ID: Look up the customer user in User Admin and click the edit pencil to open their record; this is the number that appears at the end of the URL.
- IMPORTANT: You must populate this ID when you add the new user to WITS; this field will not be available to edit after you save the new user. I recommend that you open a new tab to find the user ID, while keeping your WITS tab open. If this value is incorrect or you save the new user without the ID, you will receive an error and need to delete and recreate the new user.
- FTP Host: prodftp.feisystems.com
- FTP Protocol: sftp
- FTP Port #: 22
- Upload Path: Verification folder name that customer provides
- Path to Processed File: Production folder name that customer provides
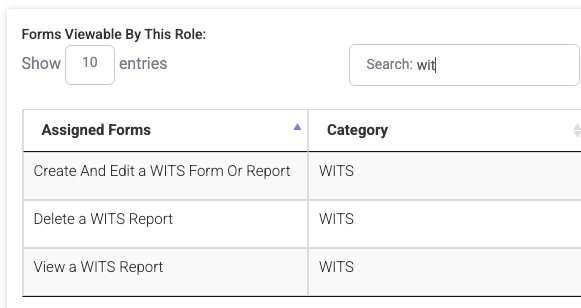
- Update ‘User Role’ permissions
- Navigate to System Config > Roles
- Add the applicable WITS permissions to the necessary user roles
API Vendor Setup
- Navigate to Developer > API Vendor
- Locate “Nevada CDR” and populate these 5 fields
- Click the checkboxes for “API Vendor is Active” and “Production Ready”
- Navigate to System Configuration > Locations
- Open the first location using the edit pencil
- Scroll or CTRL+F to find the “APIs at this location” section
- Select “Nevada CDR” from the dropdown list
- Click the + sign to enable the API at this location, ensuring it appears in the list below
- Click “Save” and repeat this process for each location