
Step 1: Click your user menu, displayed as your name in the upper right corner of the screen.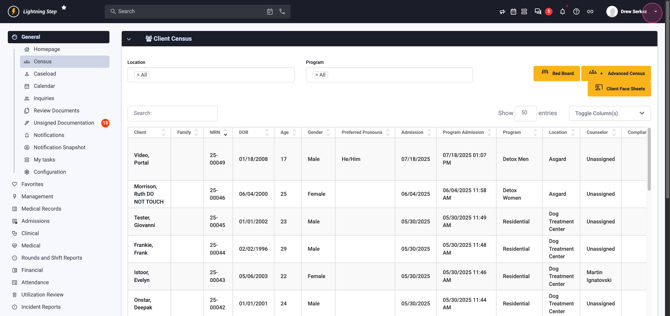
Step 2: From the dropdown, select System Configuration.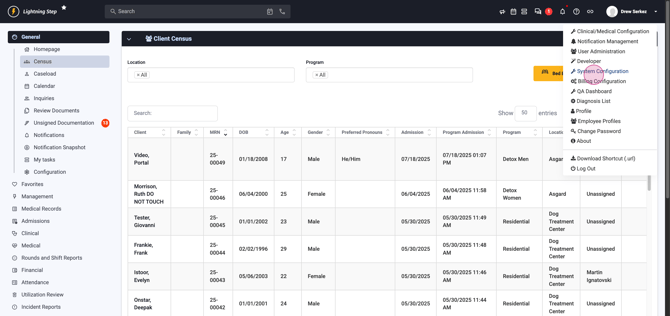
Step 3: In the System Configuration Dashboard, locate and click Custom Forms in the left-hand menu.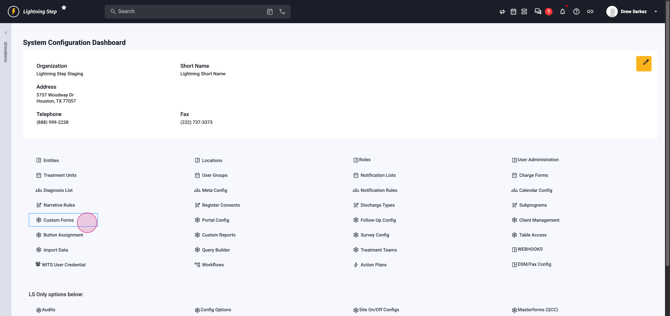
Step 4: Find the custom form you want to update. Click the blue pencil icon to open it.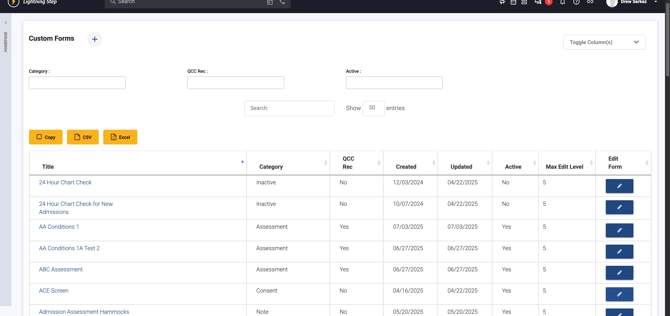
Step 5: Inside the form builder, expand the Master Form Configuration Panel. Scroll through the panel until you see the setting labeled QCC may be required.
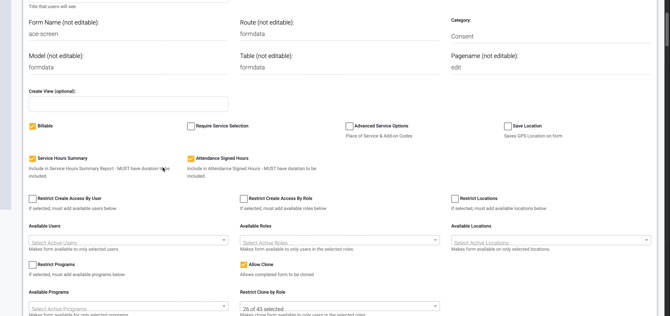
Step 6: Check the box for QCC may be required.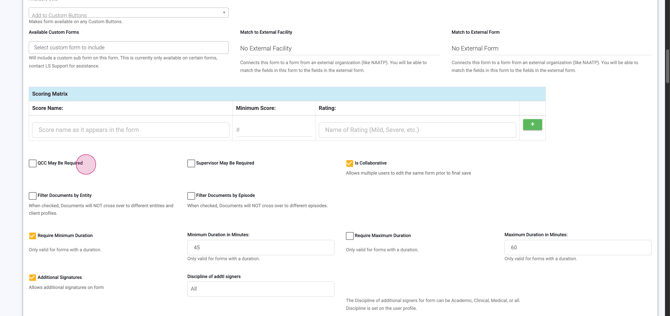
Step 7: Scroll to the bottom of the Master Form Configuration Panel and click the Save button. Make sure you use the save button in the panel, not the one at the bottom of the builder.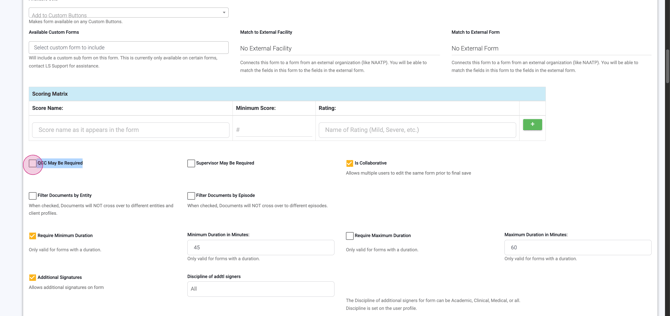
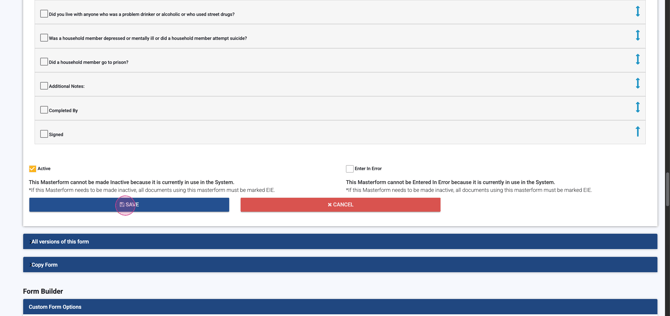
After saving, you’ll return to your form list. Your document is now set for QCC review. That’s it—you’ve successfully configured the QCC requirement!