
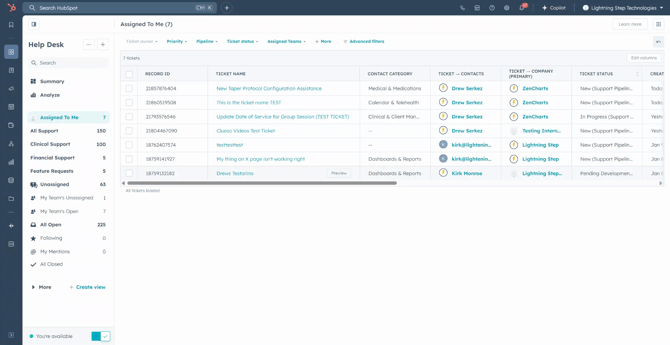
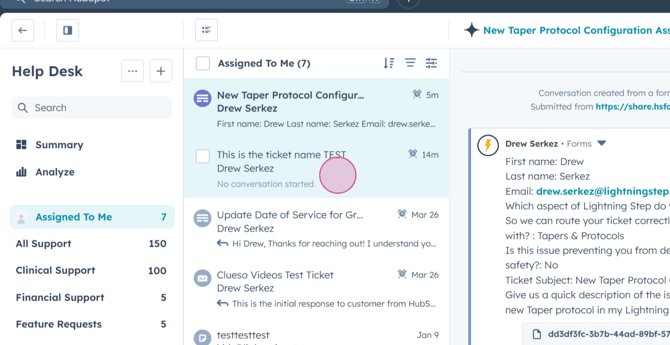
Step 1: Start by opening your help desk. Click on an open ticket in the "Assigned to me" feed.
Step 2: You'll be redirected to the ticket where you can start viewing additional information. Notice that the "Assigned to me" list on the left has changed into a preview feed. You can click between your open tickets.

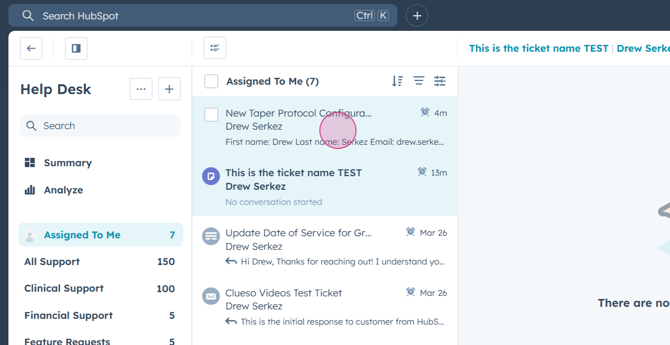
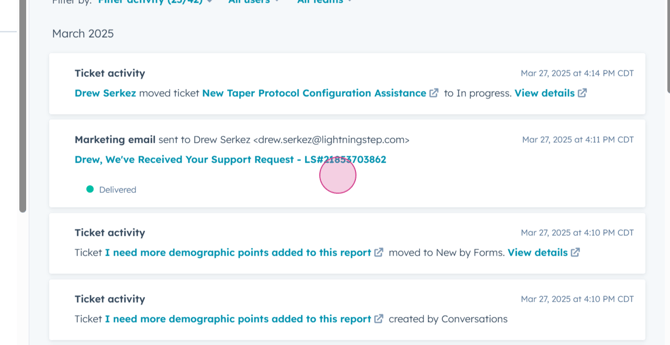
Step 3: Clicking between tickets will update the two panels on the right, displaying the message information and ticket details.
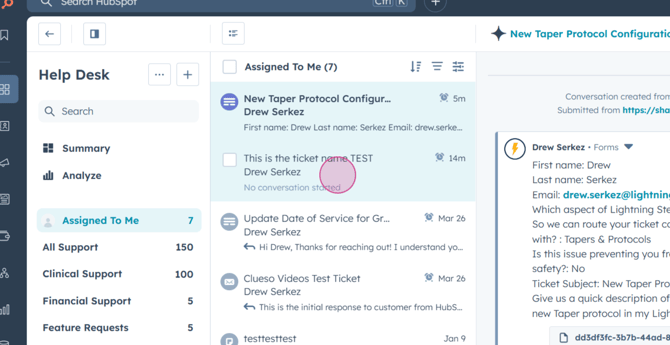

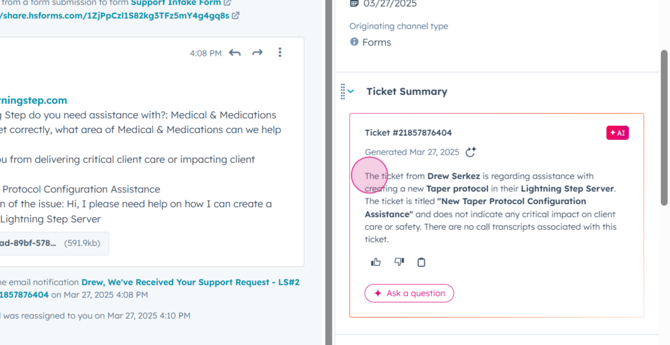
Step 4: The center of the screen displays the initial message for the ticket, which includes all the information provided by the customer. On the right, you'll see information about the ticket owner, a ticket summary generated by AI, and options to associate a JIRA, view contacts and companies, and other tickets from the same contact.
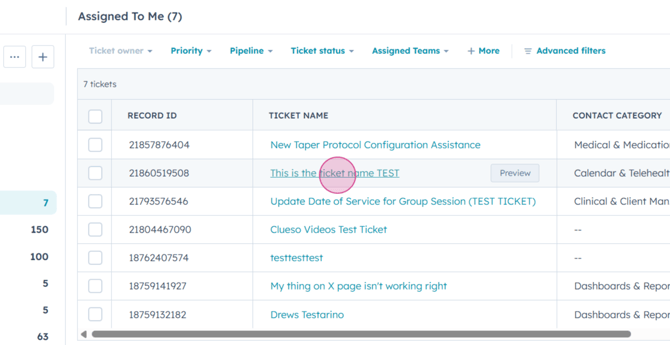
Step 5: Click on the ticket title at the top of the center pane for a more in-depth view of the ticket.
Step 6: In the ticket view, you'll find the ticket information on the left pane of the screen. You can update the ticket title and status by clicking on them.

Step 7: The "About this section" area of the ticket includes the unique record id, the ticket owner, the contact category and subcategories for the ticket, whether patient safety has been impacted, and the ticket description. You can also see the last reply date, set a priority, and view the ticket creation date.
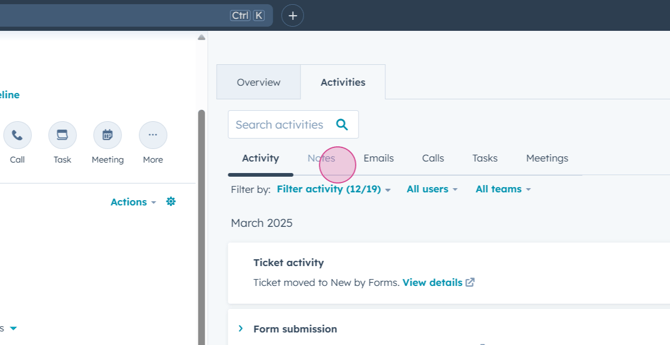
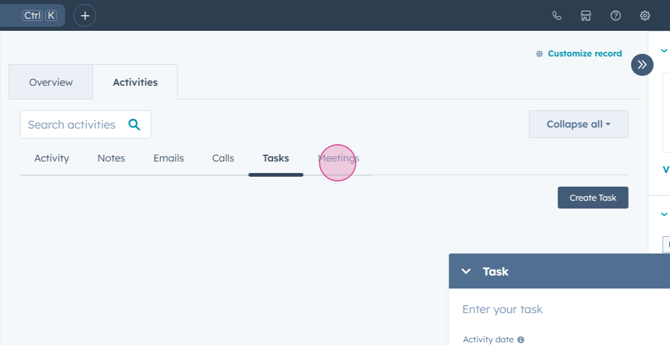
Step 8: The Activities tab in the center of the screen shows all activities for this ticket. You can create an internal note for the ticket by clicking the "Create note" button.
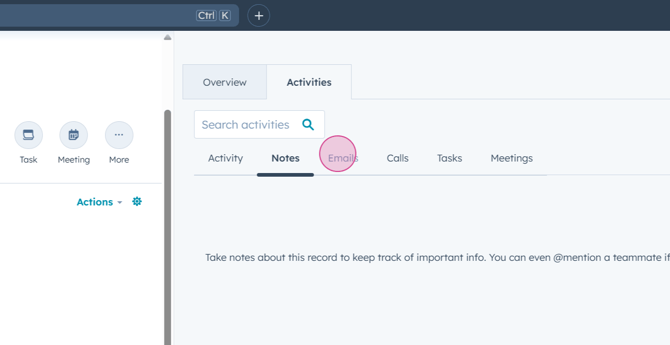
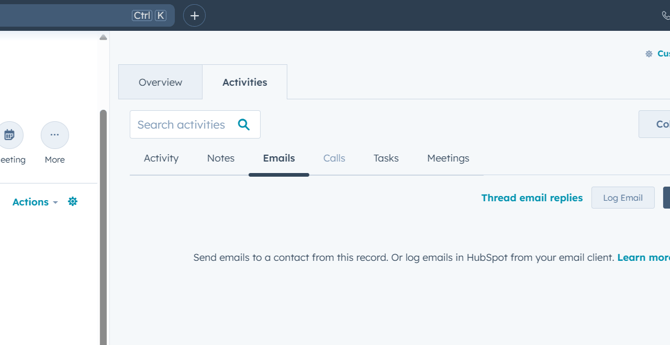
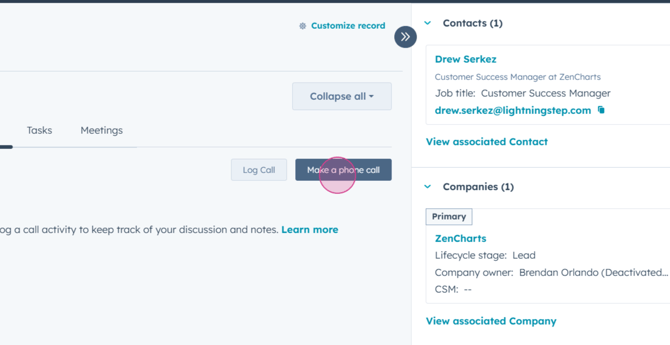
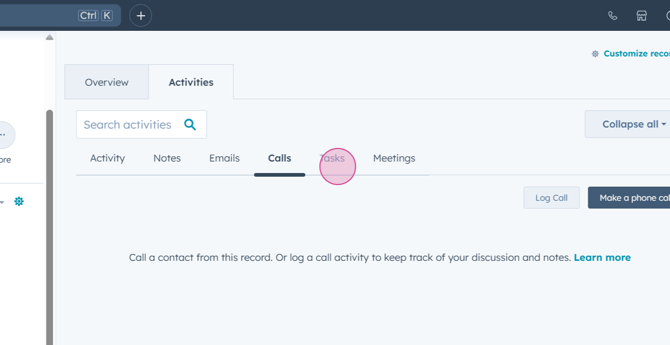
Step 9: The Emails tab shows all emails related to this ticket. You can make outbound phone calls from HubSpot by clicking the "Make a Phone Call" button.
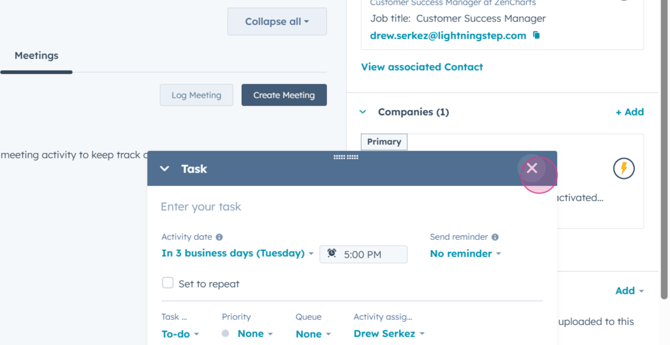
Step 10: You can create tasks by clicking the "Create Task" button. This will allow you to enter a description, due date, and reminder for your task.

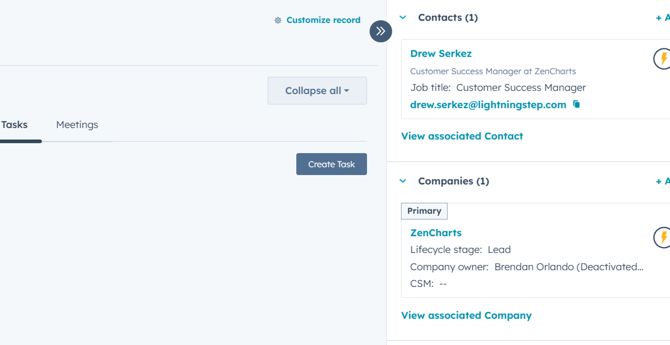
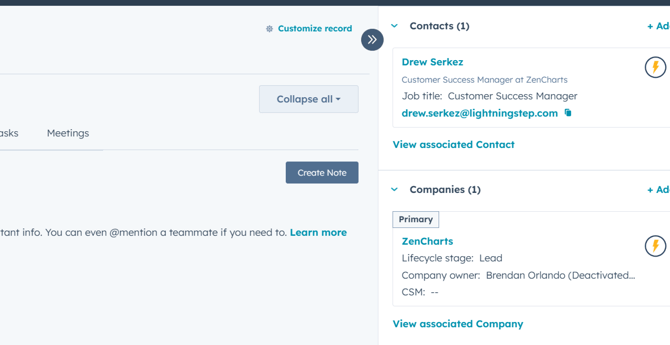
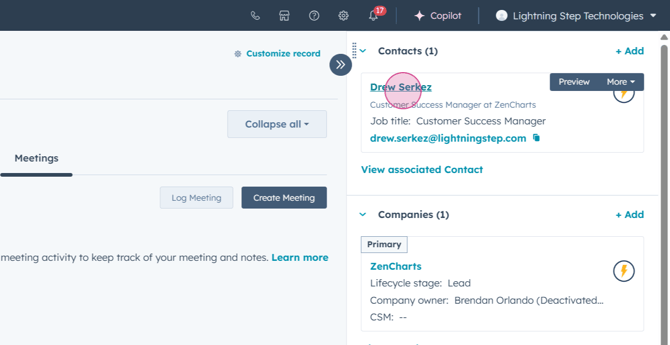
Step 11: On the right pane, you can view the contact associated with the ticket. Click on the contact to view more information about them.
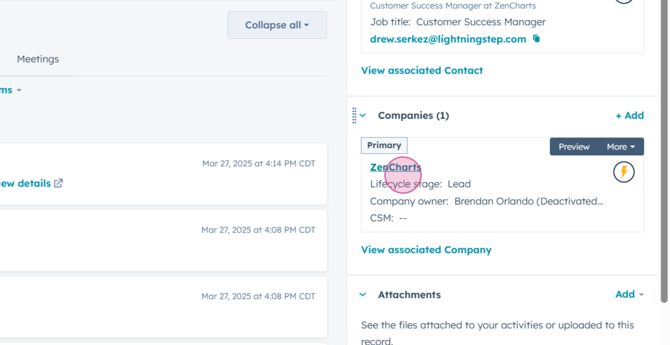
Step 12: The Companies tab works similarly. Click on the company name to view more information about the company.
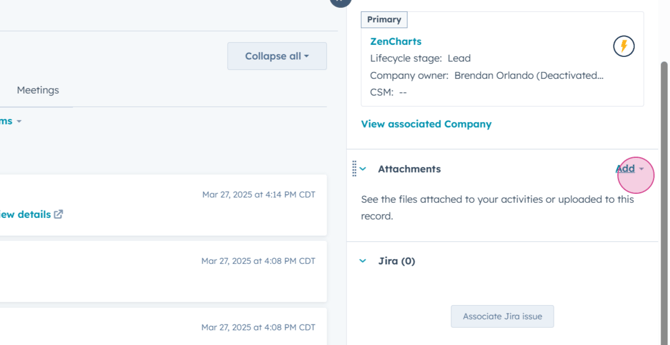
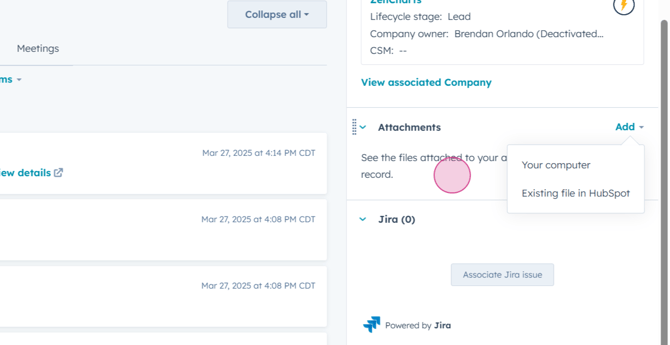
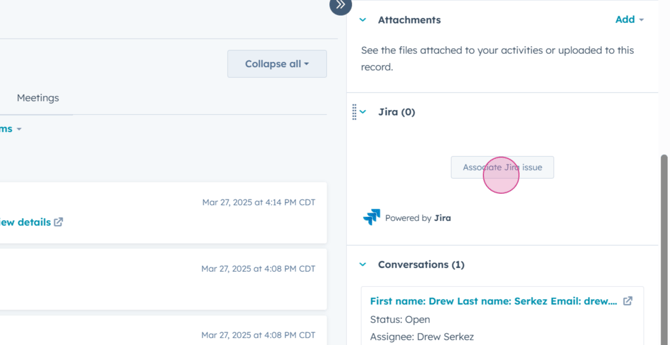
Step 13: You can view and add attachments to the ticket. Any attachments provided by the customer will be displayed, or you can upload your own by clicking the "Add" option.

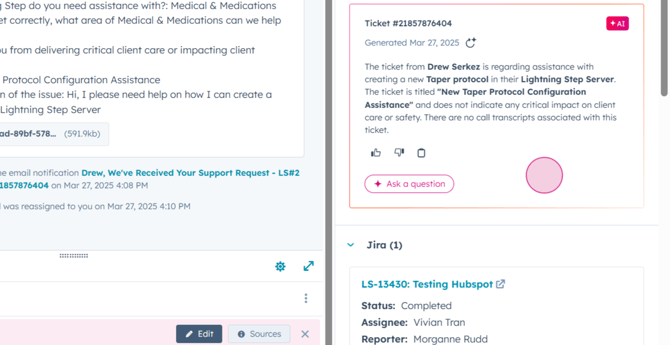
Step 14: The JIRA pane allows you to view and link an associated JIRA to the ticket. Click the "Associate JIRA Issue" button to link a JIRA development ticket.
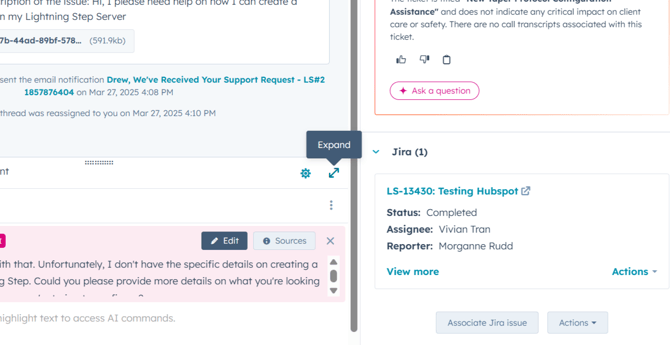
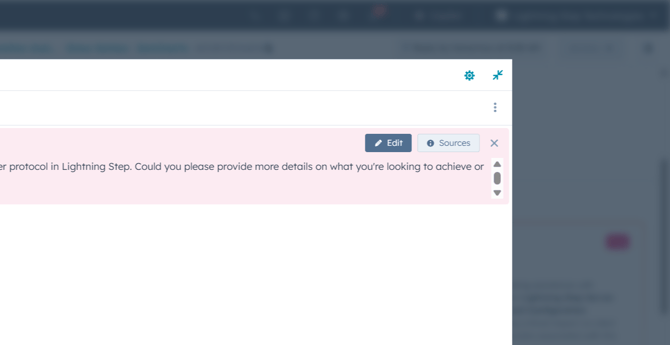
Step 15: To respond to the customer, use the "Help Desk" option in the upper left. In the Help Desk section, you can review the AI functions for your reply. Click on "Ask a Question" to ask additional questions based on the summary for reply. You'll see a reply recommendation generated by AI, which you can edit and apply to your message.
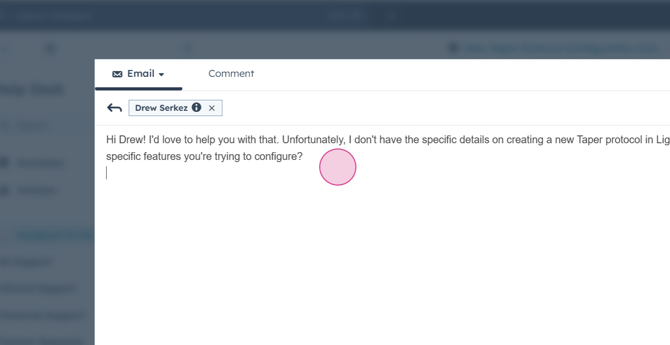
Step 16: Use the "Expand" option for a larger view of the recommendation. Click the "Edit" option to make edits to the recommendation.
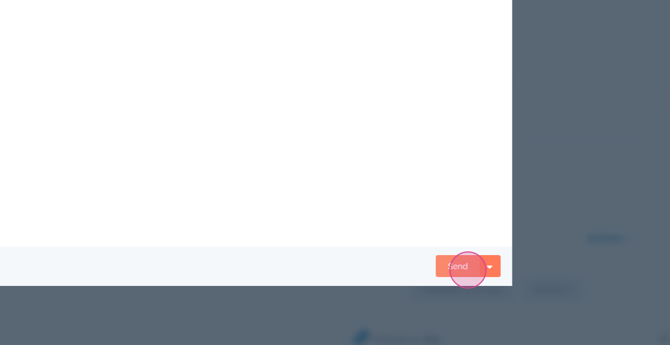
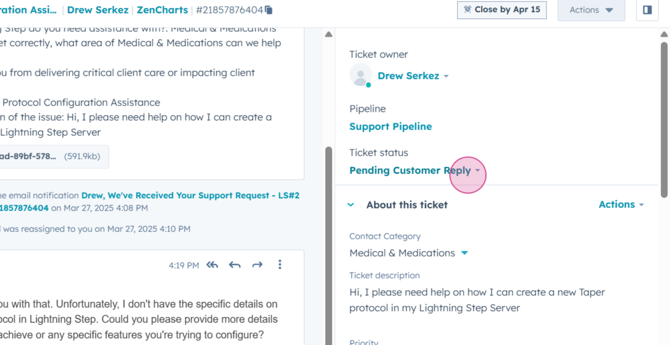
Step 17: Once you've made your edits, send your response. The response will be added to the conversation feed above, and the customer will receive an update for their ticket. The ticket status will automatically update to "Pending Customer Reply".
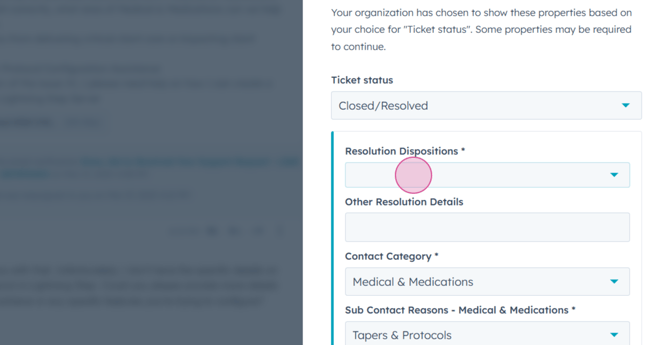
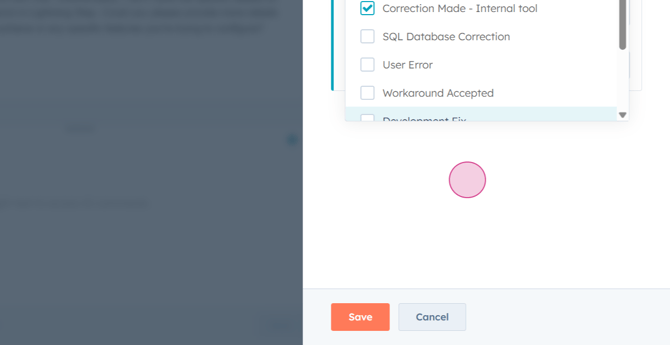
Step 18: When you're ready to close a ticket, you'll need to enter disposition information. If you mark the ticket "Close Resolved", you'll be prompted with a "Resolution disposition" drop down where you can choose what dispositions apply to this ticket.
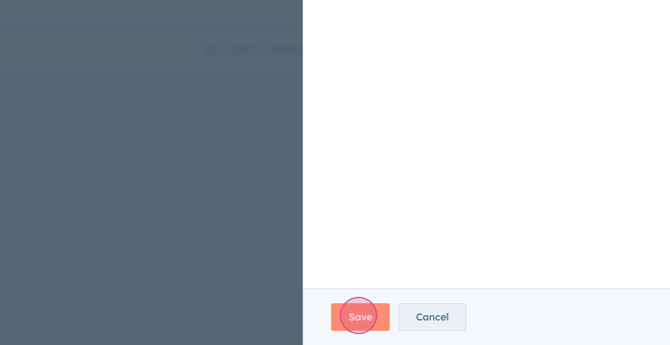
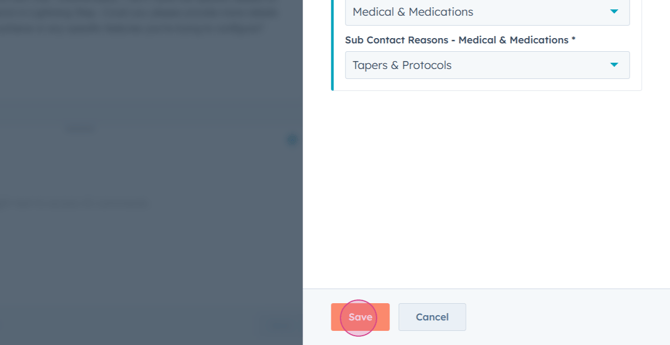
Step 19: You can add other resolution details if they exceed the options above. Once done, click "Save" to close the ticket.
That's it! You're now equipped to view and understand the critical information in a ticket using Lightning Step.