
Step 1: Go to the User Administration section Open the menu under your name at the upper right corner of the screen and select User Administration.

Step 2: Find and click the QCC Dashboard button Scroll to the bottom of the page and locate the yellow QCC Dashboard button. Click this to continue.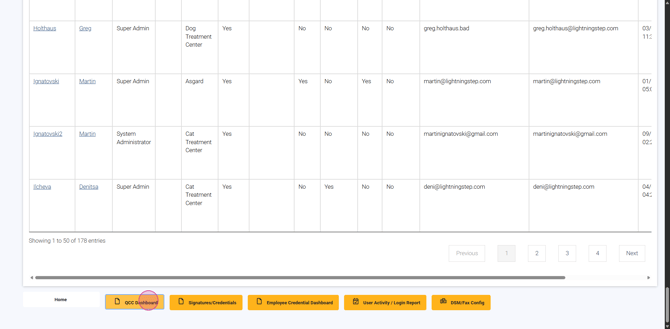
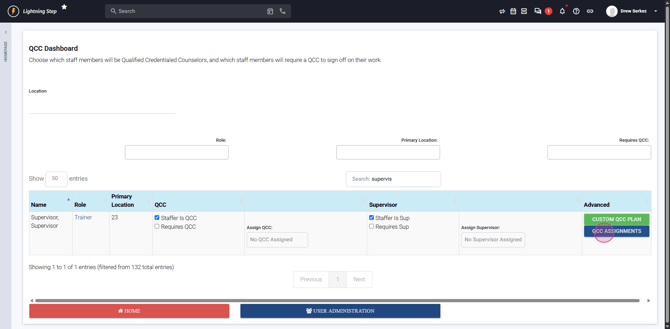
Step 3: Select a location After the page reloads, a prompt asks you to choose a location. Pick a single location or select All to view every user.
Step 4: Review users in the QCC Dashboard table Once a location is selected, you’ll see a table listing all users. - Filter the list by role , primary location
 , or whether Requires QCC is set
 . - Use the search bar to find a particular group or individual.
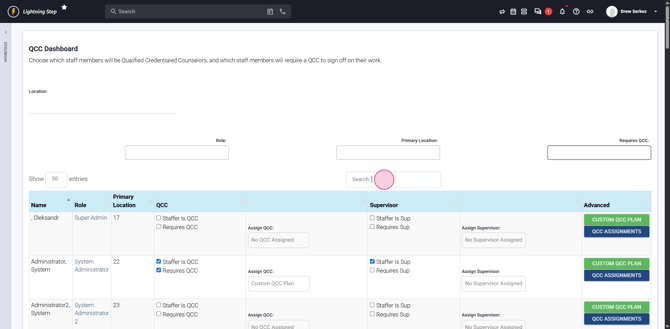
Step 5: Set a user to require QCC Locate a user in the table, such as Sasha Test. If the user doesn’t currently require QCC, check the box for Requires QCC.
 The dashboard will confirm your changes have been saved.
Step 6: Assign a QCC to the user Next, assign a QCC using the dropdown menu next to Requires QCC. Choose one of the available QCC users from the list.
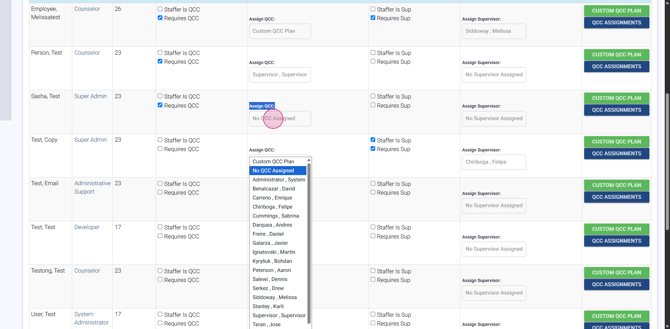
Step 7: Update or assign a new QCC For a new hire who needs to be a QCC, select the relevant user (e.g., Test email). Click Staffer is QCC and save.
Step 8: View QCC assignments or custom plan See a user's custom QCC plan or view QCC assignments. To see a supervisor’s assignments, click QCC Assignments.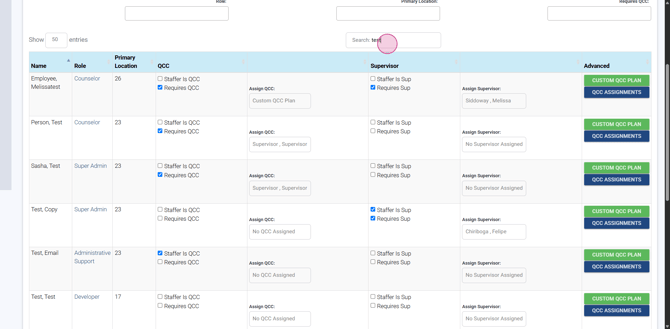
A new screen displays everyone assigned to that QCC. To return, click the large red button.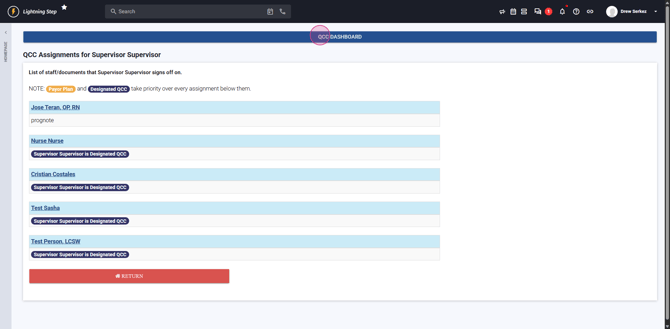
Step 9: Access a user's Custom QCC Plan Select the Custom QCC Plan button to view or manage the plan.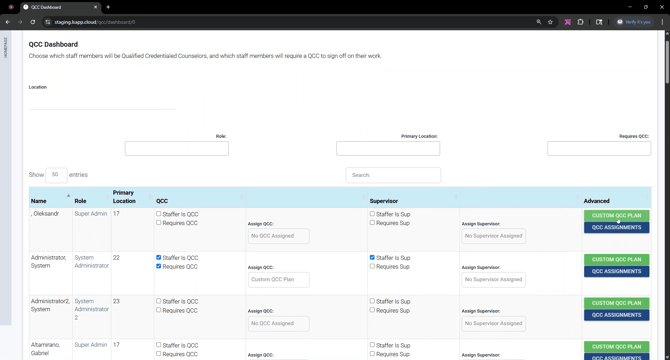
For more guidance, watch the video on assigning a custom QCC plan. Following these steps ensures QCC settings and assignments are organized correctly.