
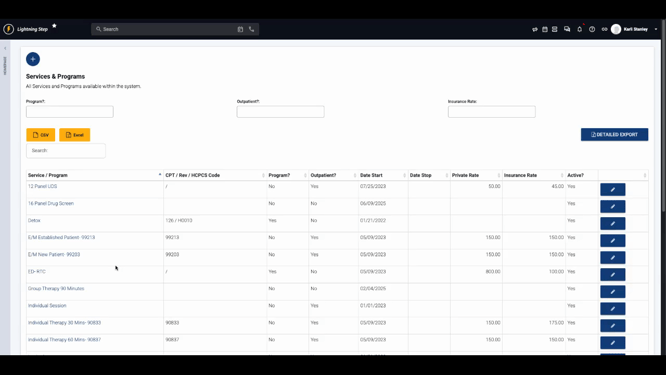
Step 1: Open the user menu, go to Billing configuration, then select Services and Programs.
Step 2: Choose the service you want to edit or view.
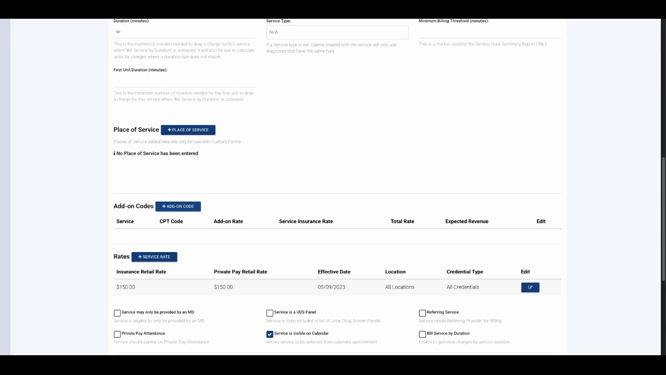
Step 3: Click Add on Code to start adding a new code.
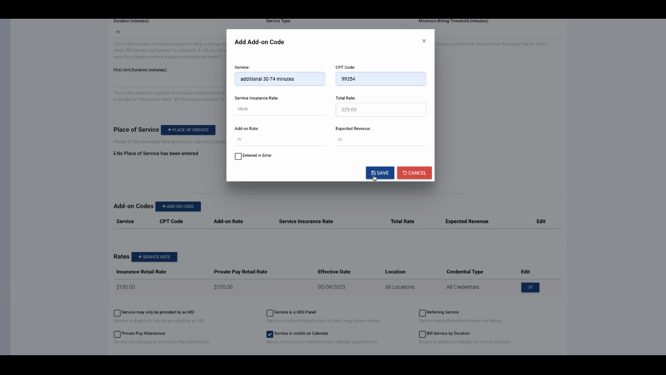
Step 4: Enter the name of the add-on service, its CPT code, and the add-on rate. The service insurance rate fills in automatically (this will be the RAC rate). The total rate is not editable, but it will update as you adjust the add-on rate.

-
You can also enter an expected revenue amount here.
Step 5: Click Save to add the new code, then save the updated service.
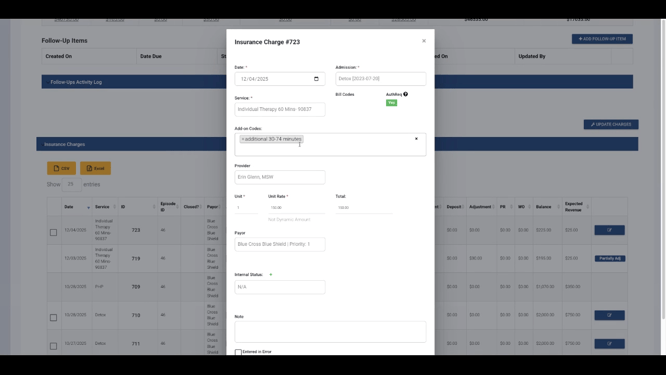
If configured, clinical staff can select add-on codes when choosing services on their forms. When added, the add-on code flows with the primary code—appearing together on charges, account records, and claims.
Setting up add-on codes ensures your billing stays complete and compliant. For more details, check your internal documentation or contact the support team with any questions.