
Steps to Configure a Program
Step 1: Open the Service edit screen and scroll to the bottom.
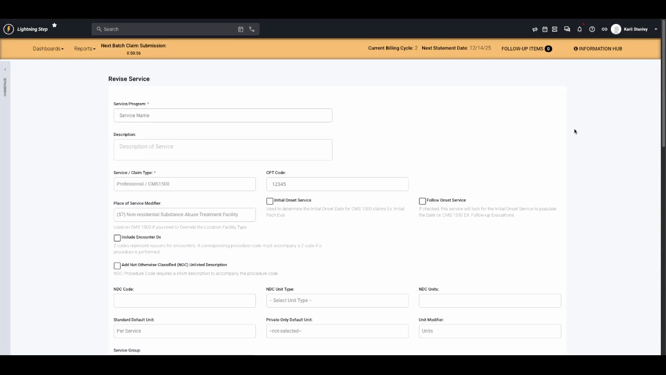
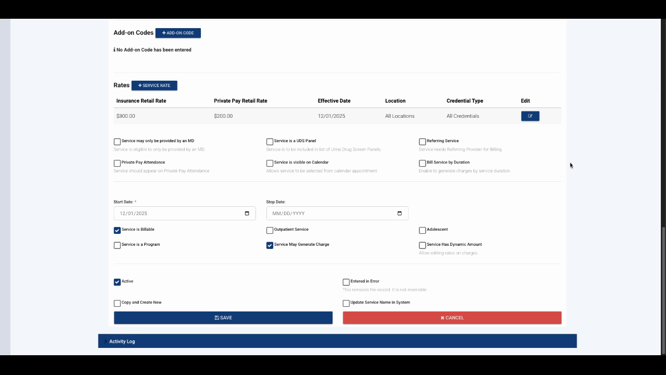
Step 2: Select the Service is a Program checkbox. This unlocks a new section with further program-specific fields and requirements.
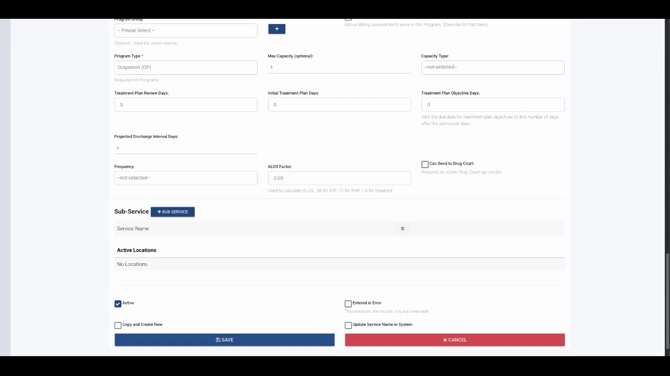
Step 3: Choose a Program Type from the list. Options include detox, intensive outpatient, outpatient, partial hospitalization, residential, and other. This field is required.
Step 4: Set the Maximum Capacity and Capacity Type to match your program or facility needs.
Step 5: Configure treatment plan intervals—fill in the number of days for Treatment Plan Review, Initial Treatment Plan, and Treatment Plan Objective Days.
Step 6: Set a Projected Discharge Interval if needed.
Step 7: Select the Frequency of the program (daily or weekly).
Step 8: Enable program API integration if you want to send program details to drug court via API vendors.
Step 9: Allow Billing of Assessments for the program if you need to override the default per diem unit type and bill assessments during a program stay.
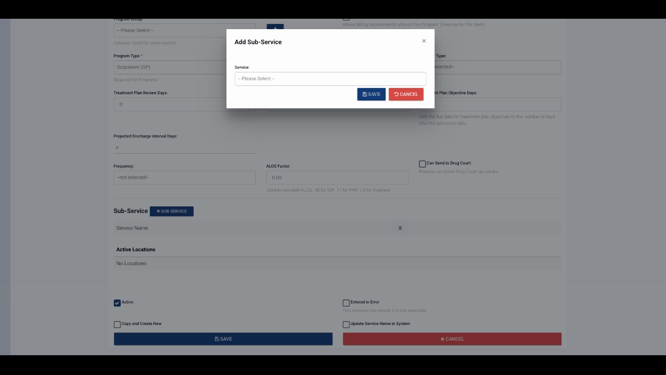
Step 10: Add Sub-services to your program. Sub-services let you group services within the program, making a single program authorization apply to all connected sub-services.
Step 11: Check if your program is associated with specific Locations in the provided section.

Step 12: Click Save to apply all changes.
Program configuration offers more control over how services are structured, billed, and authorized in your system. Subservices make it easy to manage multiple service types under a single authorization, streamlining your workflow. For further details, refer to your internal documentation or contact support with any questions.