
Steps to Use the VOB Dashboard
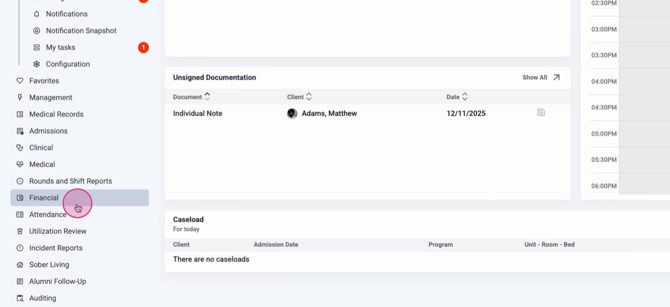
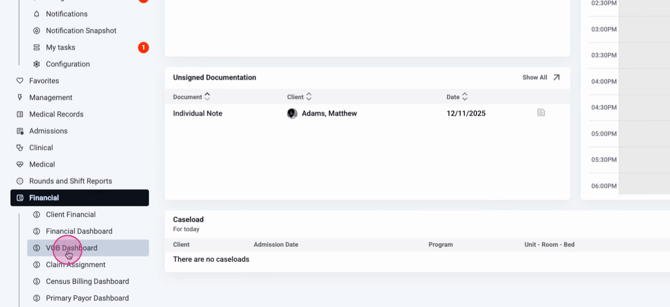
Step 1: Go to the Financial menu and select VOB Dashboard.
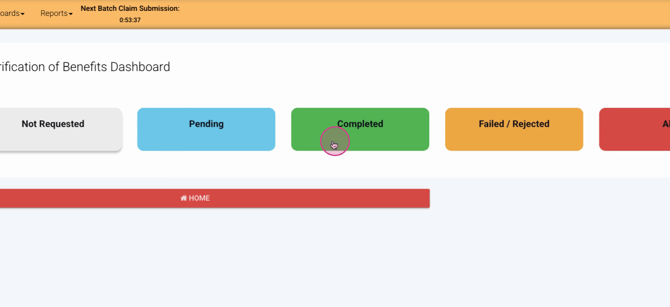
You’ll arrive at the VOB Dashboard, which organizes requests into five buckets to help you track progress.
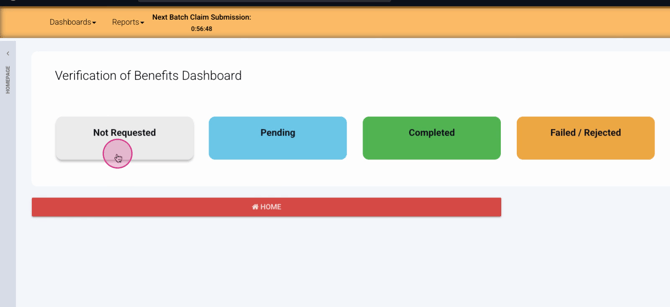
Step 2: Understand the buckets.
-
Not Requested: Shows clients where benefits verification hasn’t been requested.
-
Pending: Shows requests that are awaiting verification.
-
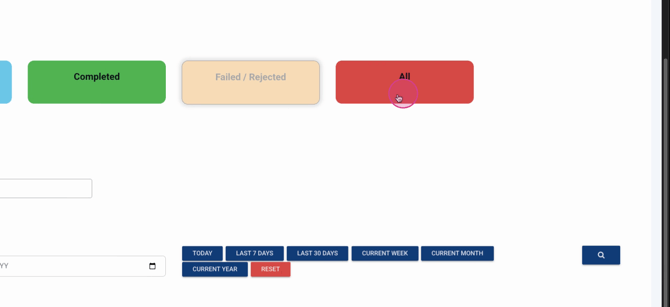
Completed: Lists requests that have been fully verified.
-
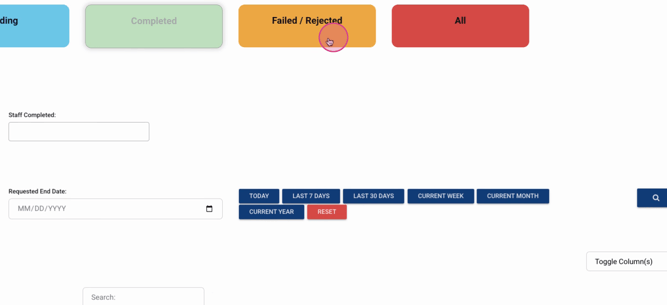
Failed/Rejected: Collects batch requests that didn’t go through.
-
All: Displays every VOB request, no matter the status.
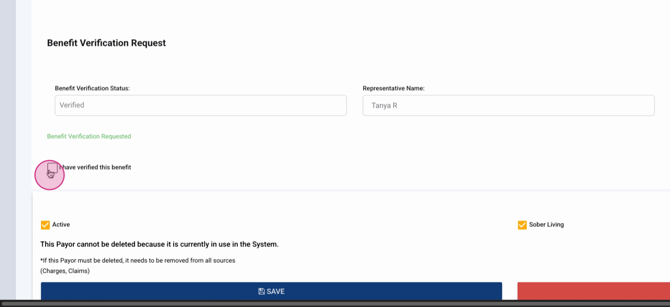
Step 3: Check a client’s payer details.
Click the Edit pencil next to an entry.
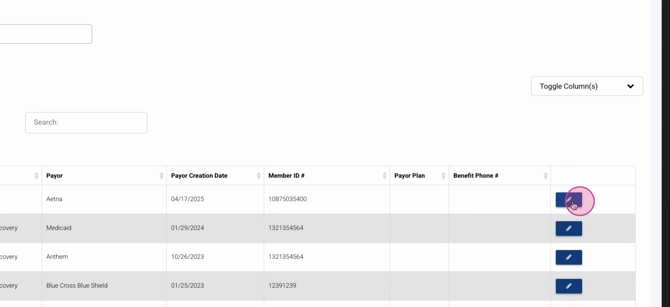
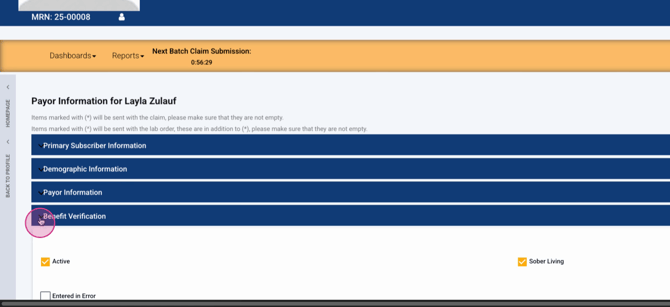
Expand the Benefit Verification section. At the bottom, check Request benefit Verification to move the entry from Not Requested to Pending. This also sends a notification to the billing or benefit verification group.
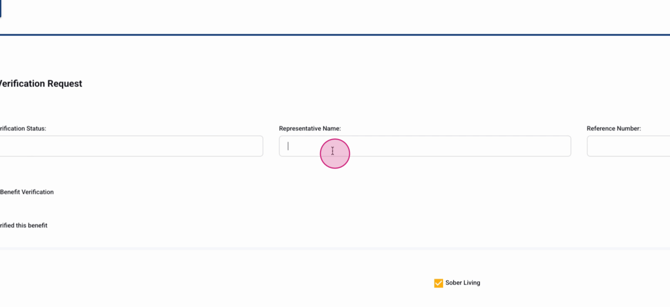
Step 4: Update request details.
Set the status to reflect the request’s progress—this feeds into the dashboard view as well.

You can enter who you spoke with at the payer and add the reference number for the interaction.
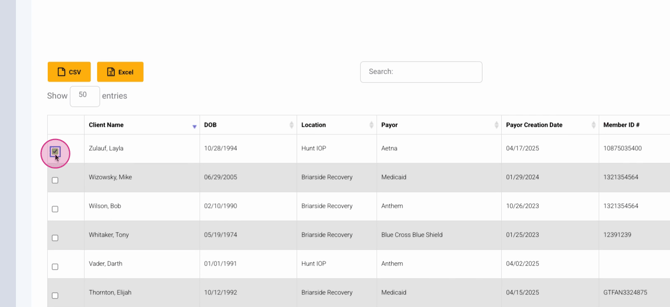
Step 5: Use batch VOB (if enabled).
If your system allows batch VOB, select multiple records with checkboxes and choose Batch VOB to send them together through your clearinghouse. Note: Batch checks aren’t real-time—individual checks update sooner.
Step 6: Move requests to Pending.
Once the Request benefit Verification checkbox is selected, entries will show in the Pending bucket.

Step 7: Confirm benefit verification.
When benefits have been verified with the insurance payer, check I have verified this benefit in the client’s payer details to remove the item from Pending.
Step 8: See completed verifications.
Verified entries shift to the Completed bucket once the second checkbox is marked.
Step 9: Monitor failed or rejected batch requests in their own bucket.
Step 10: Use the All bucket as a catch-all for any VOB status.
Step 11: Track both inquiries and established clients right in this dashboard—it’s all together for easy monitoring.
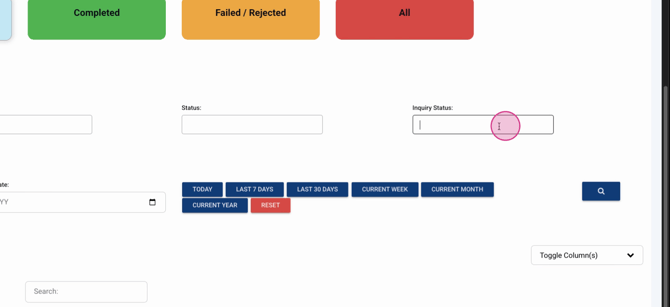
Step 12: Check and filter request details.
See date requested, status, the requester, and inquiry status to quickly identify outstanding or ready-to-admit cases.
You’ll find both admission information and completion dates, helping you monitor processing time and identify next steps.
Step 13: Use dashboard filters.
Quickly narrow results or view year-to-date VOBs using built-in date filters.
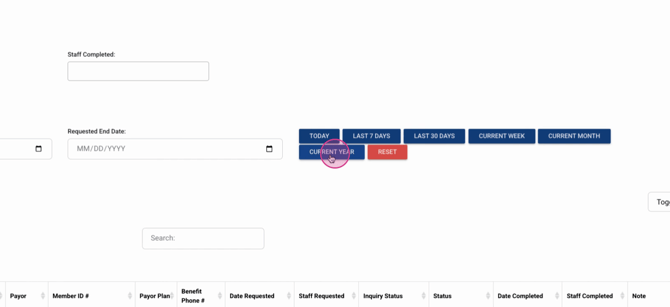
Some dashboard sections offer additional filter options for specific needs.

Conclusion
Lightning Step’s VOB Dashboard gives you a complete overview of all your benefit verifications, from start to finish. Keep track of each request’s progress, streamline follow-ups, and optimize your admission process. For more details, reference your internal documentation or reach out to support if you need help.