
Access System Configuration
Step 1: Navigate to System Configuration
Open the menu under your name and select System Configuration.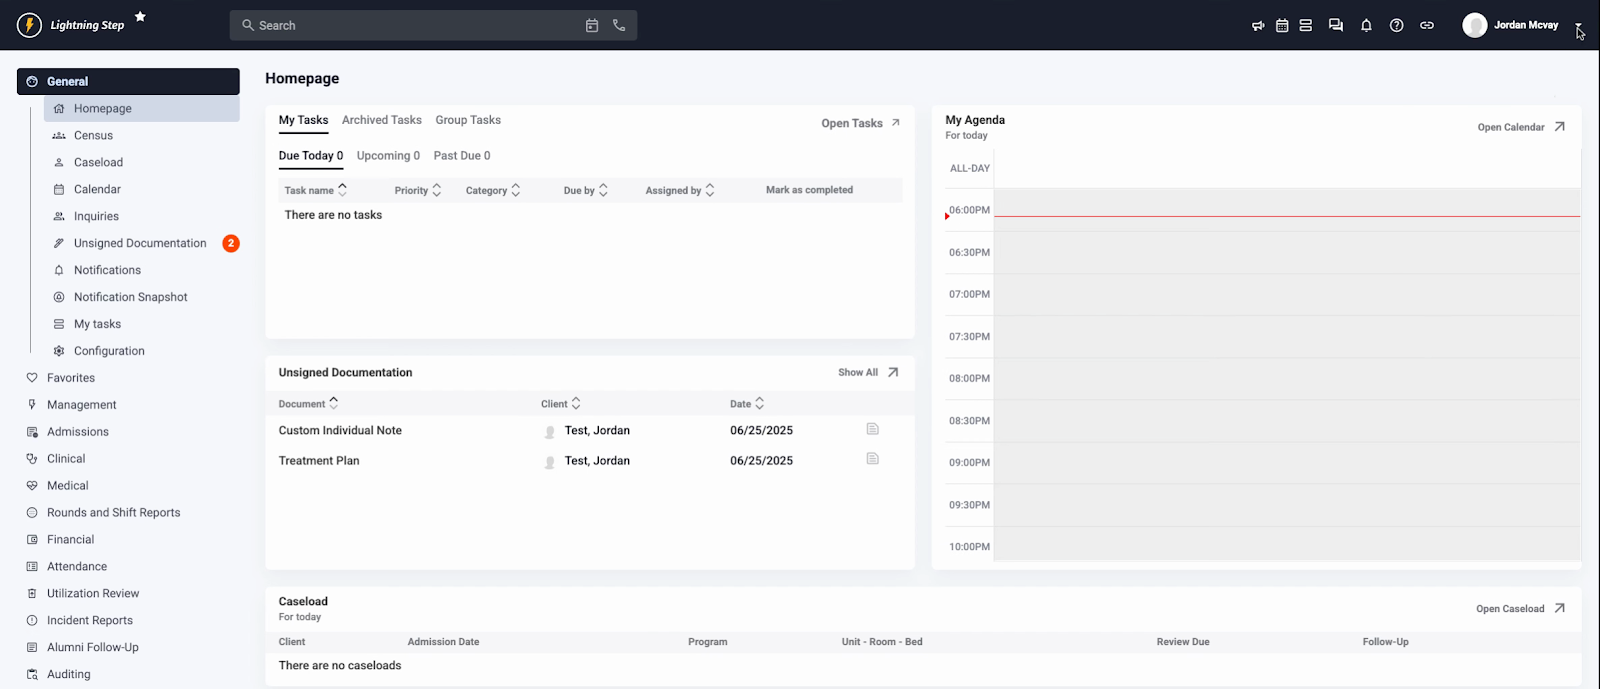
Configure Table Access
Step 2: Set Table Access
In the configuration area, select Table Access. Choose which documents and features should be available for your action plans. Use the three columns to control which forms and tables users may select. Ensure all needed documents are set as accessible.
Set Up Action Plans
Step 3: Open the Action Plans Section
After configuring table access, go to Action Plans to start building your plans.
Step 4: Start a New Action Plan
Select New Source Action Plan. Enter a title, then set the start trigger—options include client admission, transfer, discharge, or manual start.
Step 5: Set the Stop Trigger and Program
Decide when your action plan stops. Options include after a number of days from discharge, at discharge or transfer, or manually. For this example, select Transfer. Select the program, such as Detox. This ties the plan to admissions into that care level and auto-stops it when clients transfer out. By default, only future admissions are included; check Allow user to manually assign to existing admissions to add current clients. Add a description if needed.
 Click Save to complete setup.
Add Actions and Details
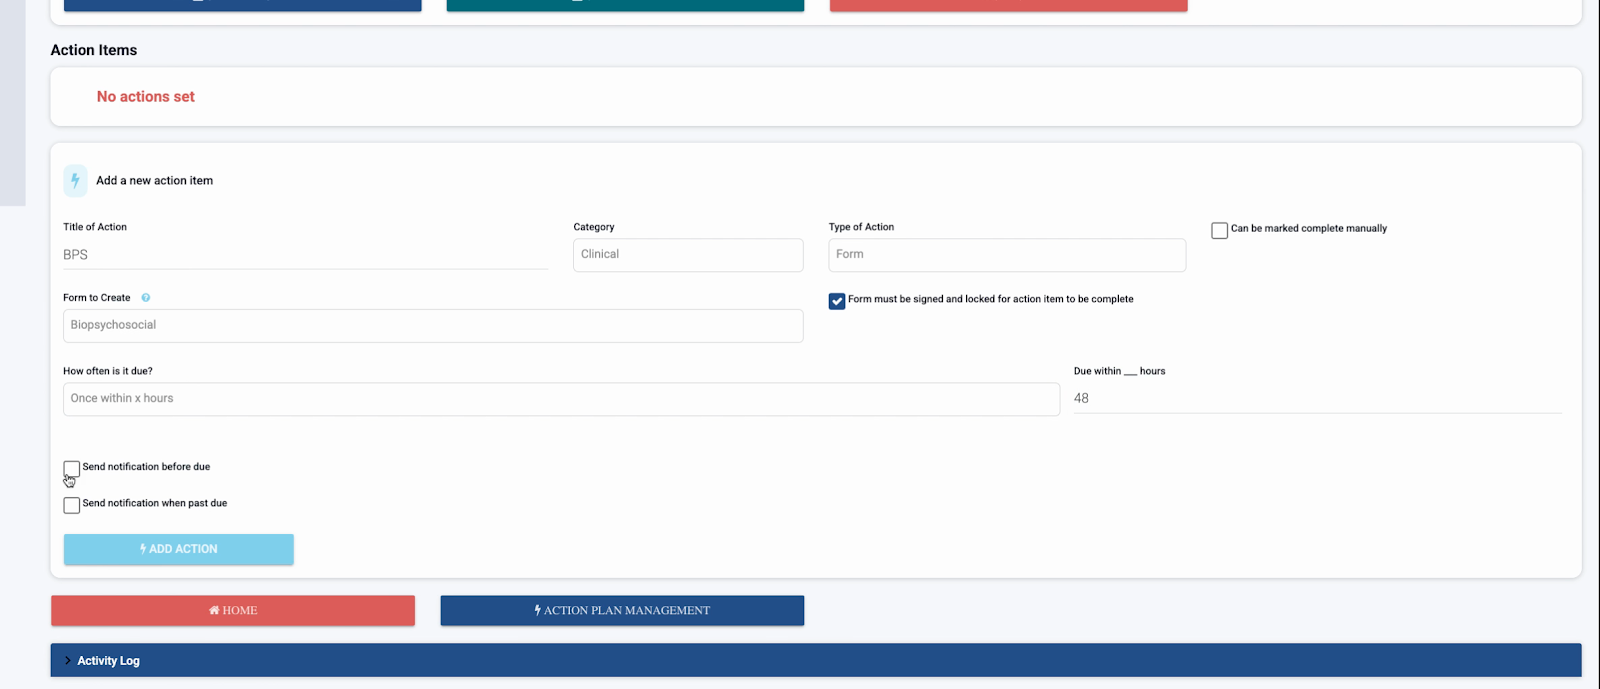
Step 6: Add Actions to the Plan
Define specific actions, such as a Biopsychosocial Intake Assessment at admission. Enter the action title and choose its category: clinical, medical, nursing, or other. This helps organize and report on client tasks. Specify if the action is a task or a form, and set its completion requirements.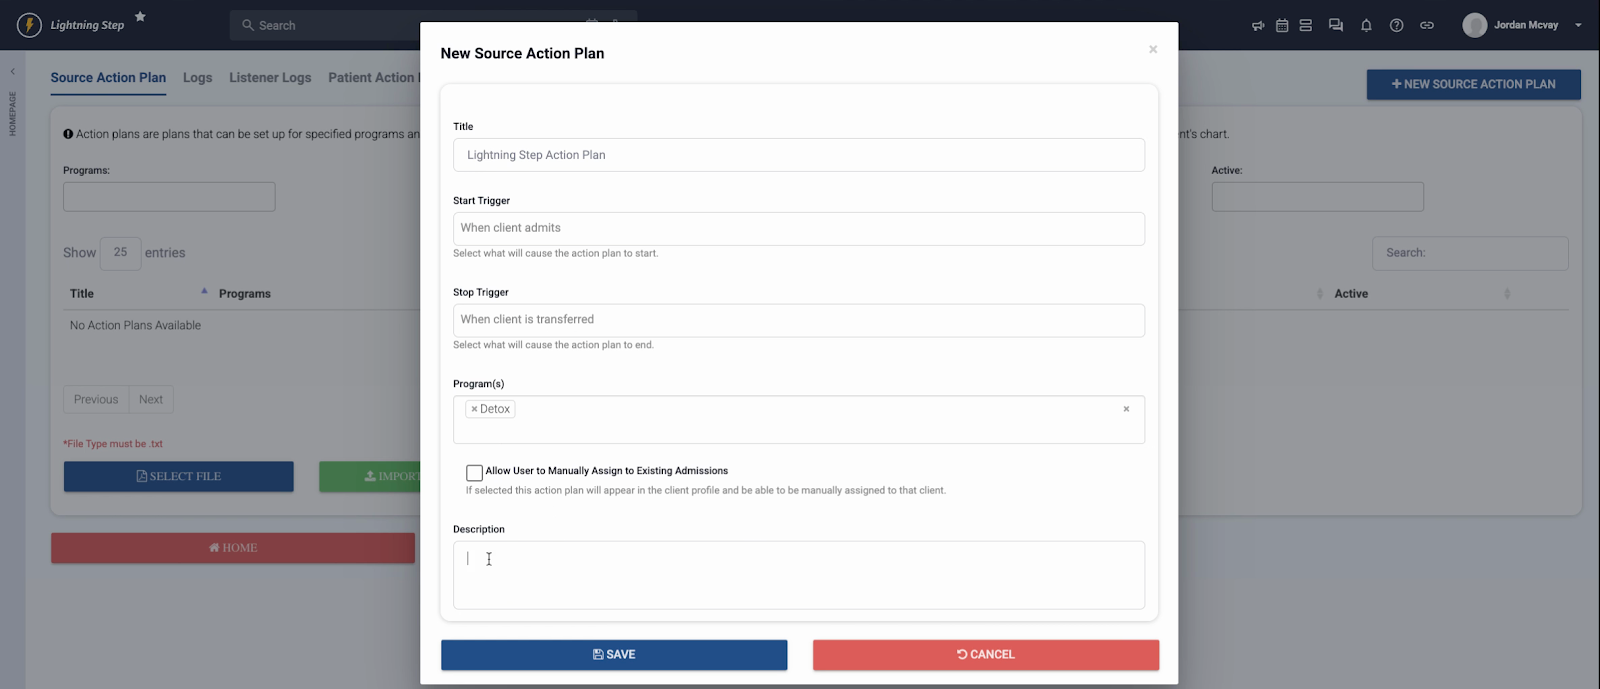
Step 7: Choose Forms for Actions
Pick the form for each action. Select from standard options, like Biopsychosocial, or any custom forms you need. Ensure each fits your workflow.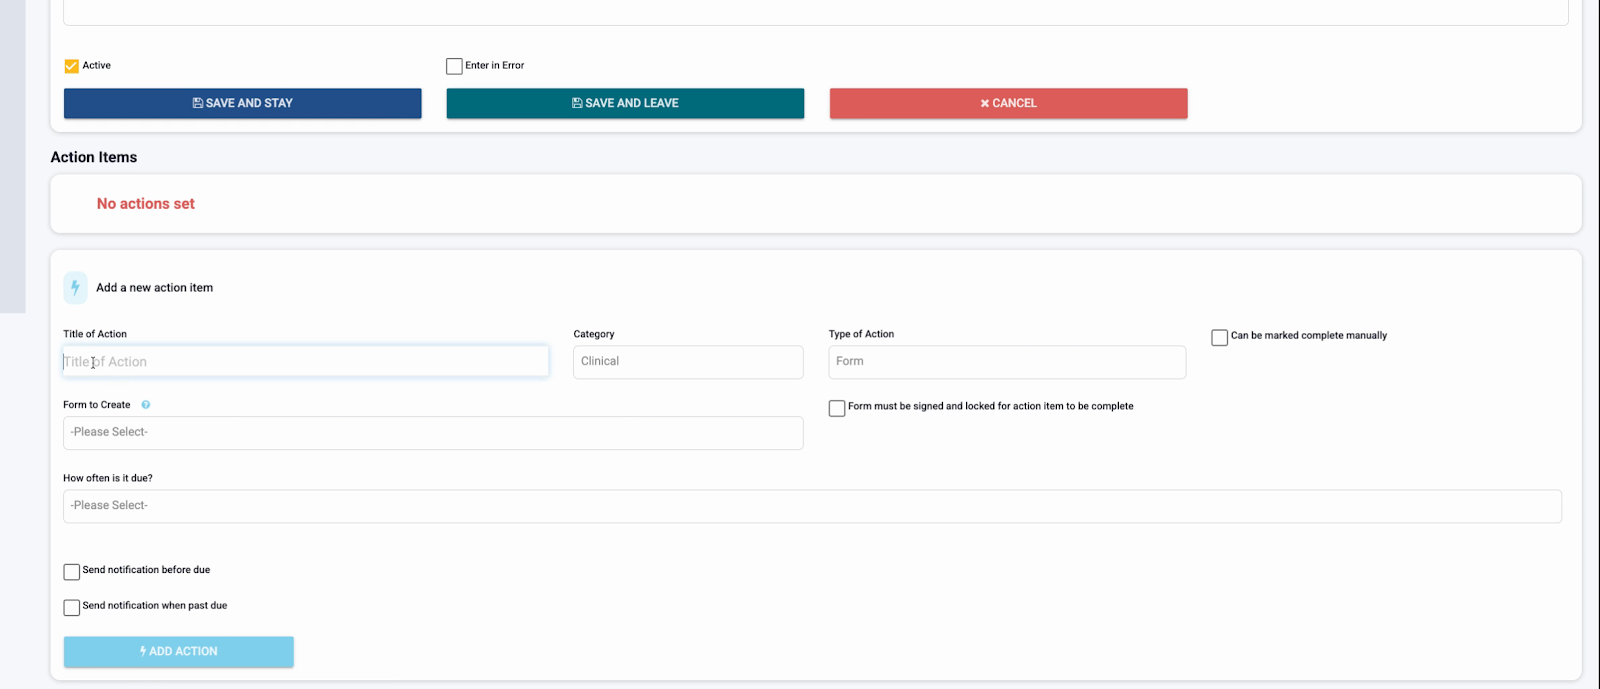
Step 8: Configure Due Dates and Frequency
Set deadlines and recurrence for actions, such as completion within 72 hours of admission or on a custom timeline. Input times and recurrence as required.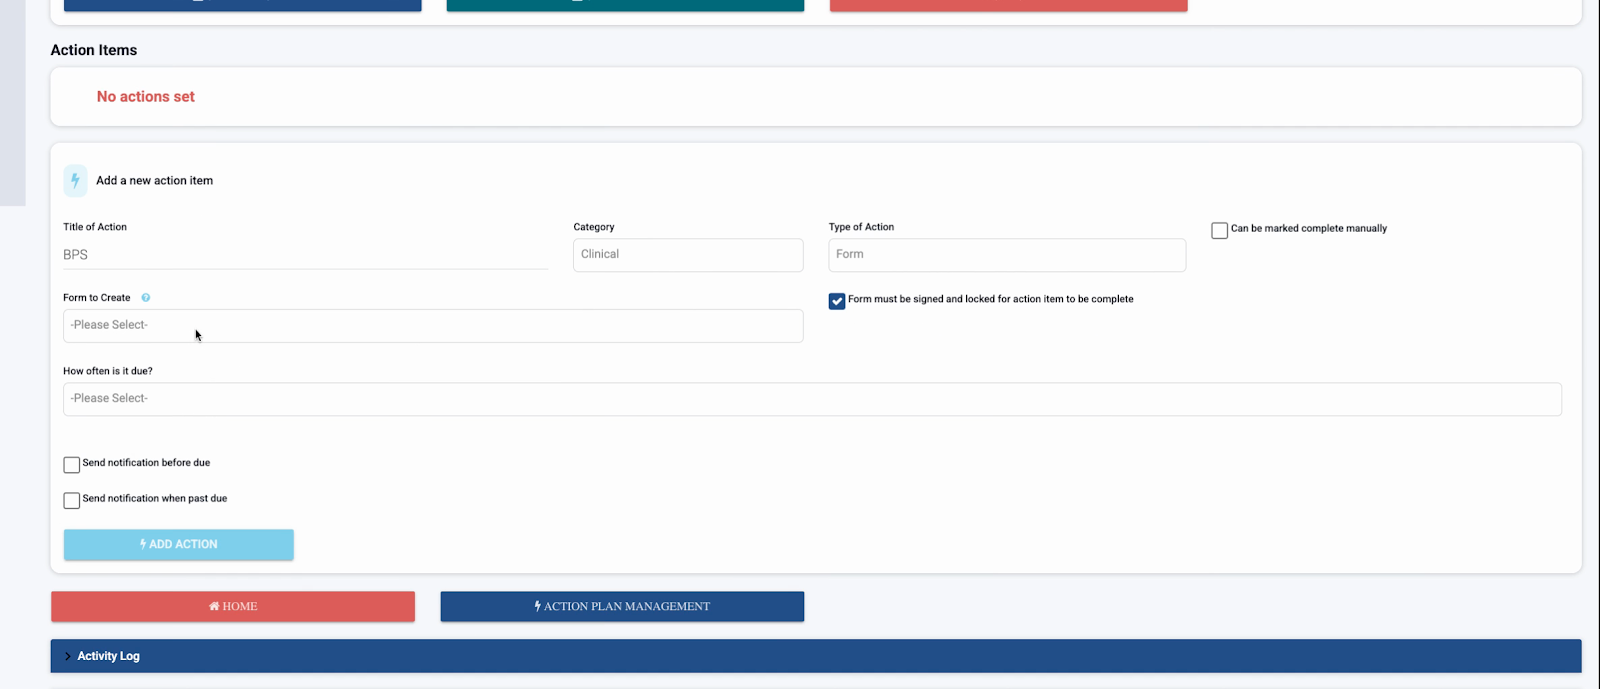
Notifications and Final Review
Step 9: Set Notification Options
Control who receives notifications about upcoming tasks. Assign staff or notification lists so everyone stays aware of documentation deadlines. Set up advance notices and alerts for missed deadlines to keep the team informed.
Step 10: Activate and Review the Action Plan
After saving all actions, review the plan summary to verify settings, forms, and notifications.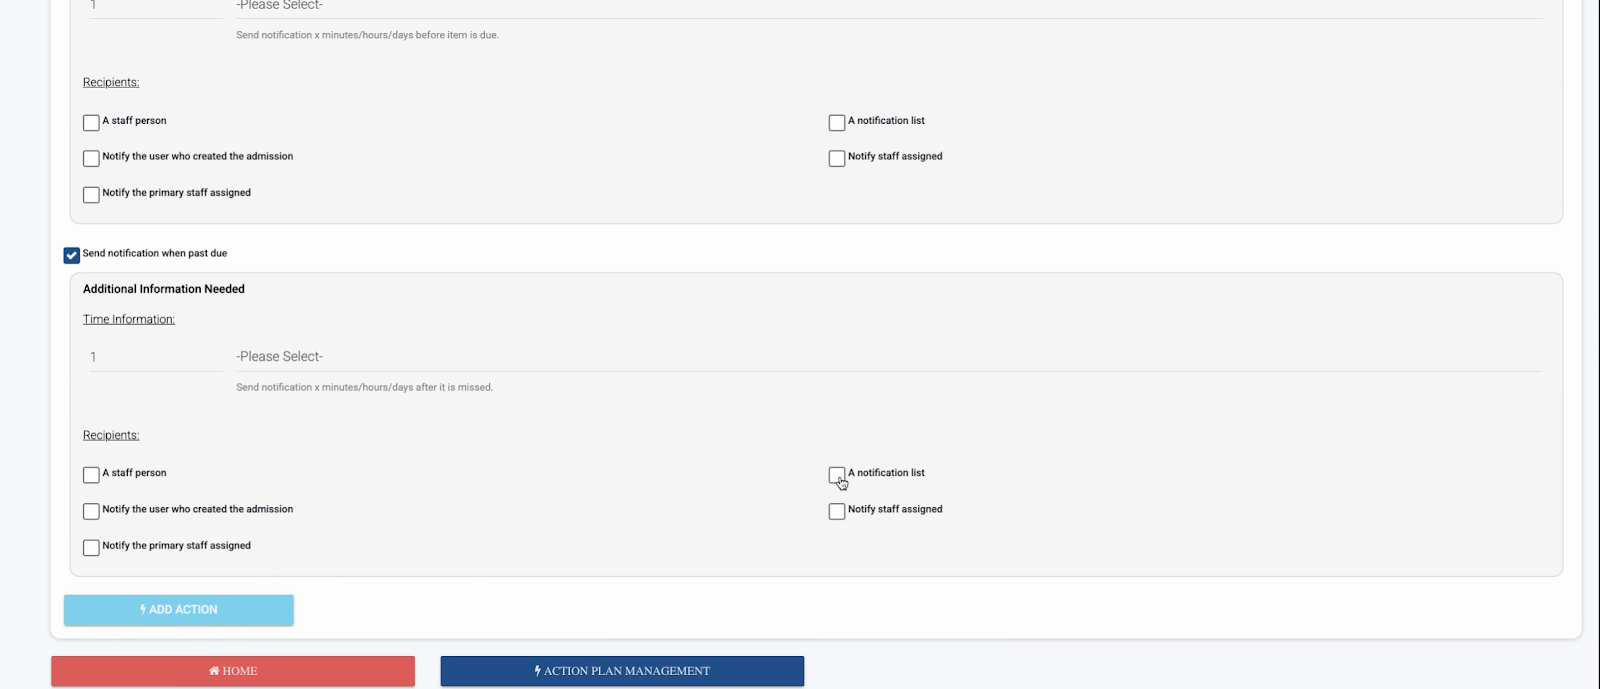 Click Save and Stay to put your plan into action. The setup is active right away, so any new admission to Detox will follow this action plan.